Aluminum and Elastic
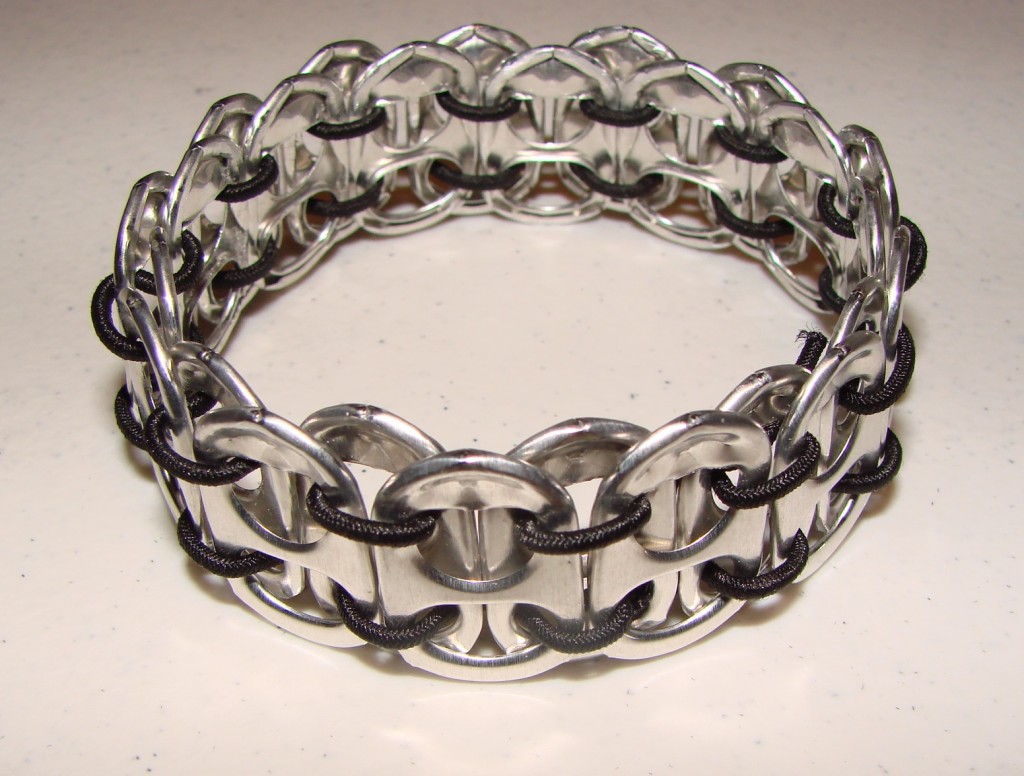
These bracelets are popular with young people, and are very easy to make.
Step 1: Collect the materials.
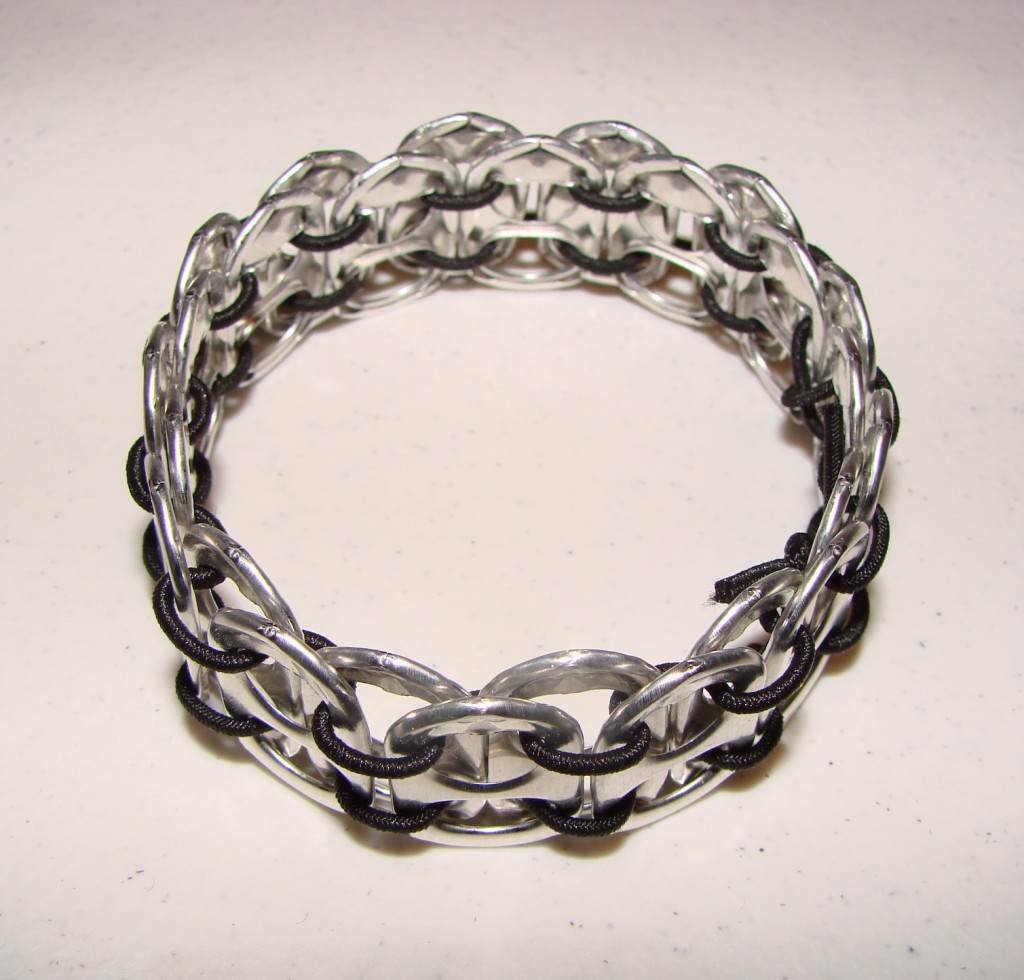
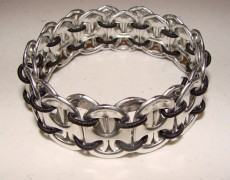
I think my version of this bracelet (fairly large) took about 24 tabs. It also required about a yard of elastic. You can use almost any kind of elastic that is narrow enough to fit through the holes in the tabs. I happened to have some of the narrow, black cord-style elastic on hand.
Step 2: Prepare the tabs.
- First, wash the tabs in warm soapy water. Rinse, then then let them dry completely.
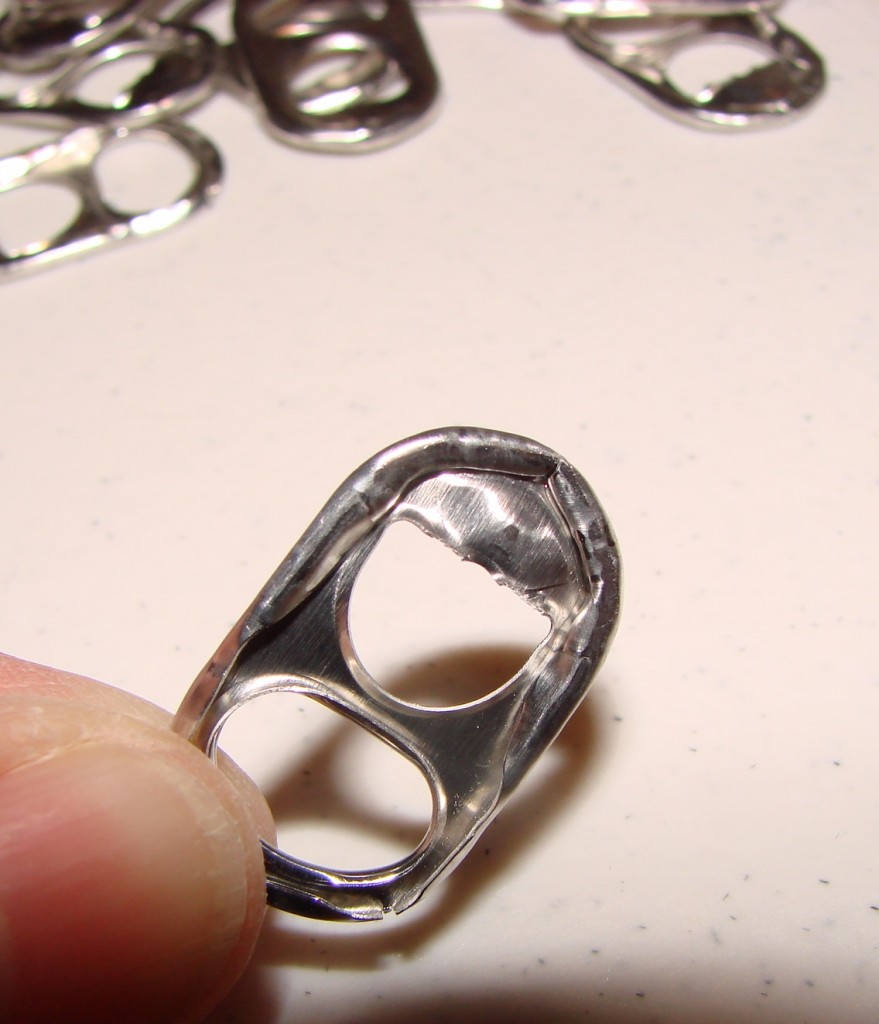
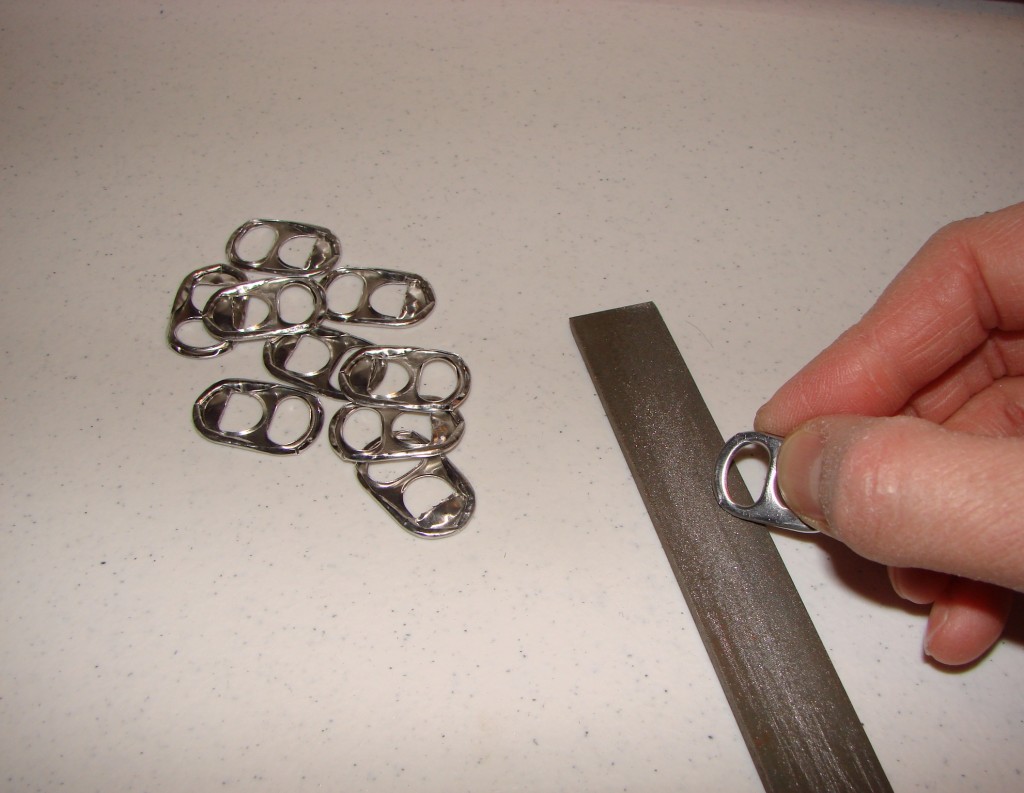
- Second, file down any sharp areas. Many of the tabs have sharp edges, where they broke away from the can. Filing them down prevents uncomfortable scratches on the skin.
Step 3: Weave the elastic through the tabs.
This is really easy, but I’m not sure I will explain it well. (If not, there are lots of other good tutorials on how to do it.)
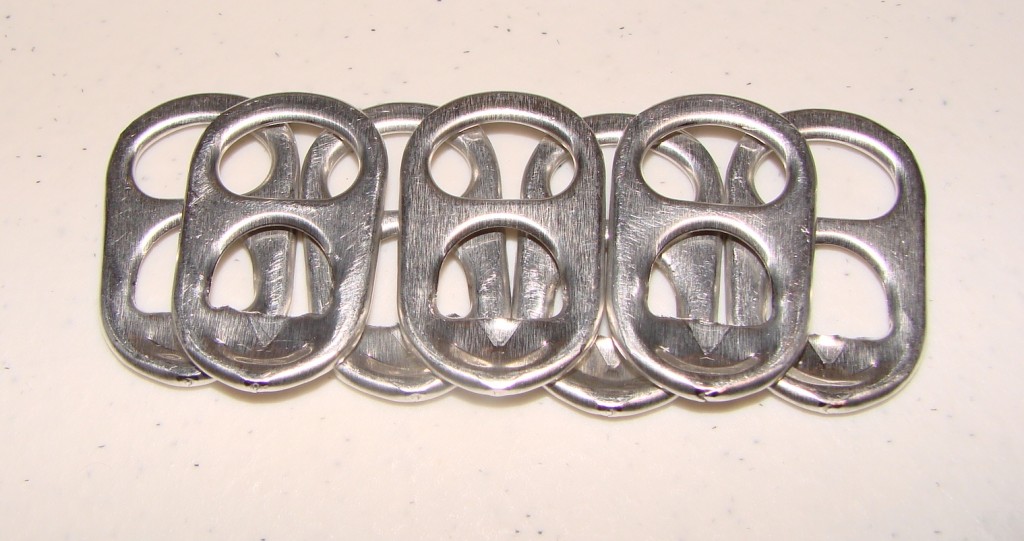
There are actually two “layers” of tabs. One is offset, halfway between the tabs underneath.
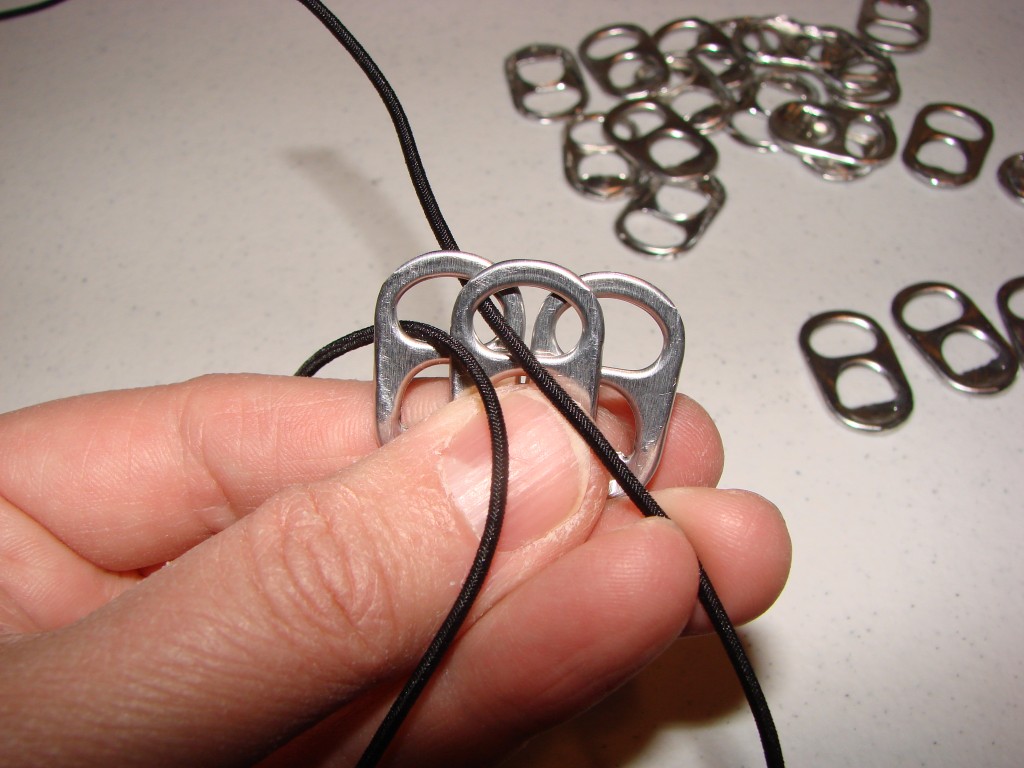
You start by holding 3 tabs as shown below. Put the end of the elastic up from the bottom, through one tab. Then, thread it downward through the holes in tabs 2 (upper tab) and 1.
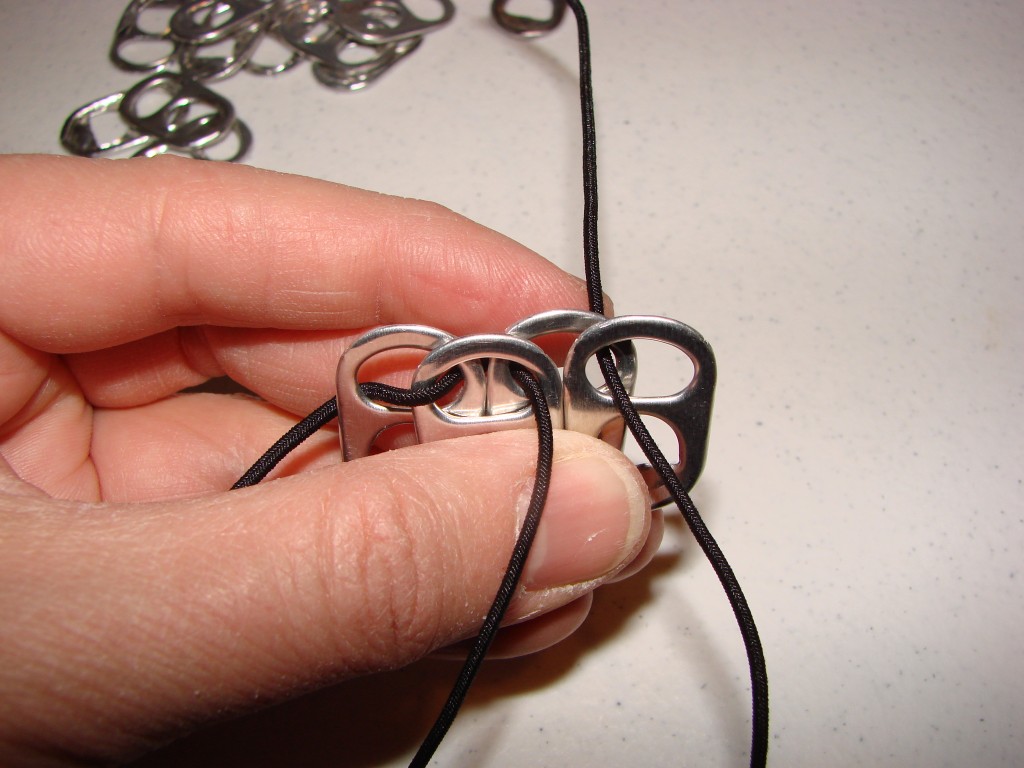
You then thread the elastic upward through tabs 3 and 2, where they overlap.
Then you add a 4th tab, and lace the elastic down through tabs 4 and 3.
Keep going in this manner until you go all the way around. When you get to the 24th tab, connect it to tab 1 to make a circle then tie off the end.
Do exactly the same process again, this time using the lower holes in all the tabs.
Step 4: Embellish as desired.
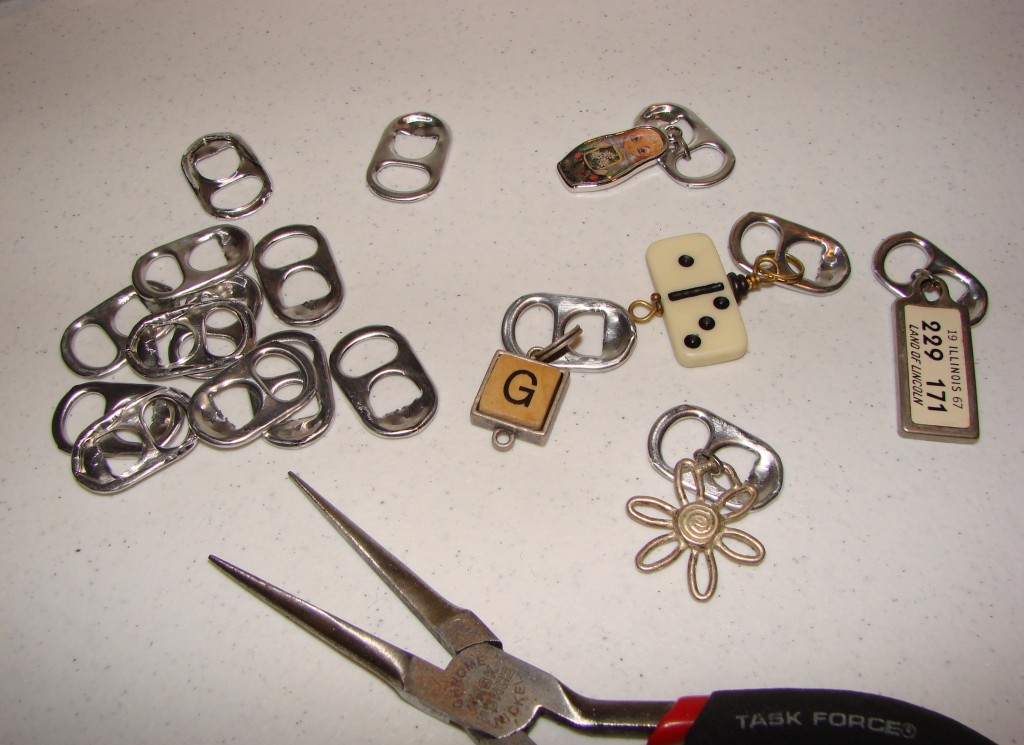
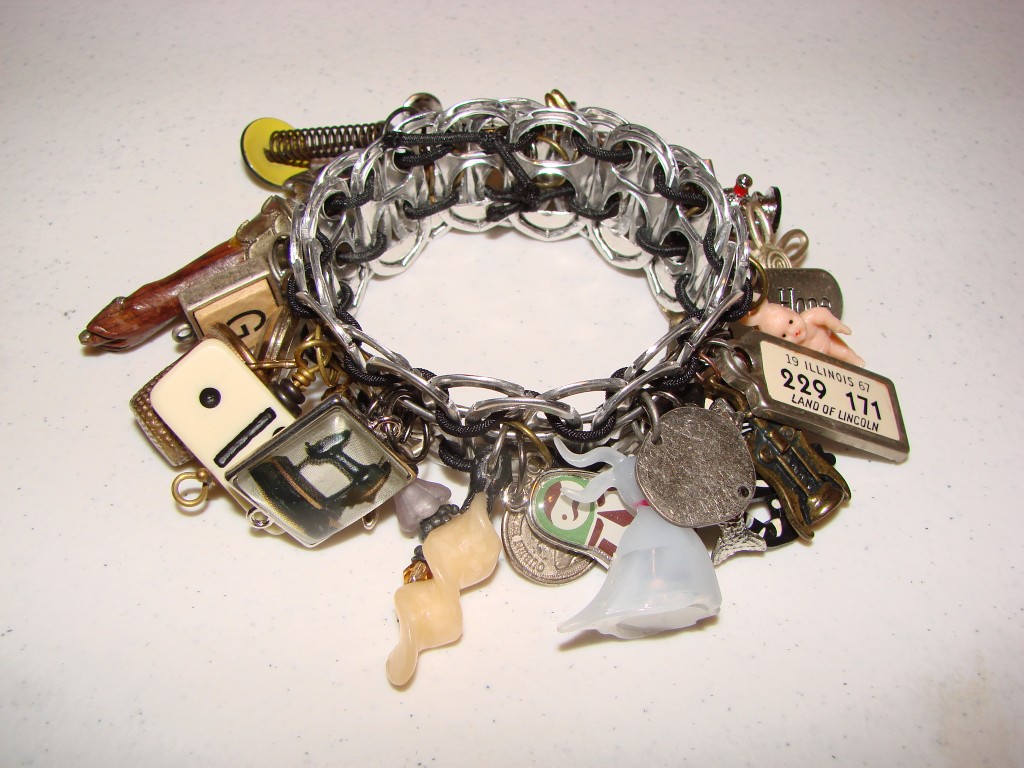
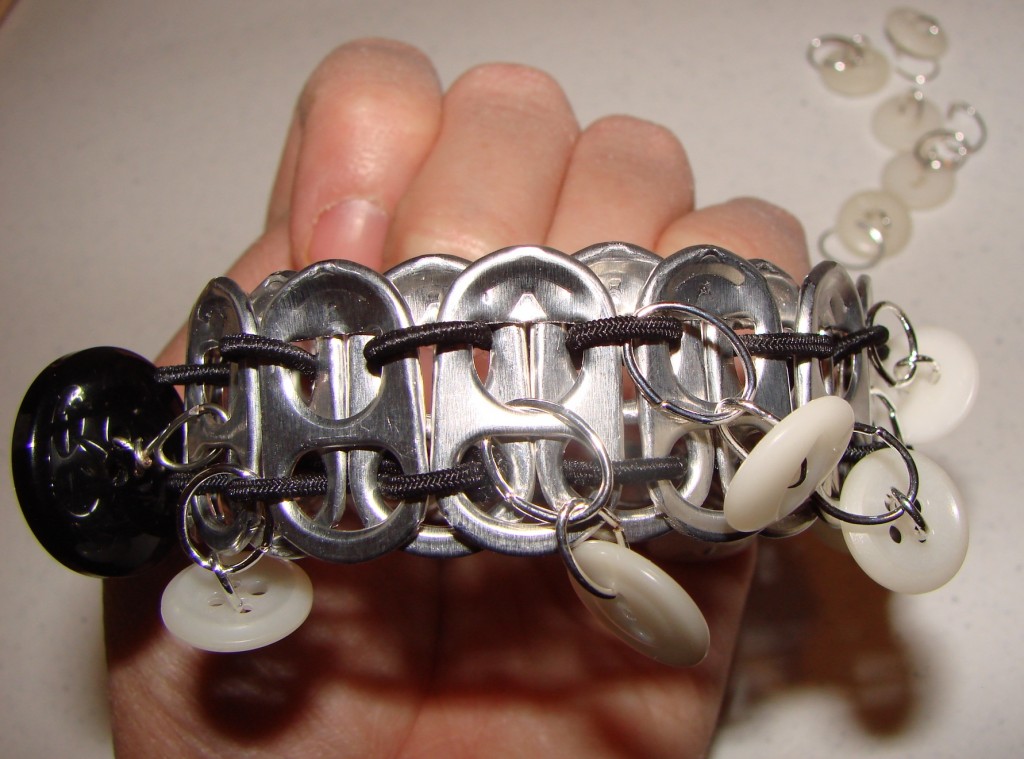
When I made this, I was intending to decorate it with a large quantity of charms. I tried attaching the charms all over the bracelet, some on the elastic and some on the metal crossbars on the tabs.
I did not like how it turned out, though. Not cohesive enough for me.
So…
I took it apart and tried decorating it with buttons instead.
However, I didn’t like that look, either. I went back to the original, plain and unadorned wrist band.
