Jewelry from Salvaged Belt Loops & Vintage Buttons
I volunteer at the local recycled art materials shop, a nonprofit that benefits the public school system. The other day, I was tasked with salvaging belt buckles. The belts themselves had already been cut off — no doubt they wound up in the scrap leather bin.
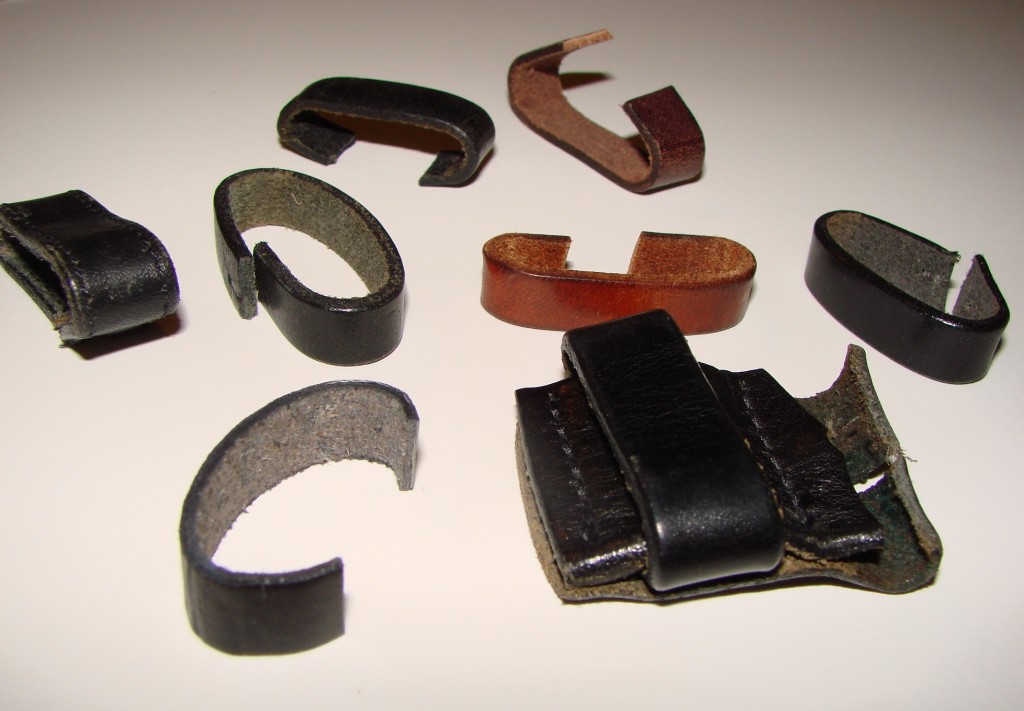
As I was cutting the remaining leather off the buckles, I began to wonder whether any of it could be salvaged. Maybe someone could make something out of the small pieces. Jewelry, perhaps? I looked at the neatly-cut belt loops and decided to take some of them home, to see if I could make some leather rings.
Some of the loops were thick — the thicker leather might be harder to work with, and maybe the resulting rings would be uncomfortable, too. So I started with a couple of the thinnest pieces.
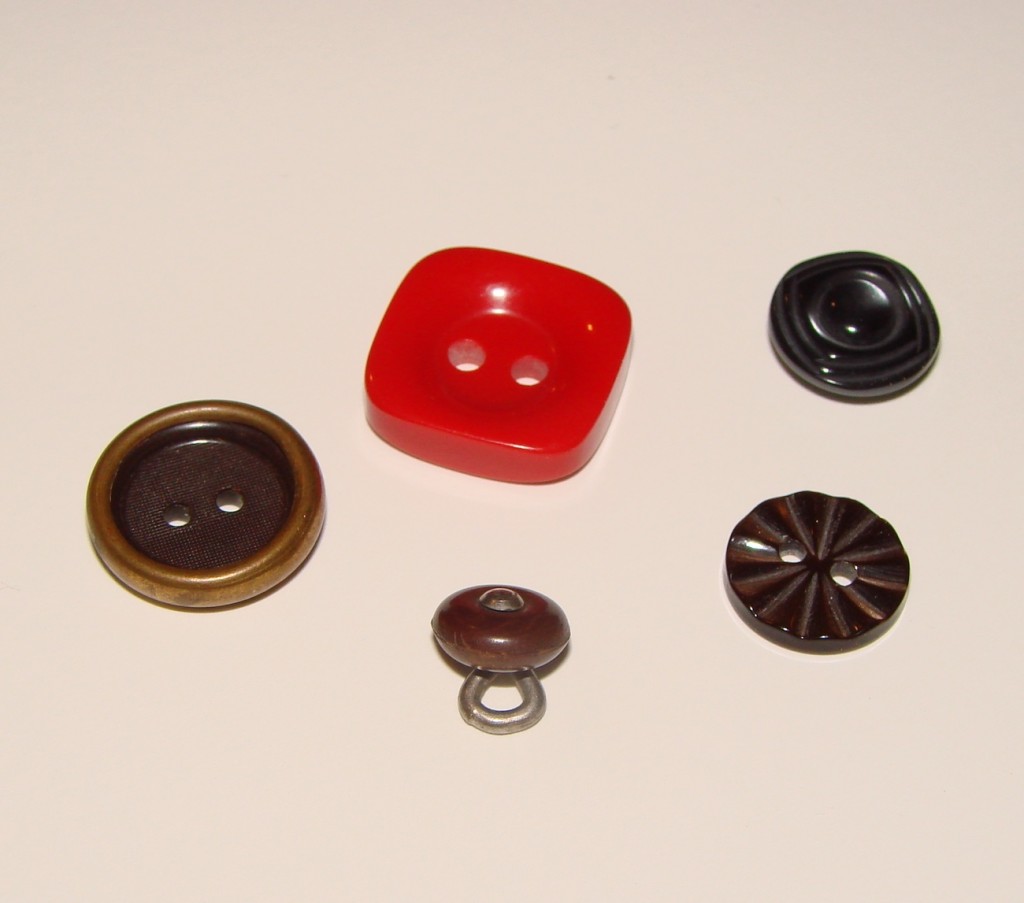
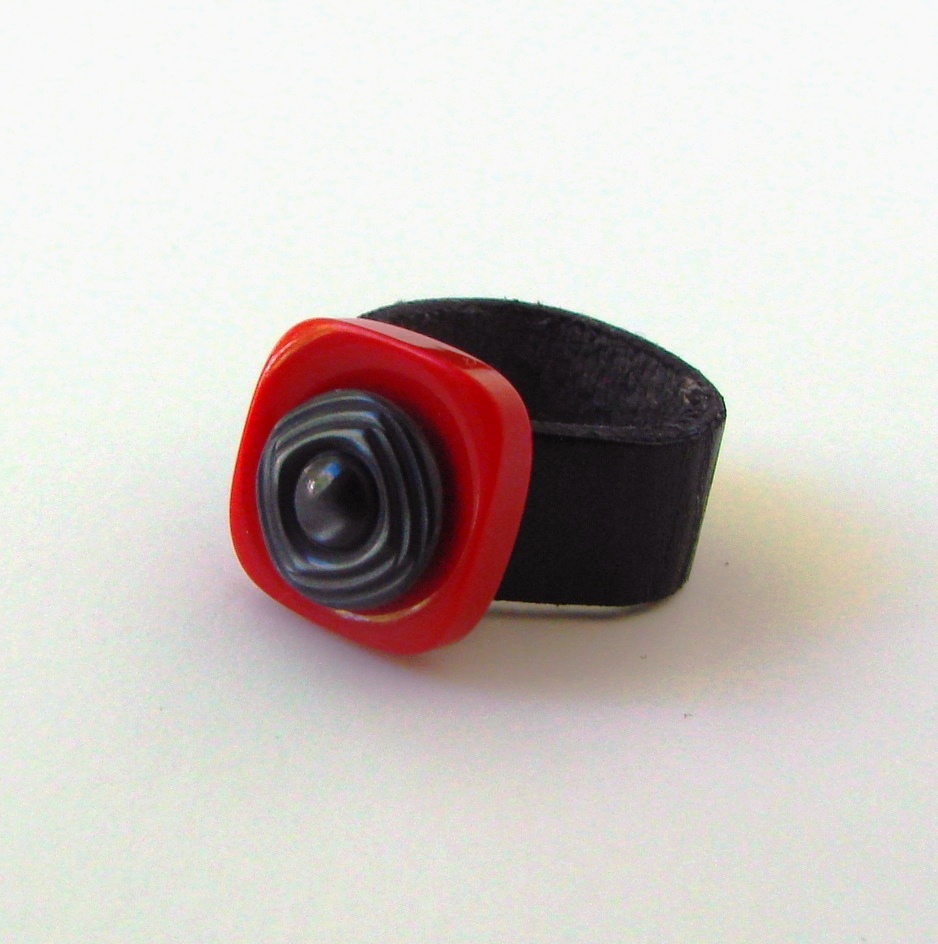
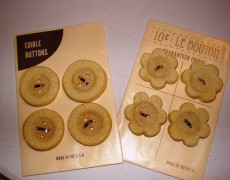
The shop also sells some awesome vintage buttons. I’ve bought a few, with the idea of making jewelry out of them as well. Pawing through my button collection, and combining the vintage buttons with some newer ones from my stash, I came up with a few interesting design ideas.
Step 1: Measure, cut, and pierce the belt loop
First, measure your finger. Wrap the belt loop around your finger, and trim the excess. You want the two ends of the leather to meet, but not overlap.
Don’t wrap it too tightly or you will not be able to slide the ring on and off.
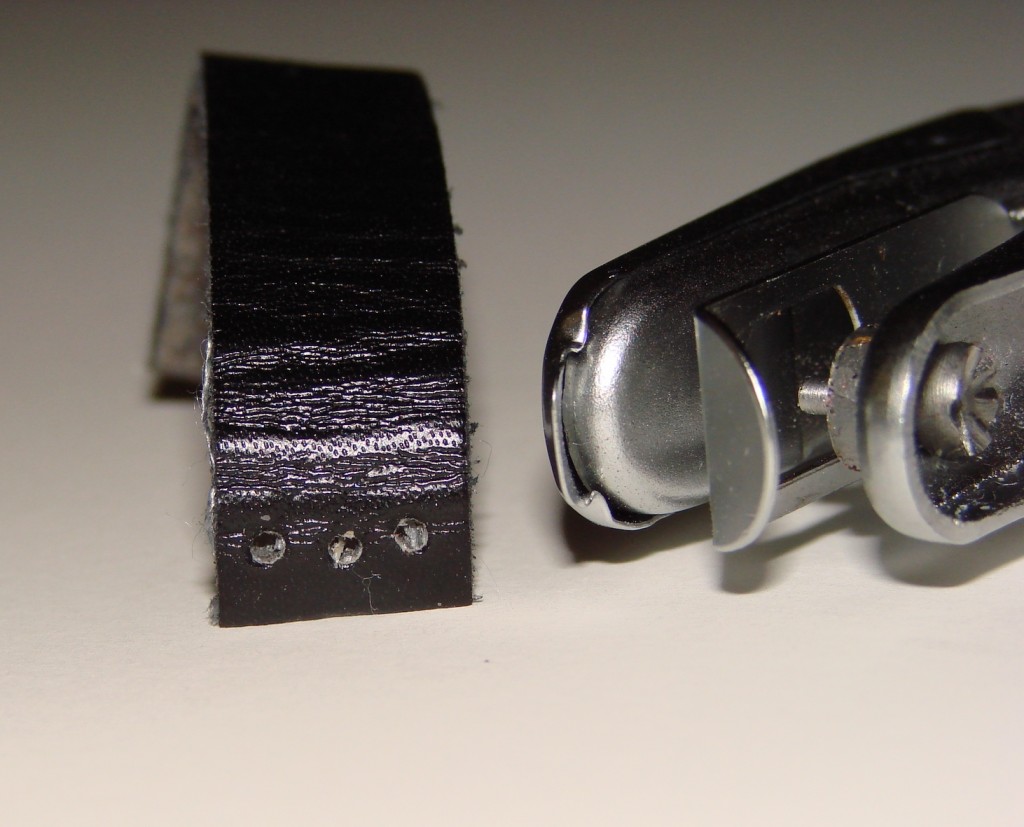
Use a tiny punch or an awl (careful, careful!) to pierce 1-3 holes at each end of the loop.
As you can see, mine are not perfect! However, it is best if the holes on each side are equally spaced and match up with those on the other side.
Step 2: Sew the ring together
I used some thick embroidery thread because that’s what I had on hand. But I hear it is best to use linen thread that has been coated with beeswax, and a needle specifically designed for sewing leather, to sew leather. (I think it is less important if you have pre-punched holes as I did.)
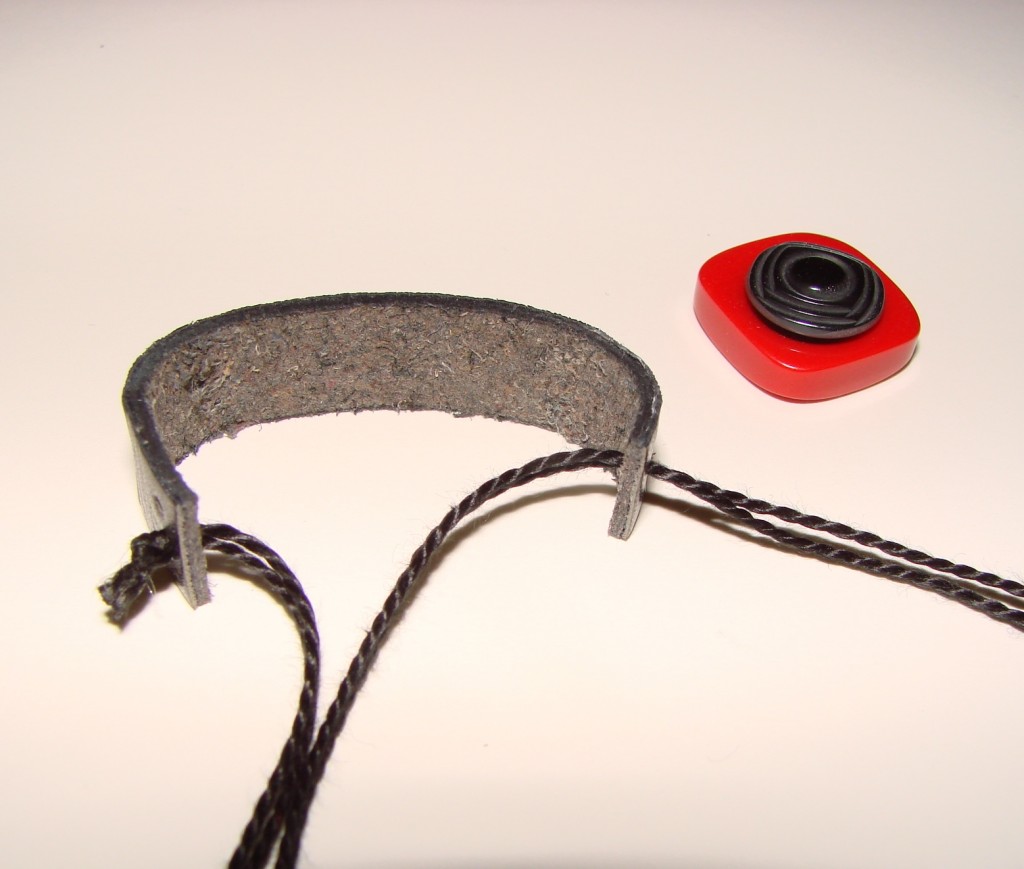
To be sure my ring was comfortable, I made sure that all the knots were on the outside of the finger strap, away from my skin.
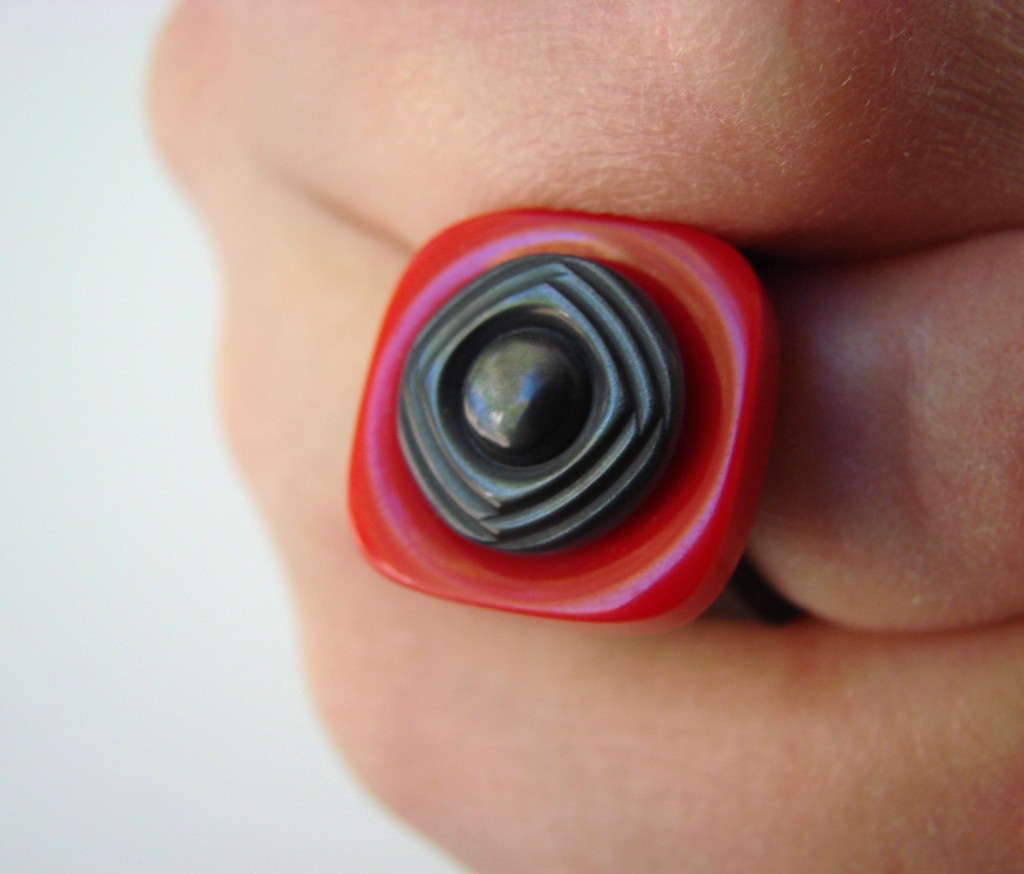
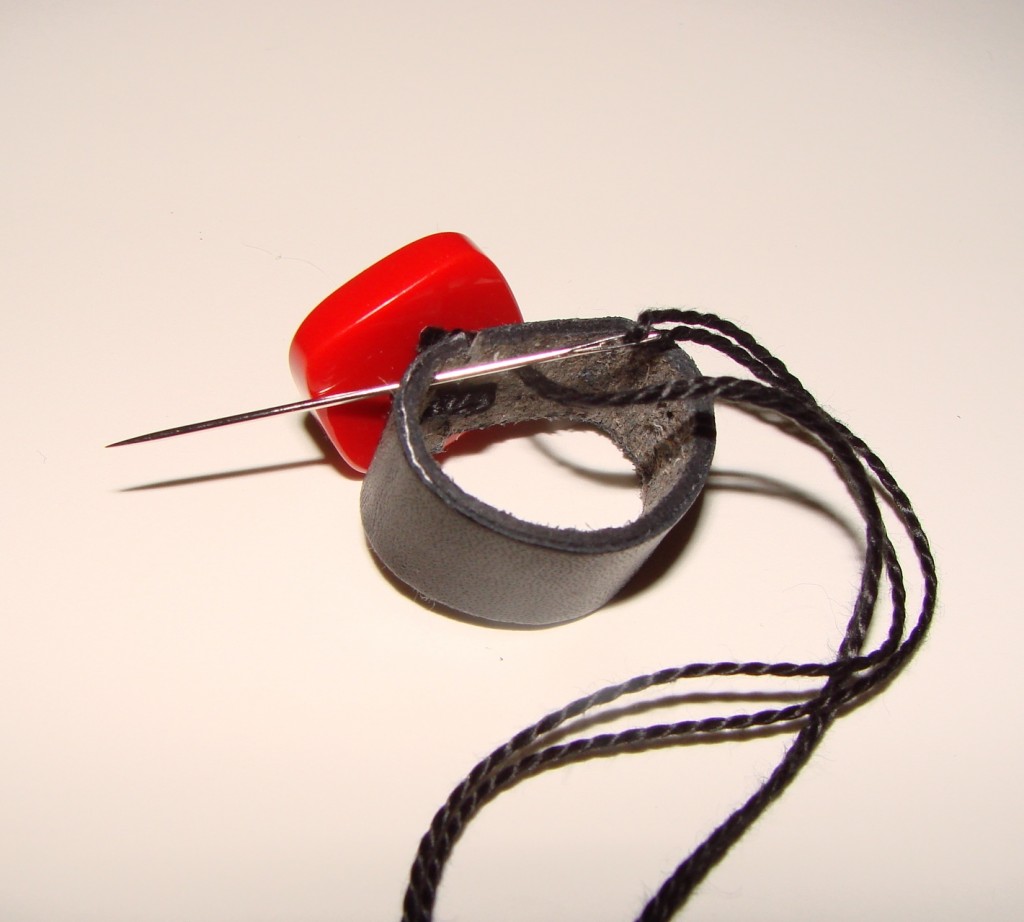
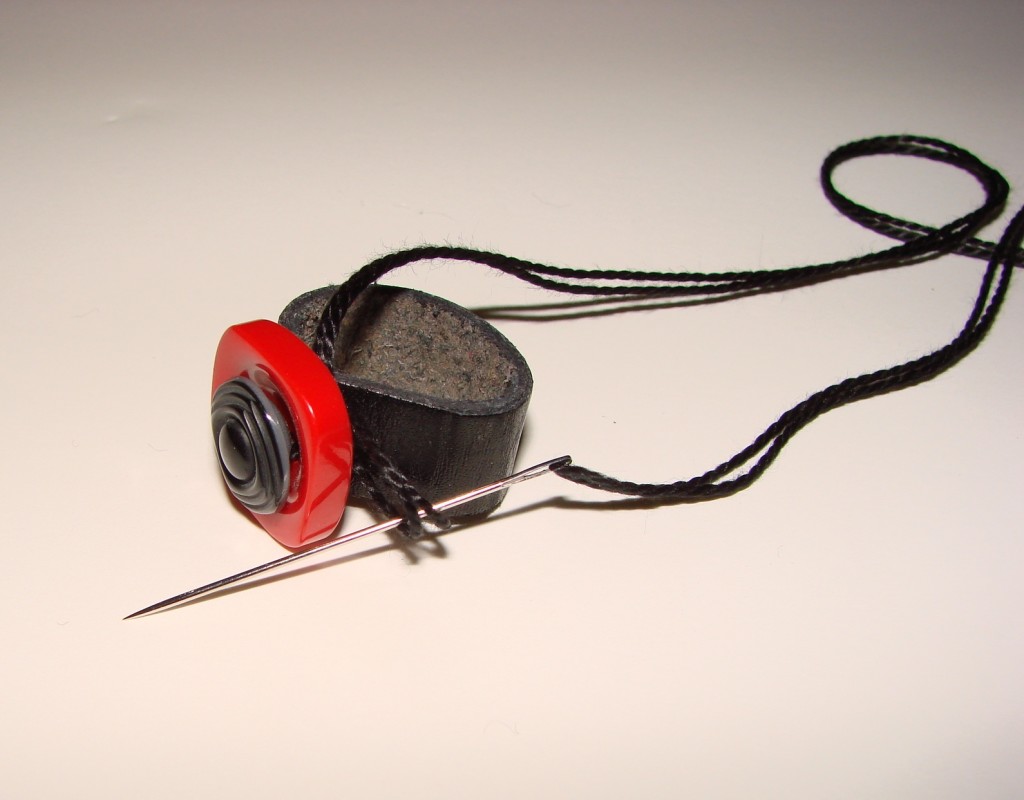
Make sure your buttons are centered. Since I punched three holes, I sewed the buttons on, at the middle hole. After that, I sewed the ring together through the outer-edge holes as well.
The final knot should again be on the outside rather than the inside; hide it under the button.
You can add a dab of fabric glue to the knot, to give it a little extra security.
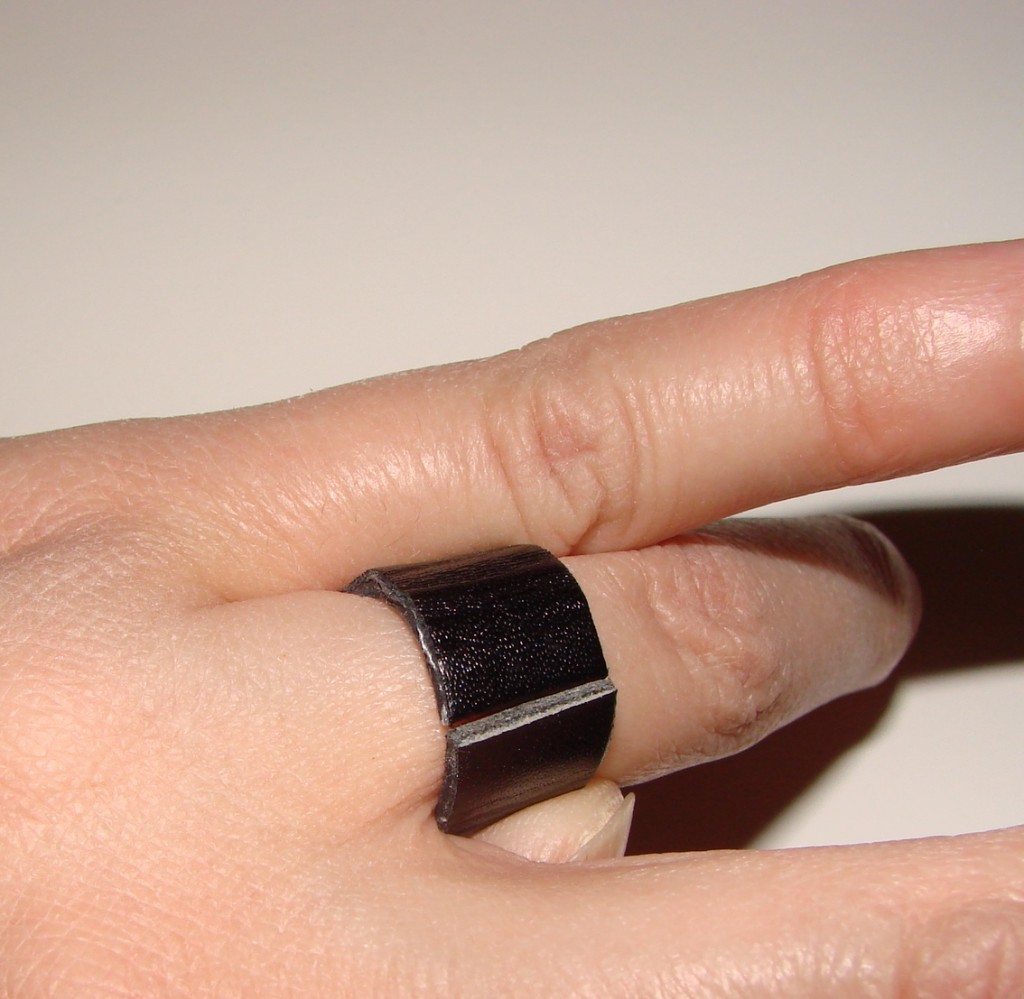
Step 3: Wear you ring! Make more rings!
How quick was that? If you wanted to do this craft with kids (like a girl scout troop or afterschool activity group), you could use elastic, twill tape, or bias tape rather than leather… and inexpensive, colorful buttons. Of course, it should go without saying that you must be sure the kids are old enough to tie knots and work with needles and buttons; buttons are a choking hazard.
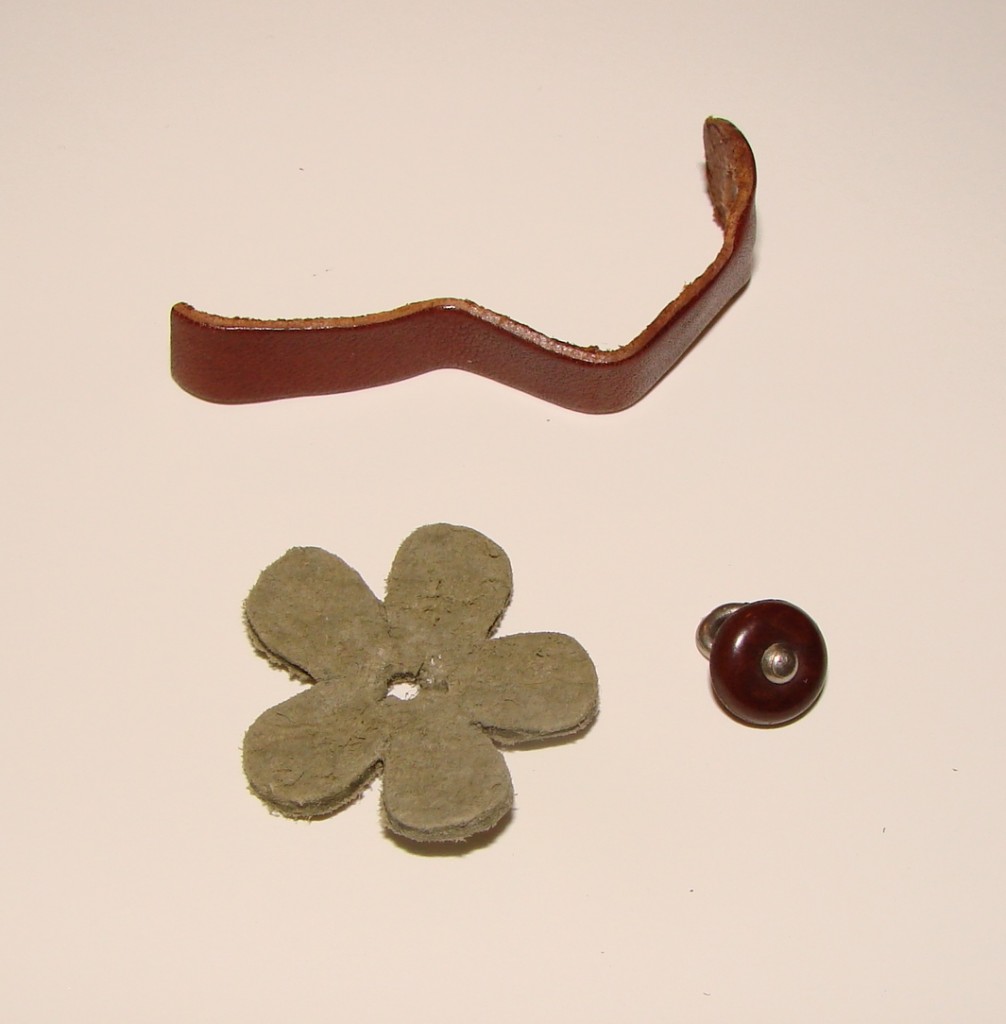
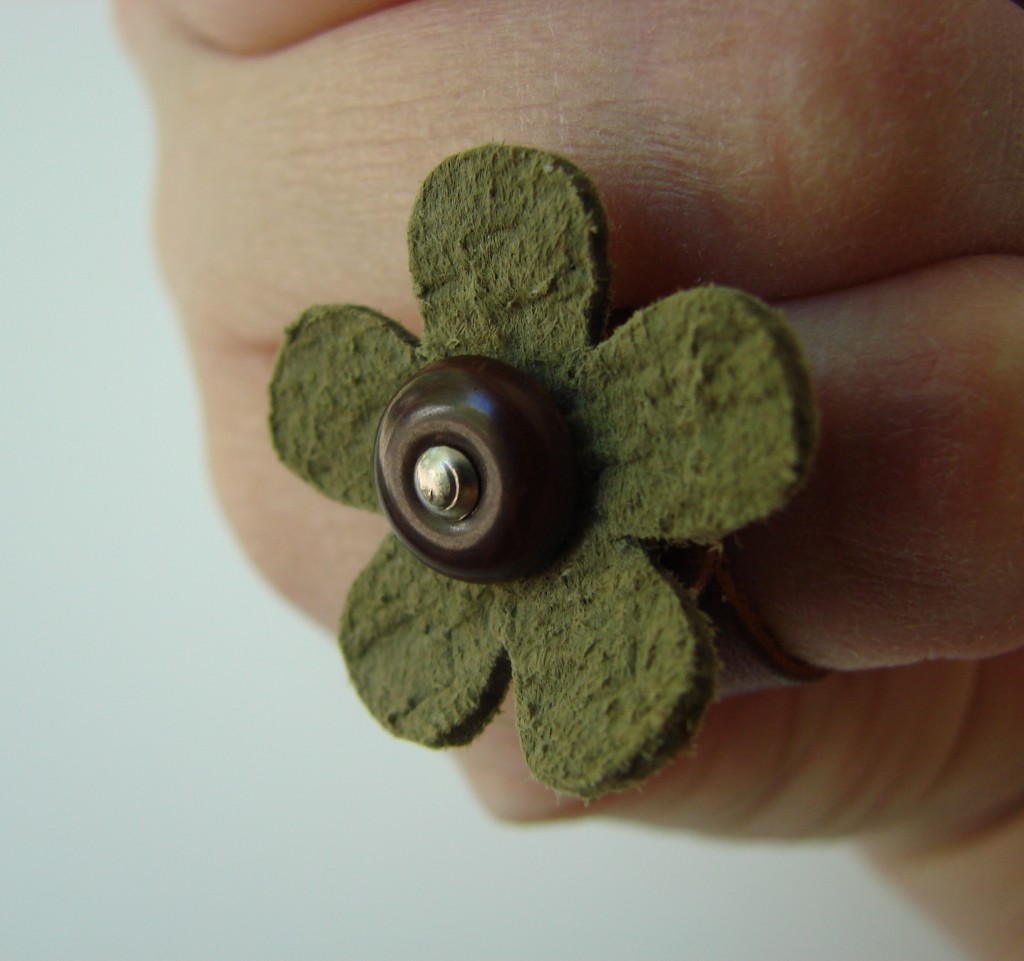
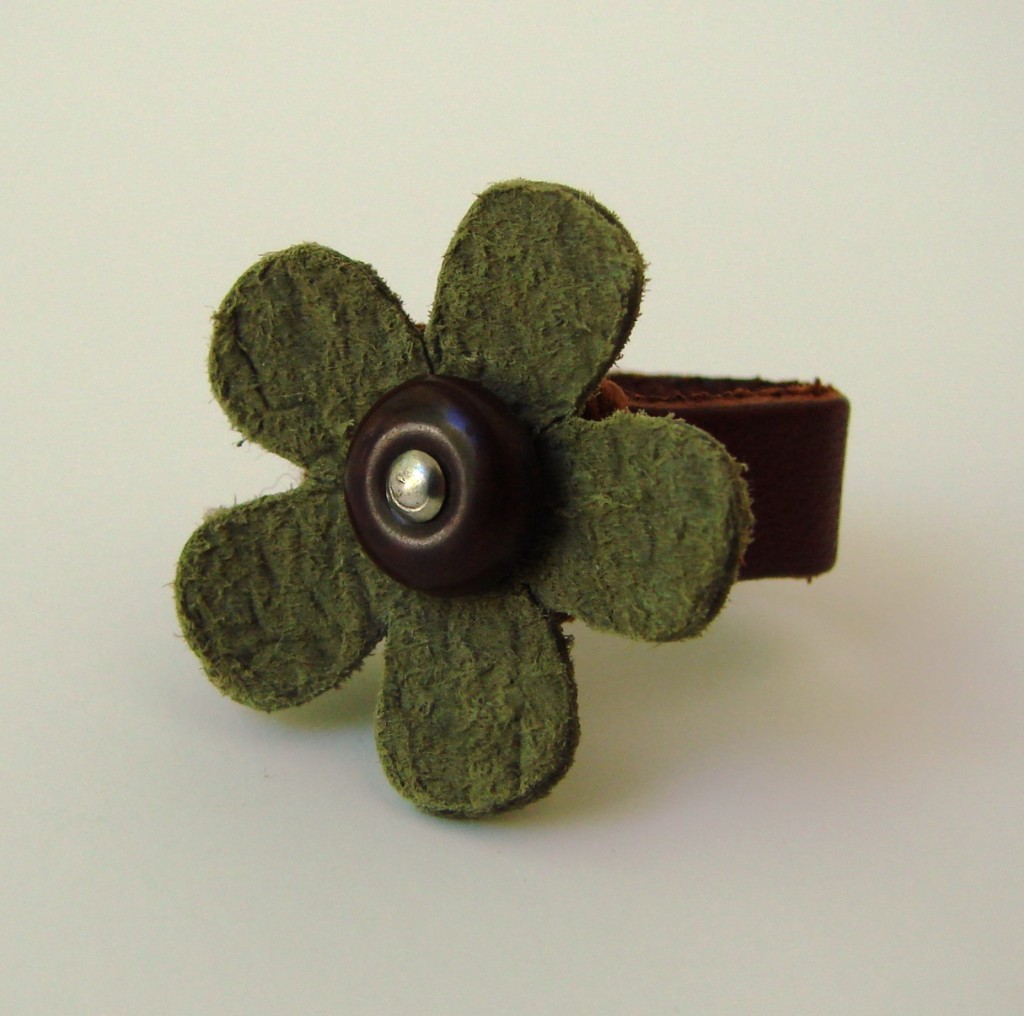
I decided to make myself another ring, using a little leather flower from my stash.
Here it is, all finished!
Have fun!
