Beaded tree
I first saw a beaded tree many years ago in Phyllis Fiarotta’s Nostalgia Crafts Book, and it immediately captured my imagination. What a great idea! While I’m sure it was intended to be a Christmas tree, I thought you could easily adapt it for a variety of holidays:
- A beaded Easter tree made with white or pastel-colored beads,
- A beaded Halloween tree crafted from black beads, or
- (Of course), a beaded Christmas tree. It could be green, gold, silver, red, or icy crystal white.
No matter what color the beads are, this elegant beaded tree sparkles and shines.
My version is considerably more time-consuming than Phyllis Fiarotta’s — I sometimes have the unfortunate habit of over-complicating my craft projects. (But I’ll tell you about Phyllis’s method, too, so you can do the one-day beaded tree if you’d rather.) No matter which method you choose, this charming tree is destined to become a family heirloom.
This tree is less than one foot tall and has delicate wire branches; it will only hold extremely light ornaments (such as tiny glass balls or small bows.) Most tabletop tree ornaments would be too heavy for it, unless you found a way to reinforce the branches.
To make your own beaded tree, you will need:
- Several packages of beads (a mix of seed beads and bugle beads). I found packages that were mixtures of various shades of green. I liked the color variation it gave the tree.
- 32 gauge wire (I call this the “needle wire”)
- 26 gauge wire (the “branch wire”)
- 16-20 gauge wire (the “trunk wire”)
- Wire cutters
- Needle-nose pliars
- Plaster (or clay, or wax)
- Small terra cotta pot (or candlestick, or votive holder)
- Dowel rod (optional)
Step 1: Make branches.
I made 25 branches for my tree, ranging in size from about 2 inches to 8 inches. Admittedly, it took a very long time to make the branches. I got impatient and stopped at 25, but now I wish I had made a lot more of the medium and long branches so that I would have a fuller, bushier tree.
The branches are double-ended, so that each one will actually make two branches.
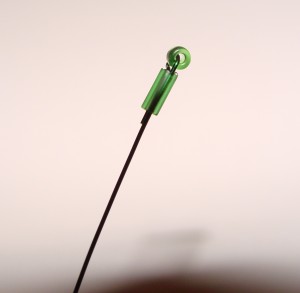
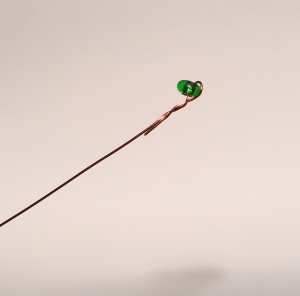
The first step to making a branch is to cut a length of branch wire, maybe about 5 or 6 inches. Put one small bead close to the tip, then use the needle nose pliers to twist the wire back on itself and squeeze it tightly togther right under the bead, so that it holds the bead securely in place.
Then slide a bugle bead onto the wire, tucking the end of the wire inside the bugle bead. I found that some of the bugle beads were too narrow to accommodate the doubled wire. Others were just barely large enough, so that the assembly was very snug and secure — a good thing.
Then string another small bead onto the wire.
Now it’s time to start the “needle wire” (32 gauge). You need to cut it longer — I think my needle wires were about 3-4 times as long as the corresponding branch wires. *
*You may need to add new lengths of needle wire if you run out before you get to the end of the branch, and that’s okay. (You would just need to be sure that the end was twisted tightly around the branch and previously-strung beads so that everything stayed secure… and that the sharp end was tucked away where it could not hurt anyone who might be handling the tree.)
To begin beading the needle wire, place a small bead toward the tip of the wire. Fold the wire back on itself and twist it together, so that the small bead cannot slide off.
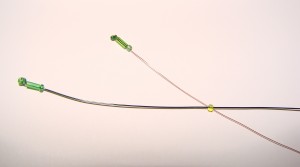
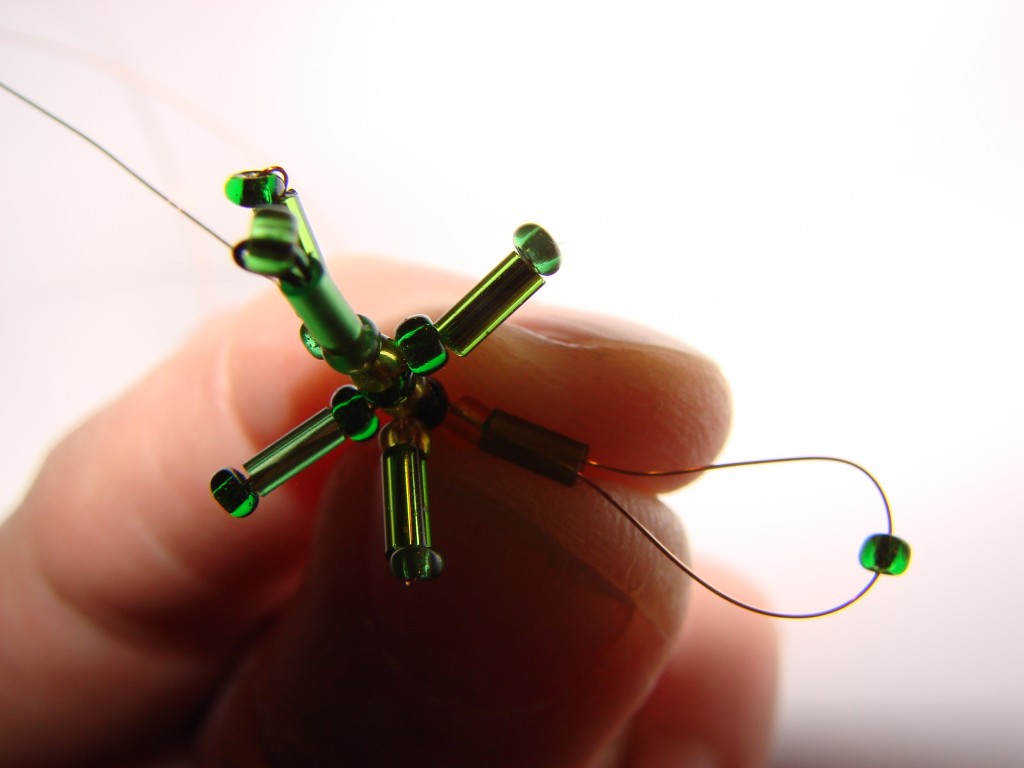
Thread a bugle bead and then a small bead onto the wire, concealing the twisted wire and forming the first “needle”.
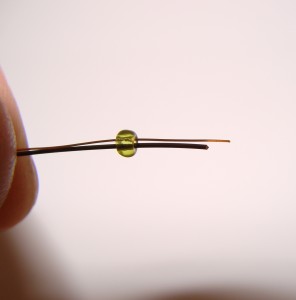
Now the two wires — the branch wire and the needle wire, each with three starter beads — must be connected together. Take the two bare wire ends and string one small bead onto both simultaneously.
Slide it all the way up to the beaded ends.
These small beads, threaded through both wires, I’ll call “branch beads”.
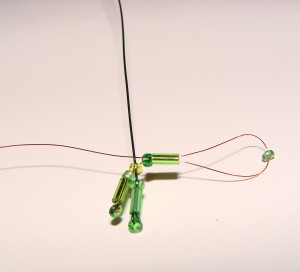
Now form another 3-bead “needle” on the needle wire. Thread three beads onto the wire — a small bead, then bugle bead, then another small bead.
Bend the wire all the way around the last small bead (forming a loop), and thread it back through the bugle bead and first small bead.
From this point on, it is essential to keep everything very tight. So pull firmly on the free end of the wire. You can wrap it once around the branch wire. Keep it tight!
Continue to work your way down the branch, alternating branch beads (strung on both wires simultaneously) and 3-bead needles (strung on needle wire only, with the wire looping around the end bead before threading back through the bugle and small bead near the branch.)
I cannot emphasize enough, the need to keep everything tight. As you work your way down the branch, you’ll need to pinch some of the needle beads close against the branch while firmly pulling the end of the needle wire, to tighten the loop.
Keep working in this fashion until you are close to the middle of the branch. In the middle, you want to have several branch beads in a row.
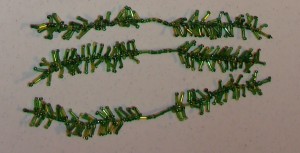
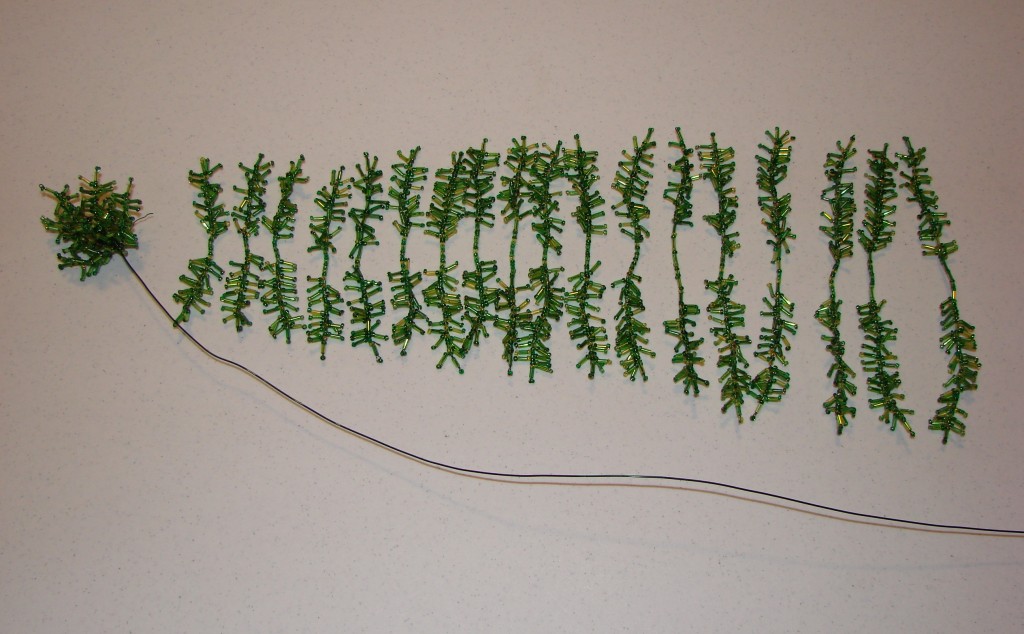
Now keep going and make as many branches as you can stand. I worked for weeks on these, and still don’t feel I had anywhere near enough! You don’t need as many of the small branches as you do the others. Make lots of medium branches and large branches.
You can get some idea of how your final tree might look by wrapping the middle of the branches, in ascending length order, around a dowel rod.
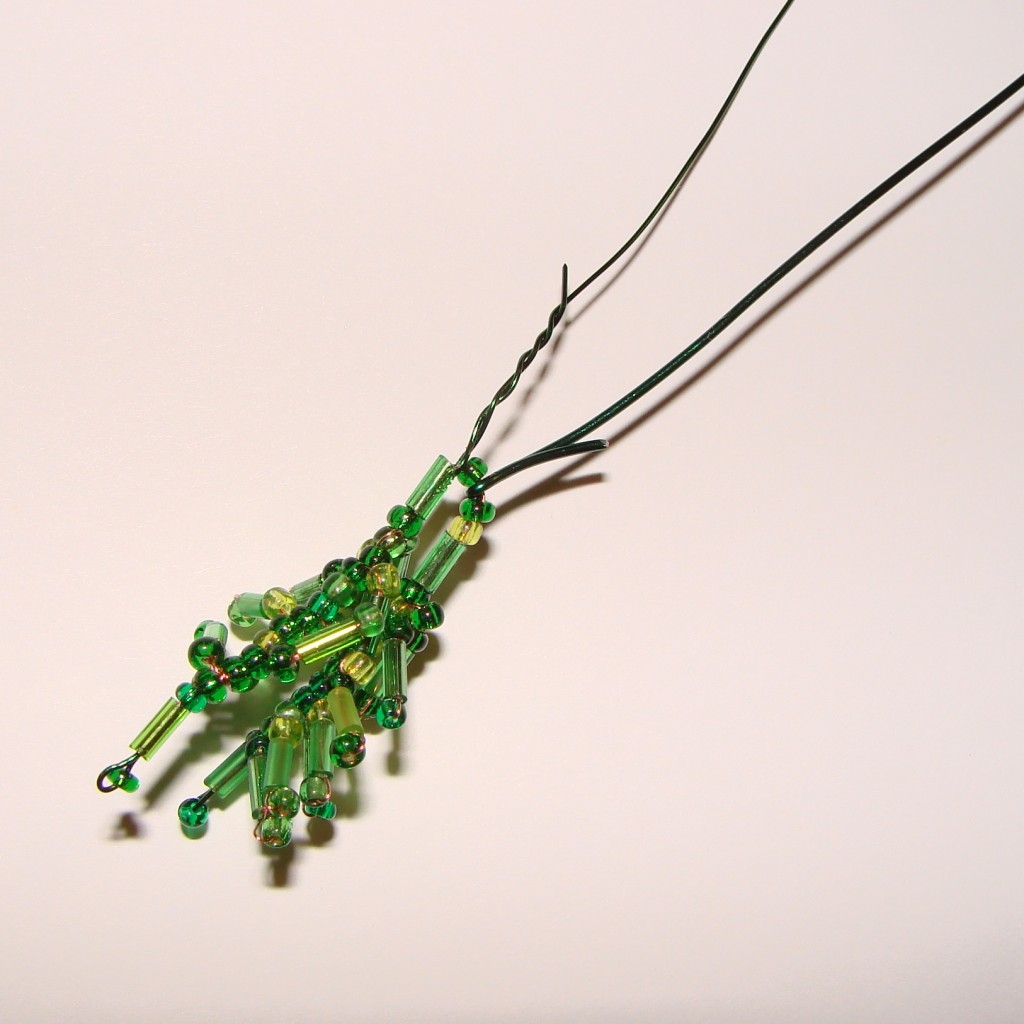
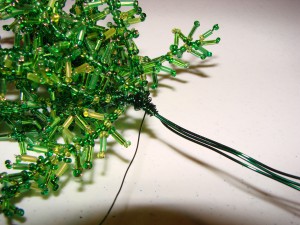
When you are ready to assemble your tree, take a length of trunk wire a little more than twice as tall as you want the tree to be. Bend it in half, across the middle of your smallest branch, and then give it a twist. This will hold your smallest branch in place. Now take some branch wire and attach it to the smallest branch also.
In this photo, I didn’t use enough trunk wire. It is best to fully double the wire back on itself, instead of just bending a little bit at the end, as I did in the photo. Using the doubled trunk wire will give your tree added strength and stability.
You will be wrapping the branch wire around and around the trunk to hold the branches. Partway down, I’d advise adding another doubled trunk wire, so that the trunk is very sturdy. If it is bent in half the raw, dangerous ends of the wire can be tucked into the holder at the base of the tree. (If I ever did this project again, I would probablywind everything around a small dowel rod, to keep the trunk nice and straight. then you would not need a second trunk wire.)
I don’t have good instructions for adding all the branches… I just sort of “winged it” as I went along. Just keep wrapping the branch wire around and around the trunk, gradually adding the branches in size order.
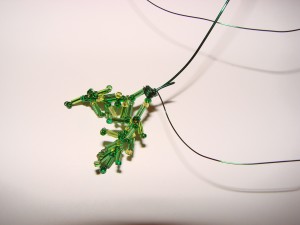
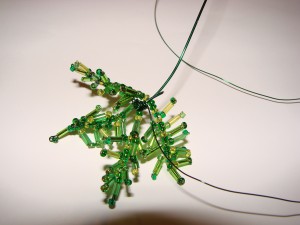
If some crafters/beaders have suggestions about how to do the assembly, please add a comment! Here are some photos of my project as this part progressed.
When you are done, if your tree trunk still seems a little droopy, you can wind a length of trunk wire around the trunk, spiraling it around and around until you get to the other end.
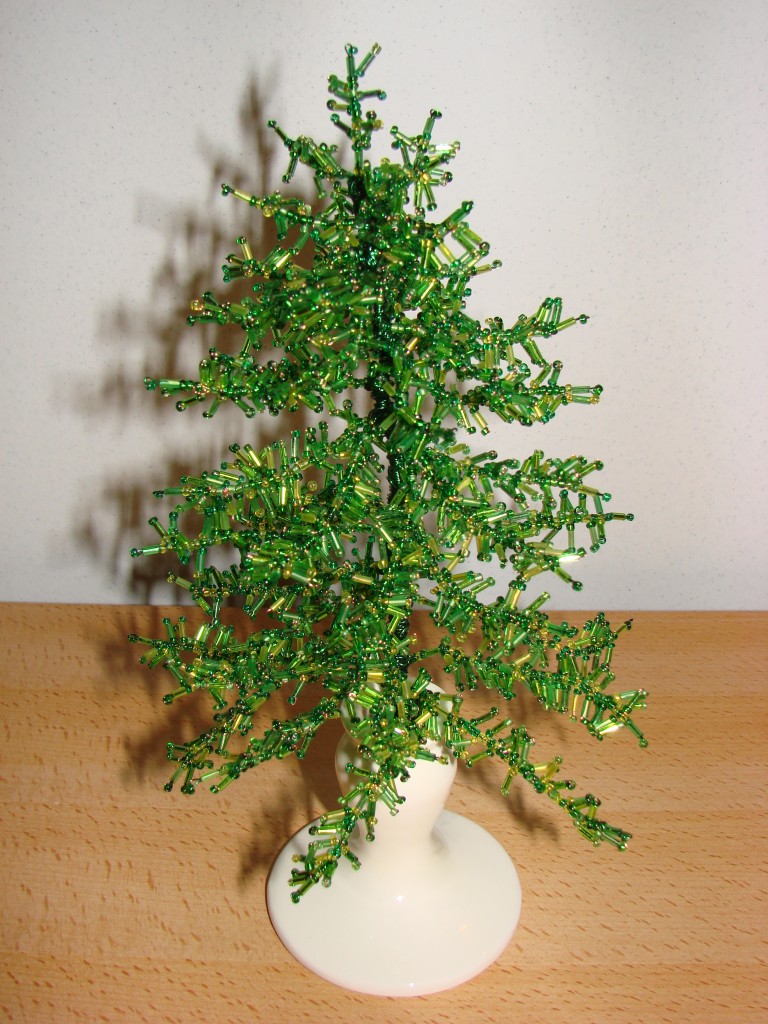
When you are satisfied with your tree, mix up some plaster and put it in your base (candlestick, votive holder, or mini-terra cotta pot). If you use the terra cotta pot, you can actually turn it upside down (with some foil around the bottom to hold the plaster in place) and stick the trunk into the little water-drainage hole of the pot. I found a great little bud vase at a garage sale that was the perfect size for my tree.
You will probably need to support the tree somehow while the plaster is drying, to keep it nice and straight.
When the plaster is dry, you can decorate your tree. As I said, all your ornaments need to be extremely light. unless you somehow find a way to reinforce the branches. I found some vintage glass balls. It is best to hang the ornamnets from the tips of the branches, so that they are supported by the branch wire rather than just the needle wire.
If you used an upside-down terra cotta pot, it would look nice to make a little tree skirt, maybe out of felt. I like the look of my tree base, so I left it plain.
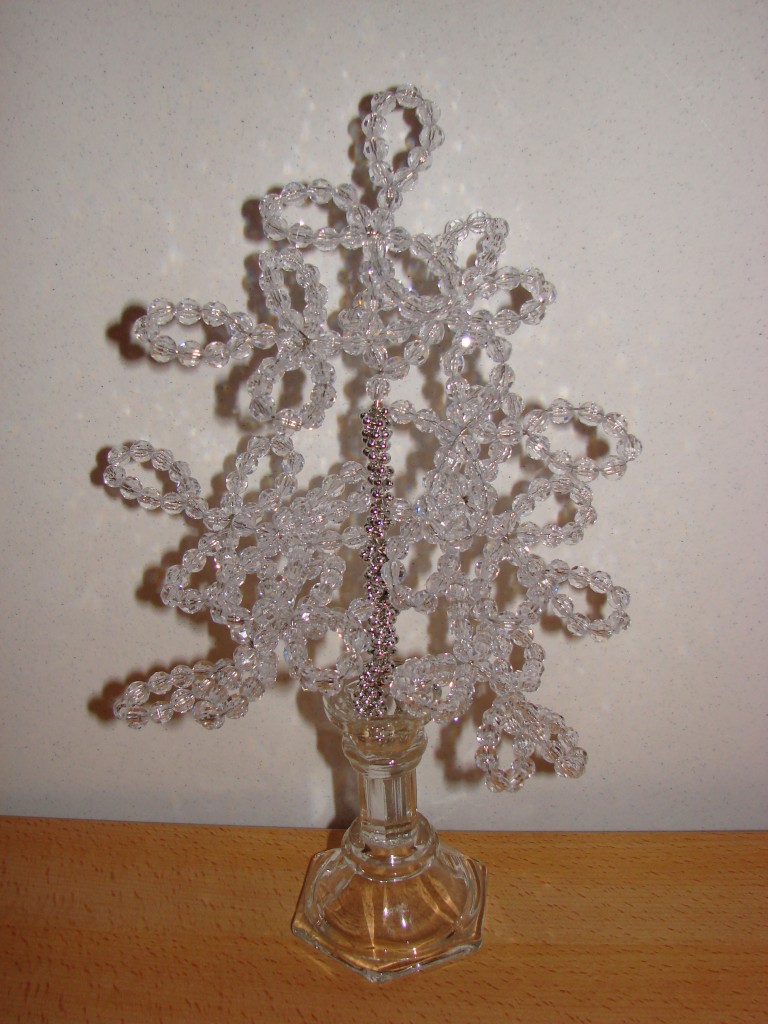
Okay. So if you don’t want to spend every waking minute between now and Christmas making beaded branches, there is, in fact, a quicker and easier way. I promised I would show you how Phyllis made her tree. Here is my version:
I used large plastic beads, but they were heavier than expected and I’d suggest using slightly smaller ones for your project, so your tree will be sturdier. Mine is a little droopy!
Use the thickest (smallest guage) wire that your beads will accommodate (make sure they will accommodate a doubled wire.)
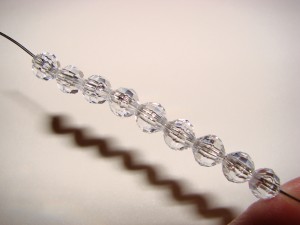
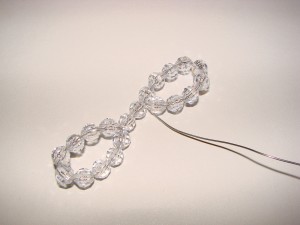
You start by stringing nine beads on your wire.
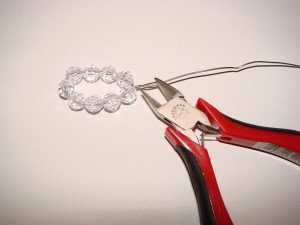
Bend the wire with the beads on it, to make a loop. Twist the wire around itself to hold the beads securely.
Snip any excess wire, then string two more beads, covering the twisted end of the wire. I’ll call these beads “spacer beads”.
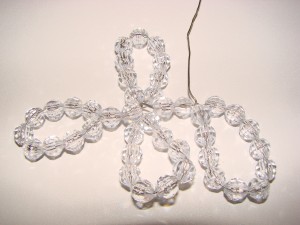
Now string another nine beads and make another loop.
Twist the wire near the spacer beads, to keep everything tight and secure. Now add nine more loop beads.
Again twist the wire together, near the spacer beads.
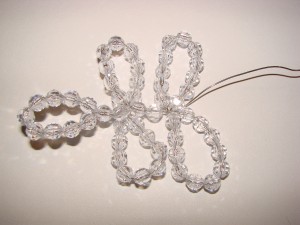
Add two more spacers.
Make an 11-bead loop this time, and twist the wire to hold it in place.
Another 11-bead loop, and again twist to secure it.
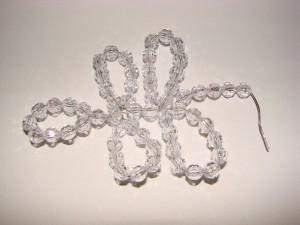
Now add 5 beads, and bend the wire slightly so the beads don’t fall off.
Congratulations! You just made a branch. (Quick, wasn’t it?) You can vary the length of your branches by adding as many loops and spacers as you’d like. Make several branches (at least eight or nine).
Now it’s time to assemble the tree! A small dowel rod or pencil forms the trunk. String a long wire with beads (silver in my picture, to give it a little extra “bling”) and spiral that wire around and around the trunk, adding branches as you go.
To add a branch, wind the free (bare wire) end of the branch all the way around the trunk a couple of times, and then let the rest of the wire lay against the trunk, pointing down toward the bottom. Then when you spiral the trunk wire around, the branch will stay secure and the sharp wire end will be tucked away.
The beads on the spiraling trunk wire should not be too large. It needs to fit close and tight against the trunk to hold everything firmly in place.
Continue spiraling down the trunk, adding branches of ever-increasing size as you go. When you get to the end, leave the last few inches of the spiraling trunk wire bare (no beads). Finish by winding that bare wire several times around the trunk, very tight so it stays very secure. The free end of the wire should extend down to the end of the dowel, so that the sharp end gets encased safely away from little fingers.
Fill the base (pot, candlestick, etc.) with plaster or clay or wax. Put your tree into the base and support the tree’s weight in an upright position while the base material hardens.
If you use a glass candlestick, you may want to use wax to hold the tree in place.
I don’t do much beading, but this was a really fun project. The simple version might be a project for older school-age children, as long as there was appropriate supervision/assistance with the wire, which of course is sharp at the ends.
Hope your holidays are merry and bright!



















Terrific tutorial, hoping to make it this year! Thanks!