Upcycled Ephemera Notepads
I am a frequent customer at a local “Overstock and Closeouts” store. You know the type. There is an odd mishmash of products — some of them very nice brand-name items — all priced amazingly low. It is one of my go-to craft materials suppliers. One day a few months ago, I was shopping in the craft section and noticed a product called “Bind-It-All”. Are you familiar with “Bind-It-All” (or its fancier cousin, “Cinch” ?) It’s a hand-crank machine for spiral binding.
It looked interesting. But being a bit of a cheapskate, it still seemed too expensive to me, even at its remarkable bargain price. So I passed it by.
A few weeks later when I went to the same store, it had been marked down. Hmmmm… A little more tempting! I put it in my cart. Agonized a bit as I wandered around the store shopping… Should I or shouldn’t I? Would I really use it enough for it to be worth it, even at that low price? Probably not… Sighing, I put it back on the shelf and walked away.
Recently, I went back to the store. Not only had it been marked down a second time, but it was even on clearance sale, 40% off of that rock-bottom price. Hooray! Into my cart it went.
I knew exactly what my first project would be.
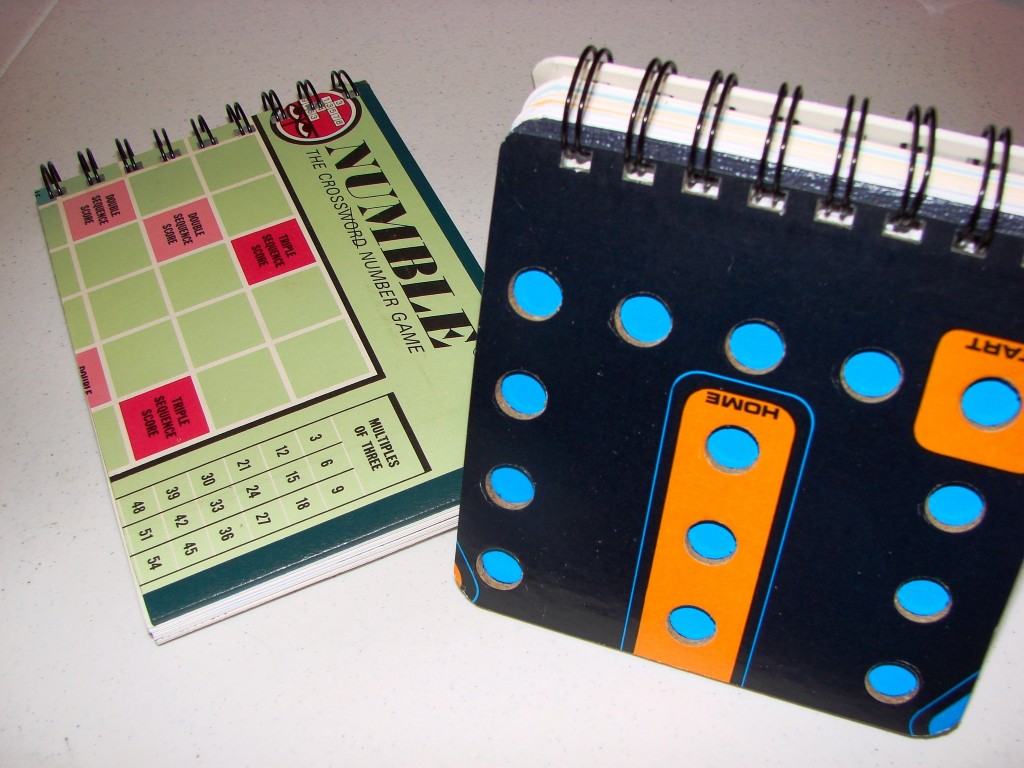
When I cut up some vintage game boards for another recent project, there were several large pieces left over. They were colorful and sturdy, and I thought to myself at the time that they would make jazzy journal covers. Now, I pulled them out and contemplated what to put inside them. I had some watercolor paper that I often use for journal pages. That would work, but it just didn’t feel right somehow. Maybe some recycled printer paper instead, to be consistent with the overall “repurposed” theme…
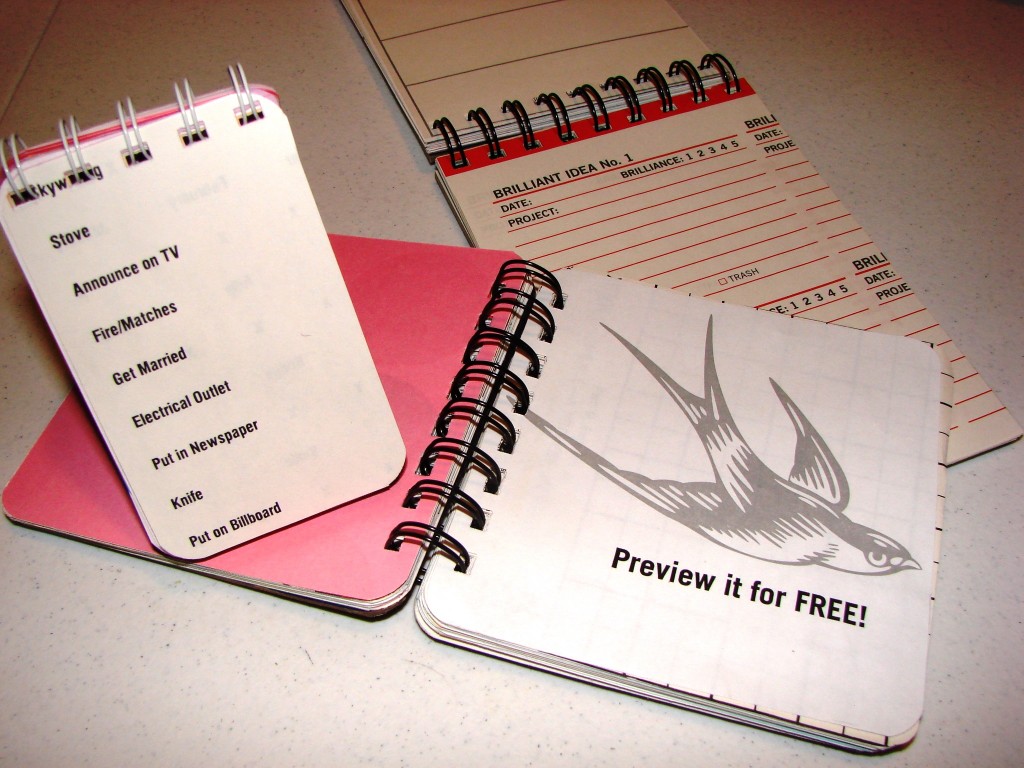
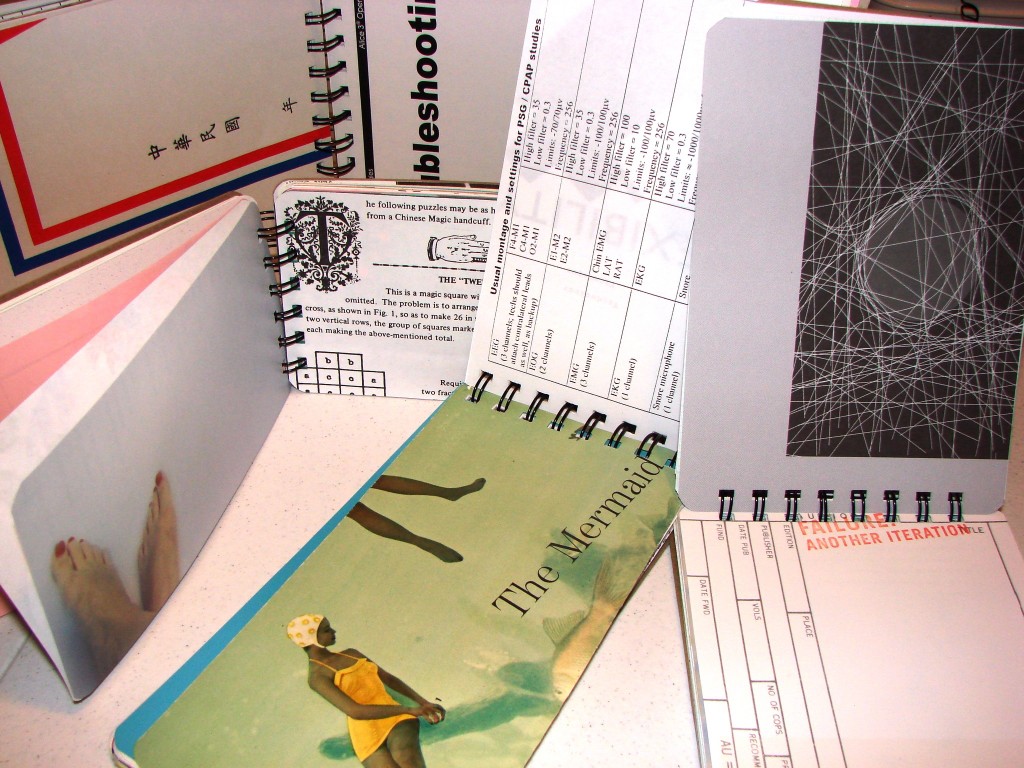
Then suddenly, inspiration struck! What if the interior pages of the journal were hand-selected recycled papers? I canvassed the whole house, including my trove of ephemera, looking for interesting sheets of paper that had enough blank space to write on, at least on one side. It was great to finally find a purpose for many of the pretty papers I’d collected over the years!
Here are a few of the things I used for interior journal pages:
- Outdated literary/poetry magazines
- Salvaged (post-consumer) unused graph paper
- Pages from damaged books
- Pages from 1950’s magazines
- An outdated architectural periodical
- Game sheets from board games
- Handouts from professional conferences
- Outdated day planner pages
- Partially-used coloring pages
- Junk mail, advertising & product packaging
- Waste paper from academic settings
- Vintage wrapping paper
- Japanese rice cooker instruction manual
- Purple loose leaf paper, circa 1970’s
- Paper samples from printing industry
- Placemat from an Asian restaurant
- Post-consumer blank printable business cards
- Brochures and posters
- Used greeting cards
It took me a little while to get the hang of using the machine, but once I figured it out, I had a lot of fun with it!
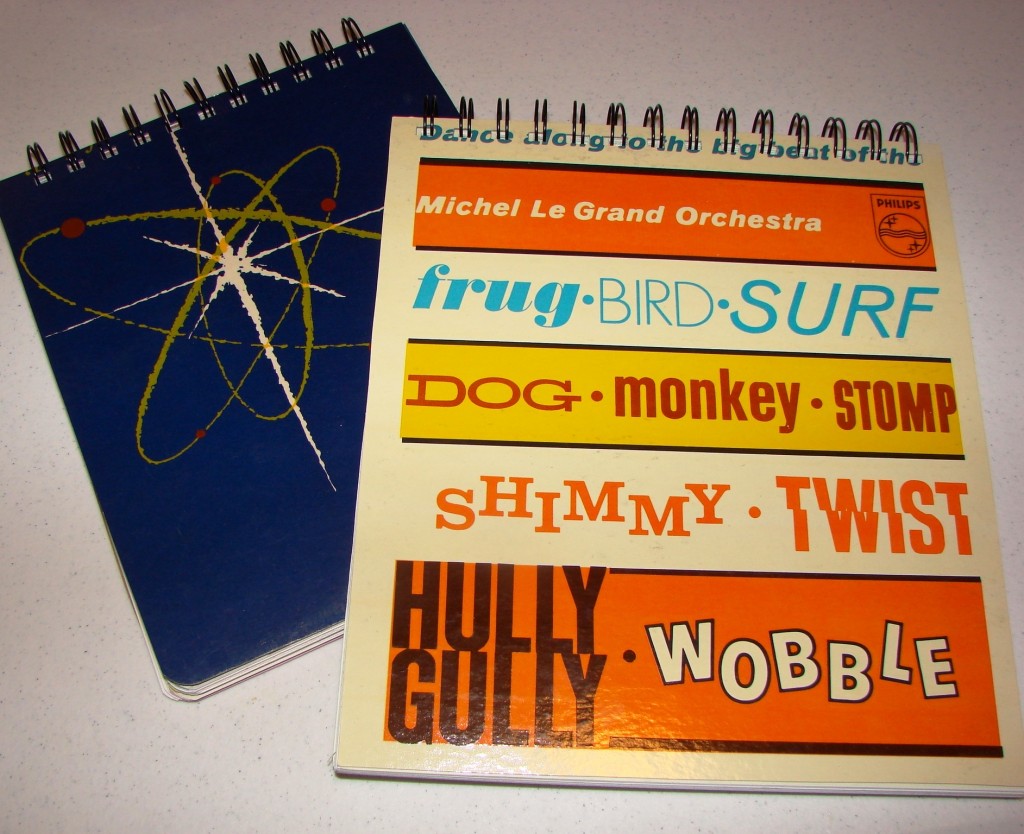
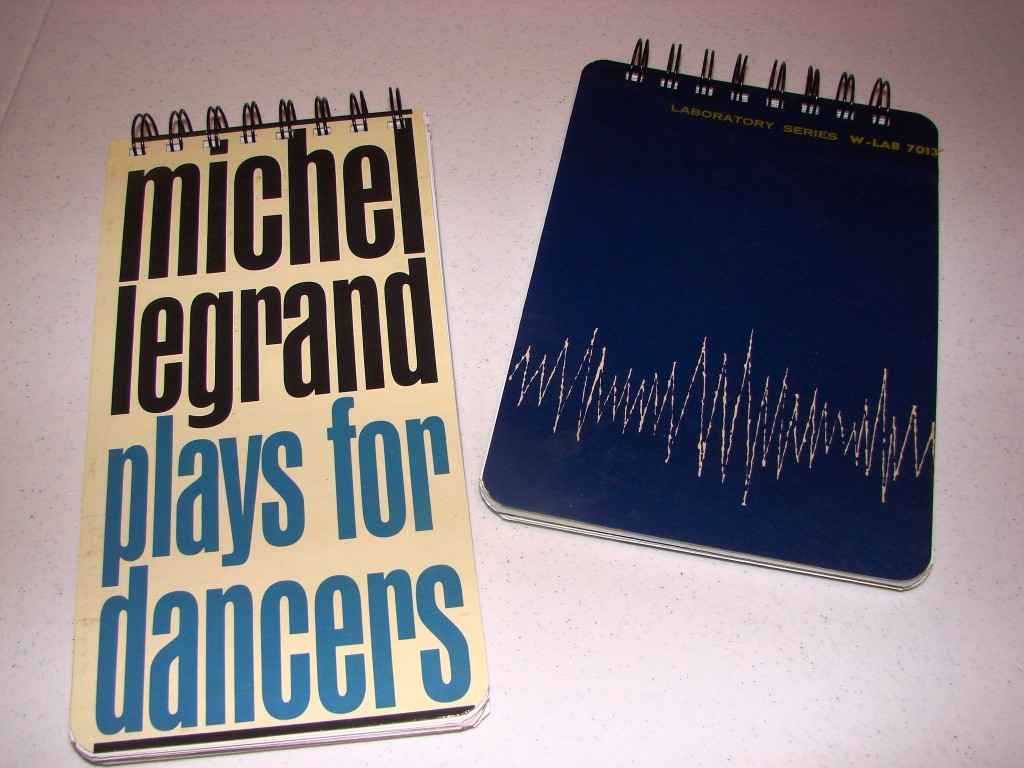
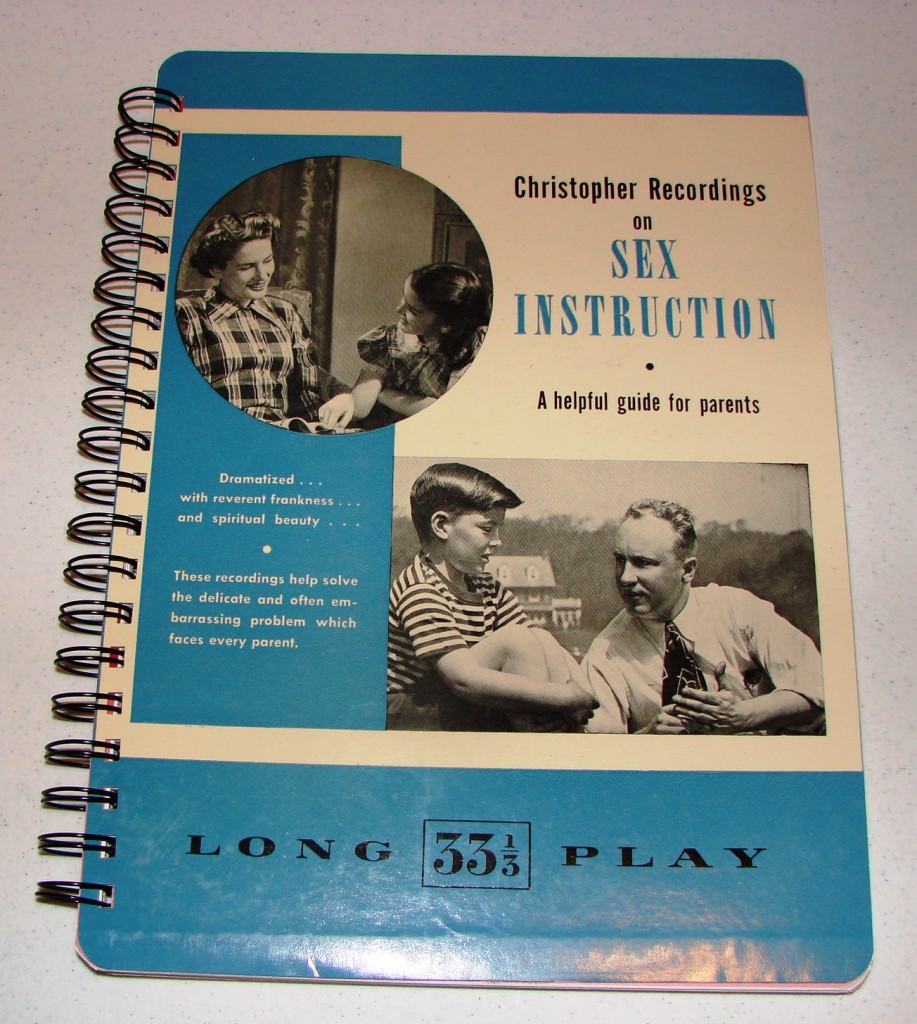
From the board games, I moved on to using the cardboard covers from 33rpm record albums, as covers for my spiral-bound notepads.
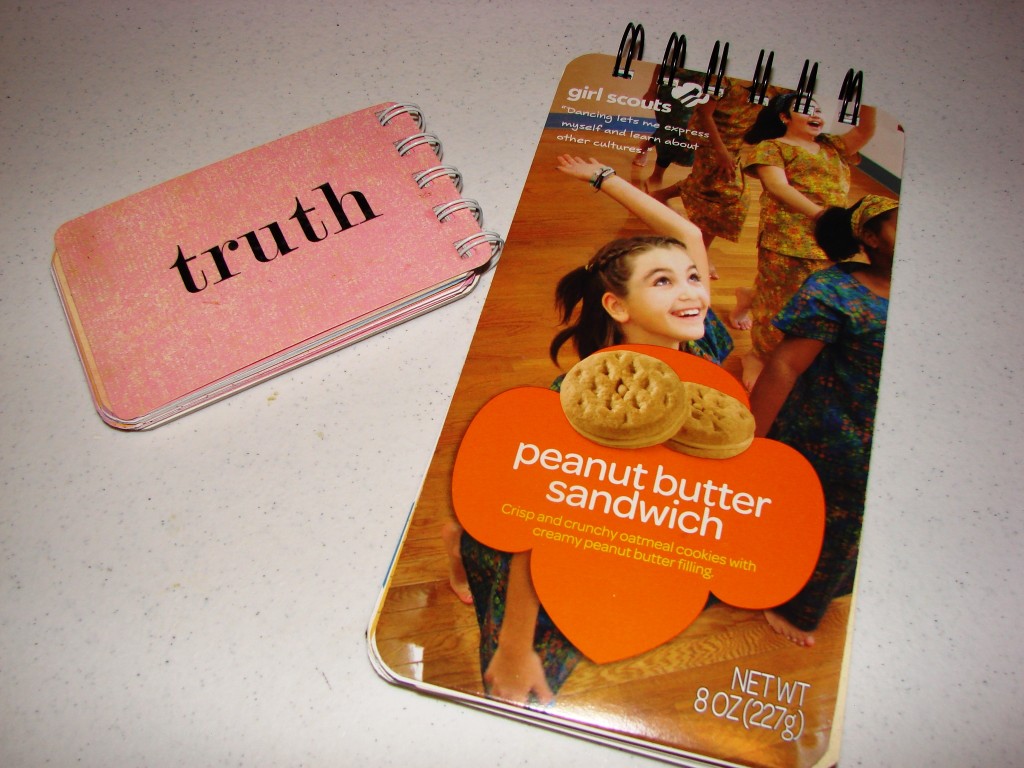
And Girl Scout cookie boxes. And trading cards….
Once I got started, it was hard to stop!
A few hints for you, if you want to try this craft.
- Use a rotary cutter, cutting mat, and metal ruler. You can use the grid on the mat to make sure that everything is the same size, and square. I cut the covers very slightly larger than the inside pages (cut the pages on the “near sides” of the grid lines and the covers on the “far sides”.)
- Do be careful when cutting! It’s very easy to accidentally position your finger in the path of the cutter. Slicing off pieces of your fingers — even if it is just a tiny piece from the thick cuticle area around the fingernail — can be quite painful. (Don’t ask me how I know this!)
- Carefully follow the directions in the instruction manual that comes with the machine, including its suggestion to start with cover sizes that are even inches or half-inches.
- Most of my journals have 50 interior sheets and 3/4-inch “O wires”. The new machine only comes with 1/2-inch O wires; so I bought the larger ones at my local Hobby Store.
- Each journal I made took several hours, since I carefully hand-selected all the papers, and then fussy-cut them. You could make the journals faster is you used one type of plain paper inside, instead of going the artsy direction.
- When selecting the interior sheets, you can choose some that go with the cover theme, for example, sheet music for album covers, game sheets for game board covers, and cookbook pages for cookie boxes. But I think it would be boring if every single sheet on the inside reflected the theme. Some randomness adds to the surprise of discovery as you turn the pages.
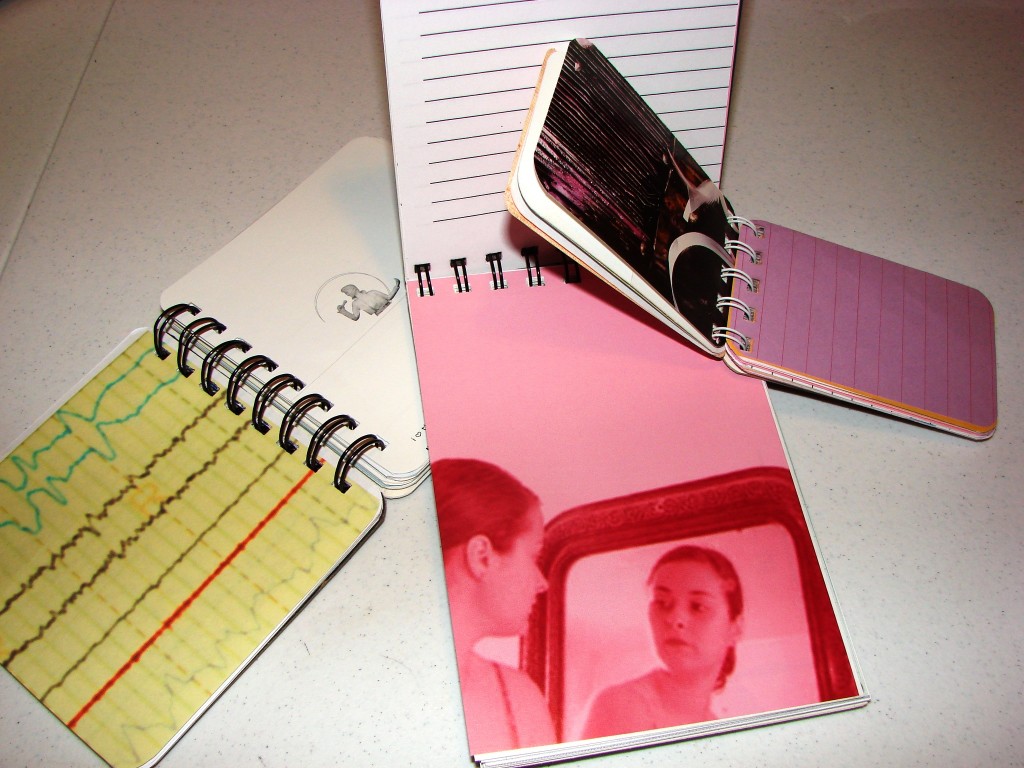
- My husband says the journals with the rounded corners look the most professional. Zutter, the maker of the Bind-It-All machine, also makes a corner rounder (which, happily, was also on super-duper sale at my Overstocks and Closeouts store.) If you do round the corners, remember that you need to do it before binding your project.
- You can find often find fun, colorful game boards and unusual, quirky record album covers at garage sales and thrift shops. (Or maybe your own attic or basement!)
