Upcycled fashion
Let me just say, I have a “thing” for boxes. If a box is pretty… or particularly sturdy… or interestingly-shaped… I have a hard time throwing it away, even if it’s going into the recycling bin.
It may be genetic, because when I was a girl there were certain boxes — for example, one marked “Tom and Jerry Merry-Go-Round” — that showed up every single Christmas. Despite the fact that my sister and I do not recall ever owning a Tom and Jerry Merry-Go-Round, my mother obviously saved this box throughout our childhood. (My sister eventually inherited it, because she sent it to me one Christmas in our adulthood, which gave me a good chuckle.)
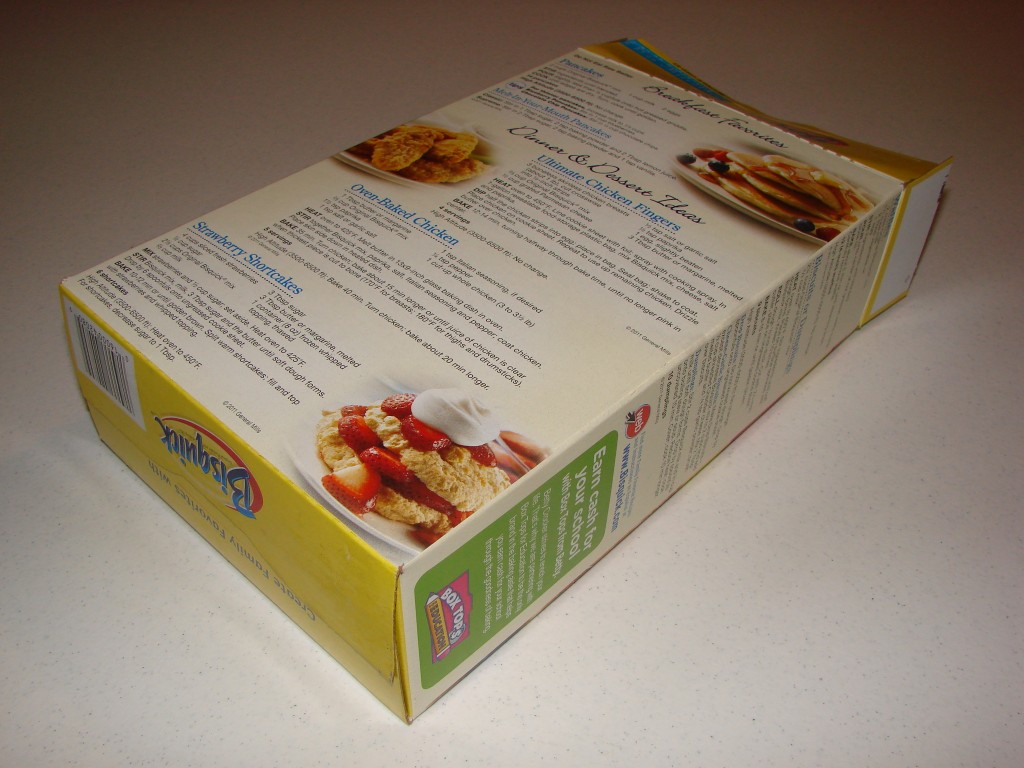
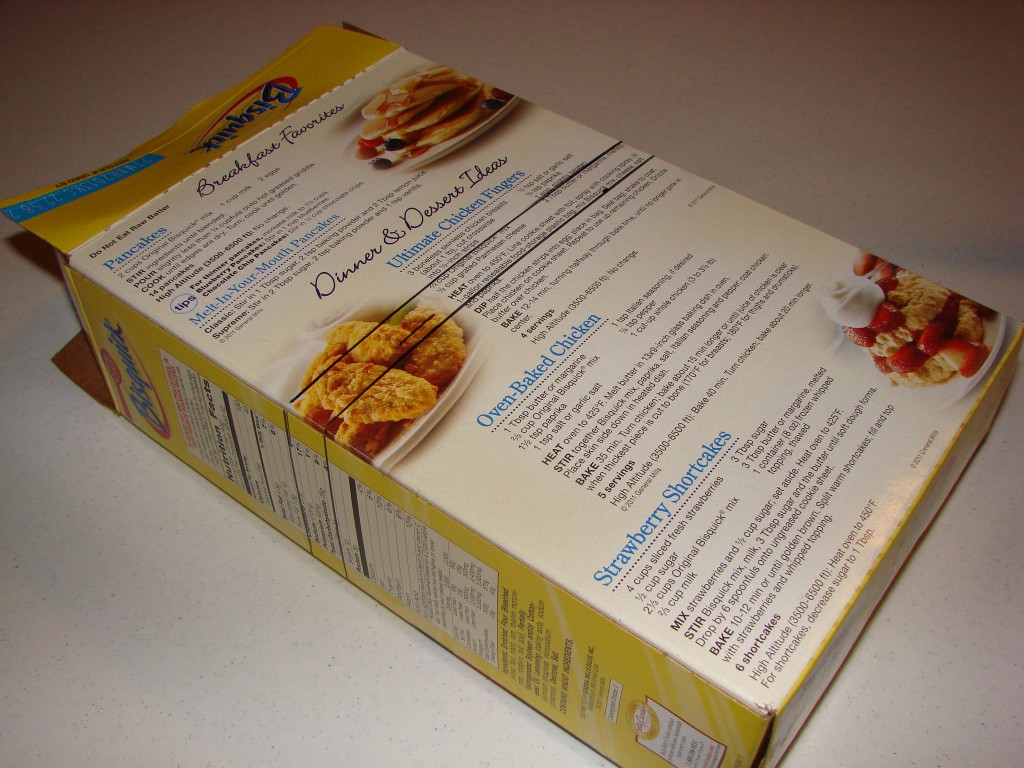
Weirdly, one box I consistently have trouble discarding is the bright yellow Bisquick box. Many of the recipes I got from my mom were Bisquick recipes, and I grew up on Bisquick pancakes, so it has always been a staple in my household. We go through it so fast that we always get the 3-pound size. That large box just seems so sturdy and useful! Plus it has all those recipes printed all over it.
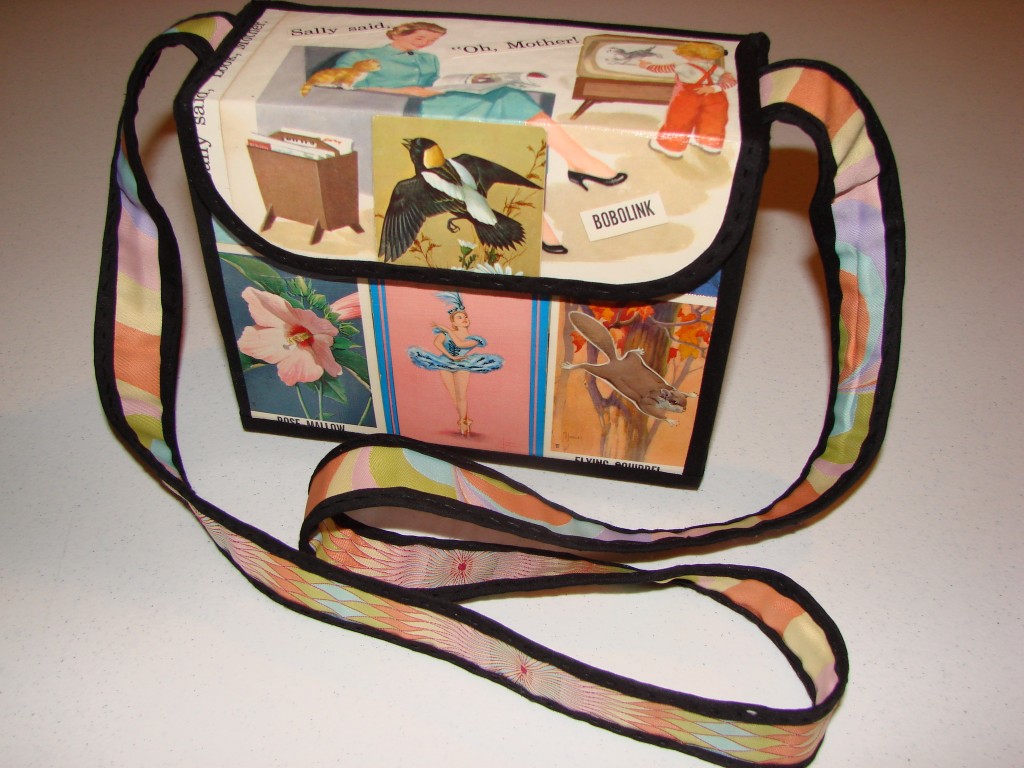
Somewhere online, I saw that someone had upcycled a cardboard box to create a purse. If any box could be transformed into a purse, it would be that sturdy Bisquick box! So the last time we ran out of Bisquick, I saved the box, with the idea I’d try my hand at the box-purse transformation. Here’s how to do it.
Step 1: Clean the box.
Vacuum it out and then wipe it with a very slightly damp cloth. (Not too wet or you will ruin the cardboard.) Let it dry completely before proceeding.
Step 2: Cut the box.
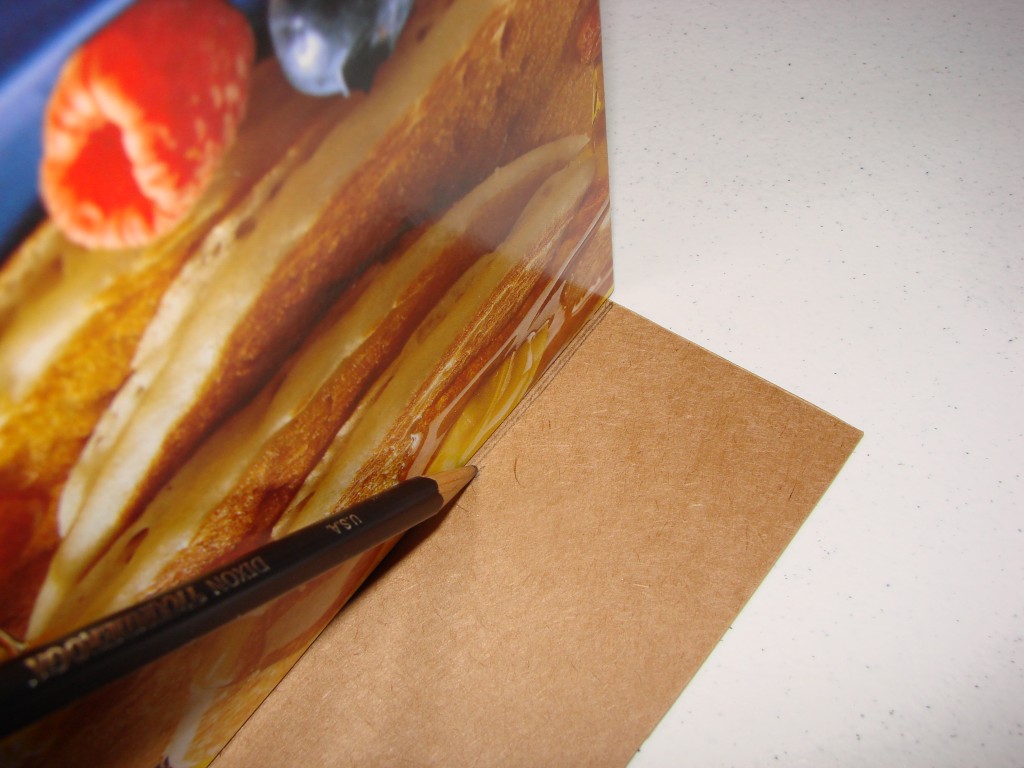
Measure up 5 1/4 inches from the bottom, all the way around, and mark it with a permanent marker. In the picture, you will see two lines instead of just one. That’s because I messed up and measured 6 inches at first…
But then I realized that would not work. The top section of the box needs to be long enough to make a flap that covers the opening, and then flaps over a couple of inches in the front. So if you measure the width of the box, and add a couple of inches, that should be the the length of the top section.
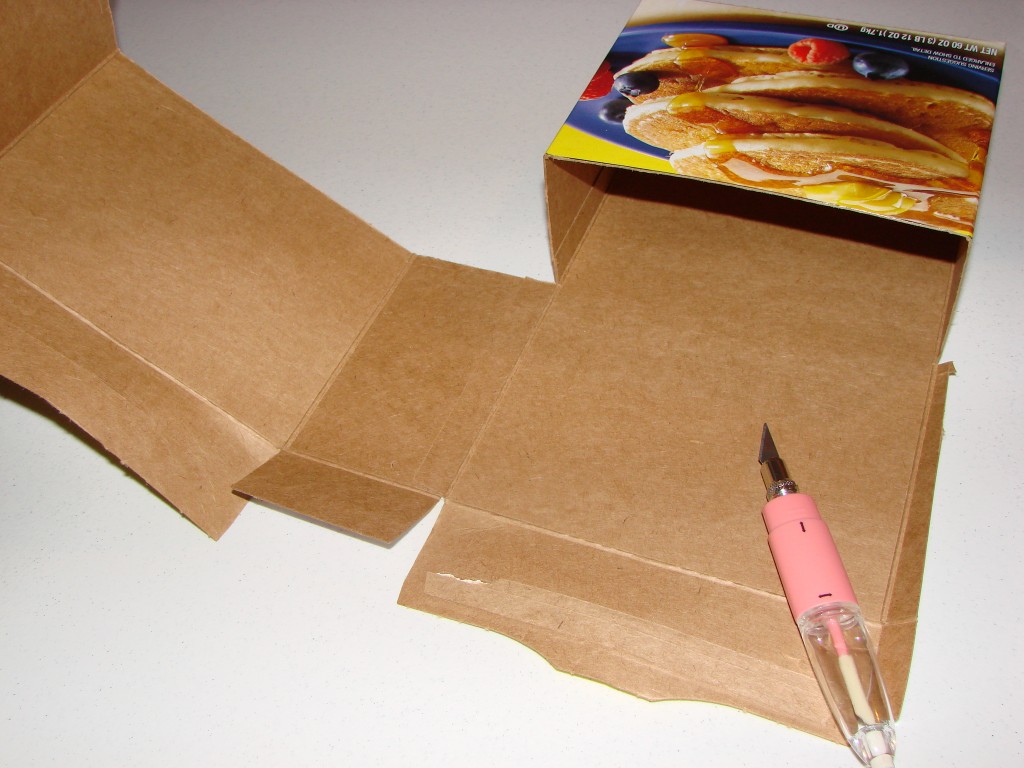
Grab your craft knife and cut off three sides of the box.
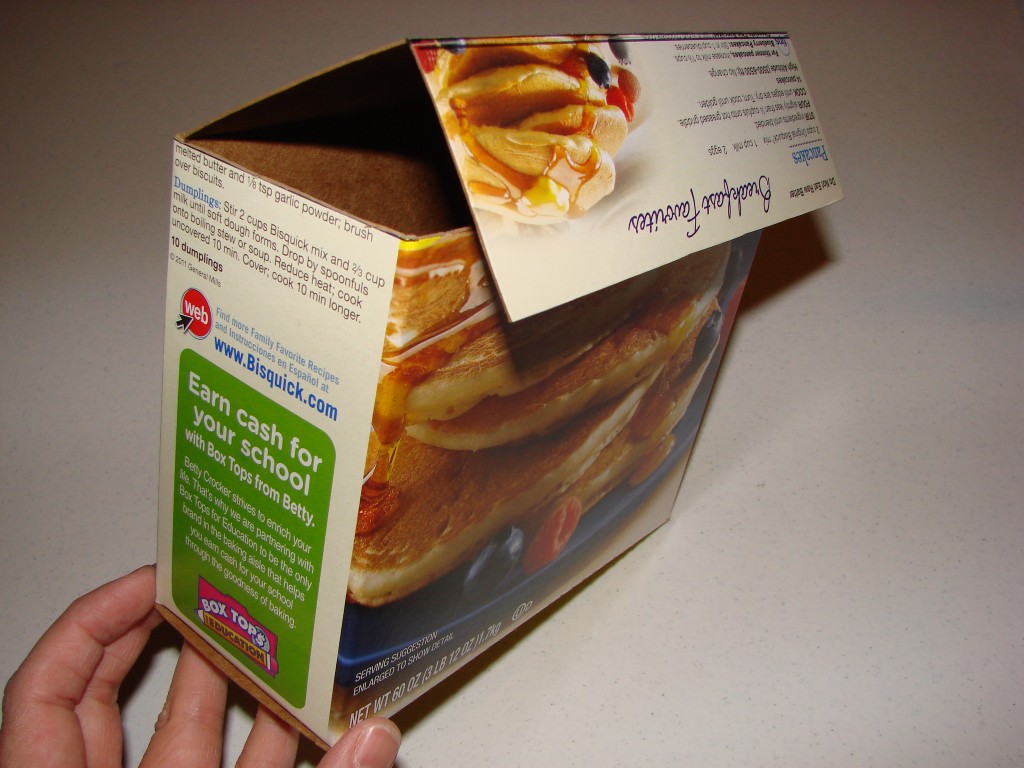
Cut the box top off the 4th side of the box. Now you need to make that 4th side (the back of the purse) bend, at exactly the same height as the other three sides. Do that by laying a ruler across the width of the box, and score the box lightly with the craft knife. Then bend it neatly.
Now you need to make it fold again, so that it flaps over onto the front side. Put the whole box upside down (resting on the folded side). Use the front edge of the box as a guide to mark the next score line (to create that front flap.)
Score it and bend it so it flaps over to the front.
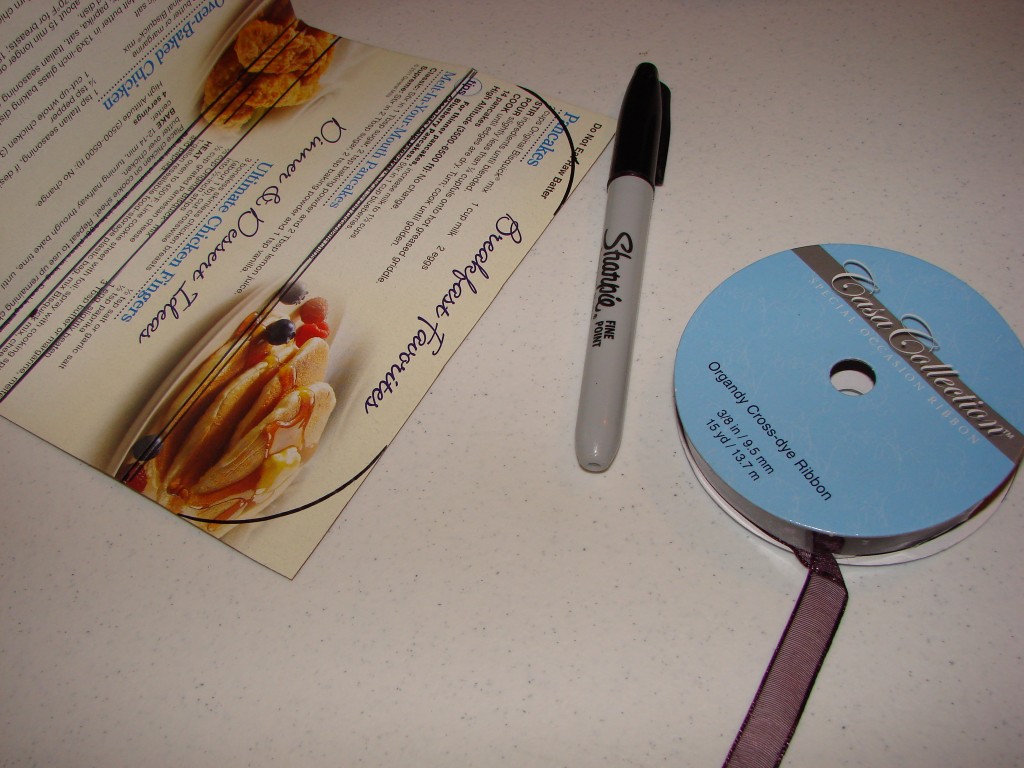
You can leave the flap square, but I decided to round the edges on the front flap of my purse. I used a cardboard ribbon spool to draw the curves so they would be very even and symmetrical.
Step 3: Decorate!
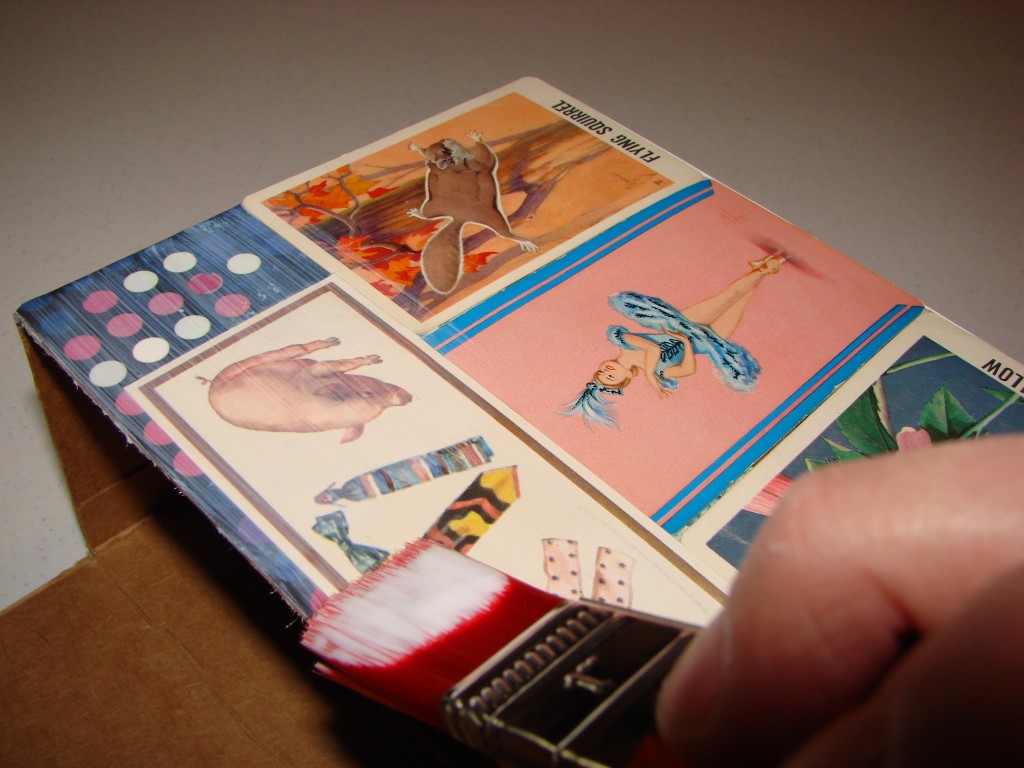
Now comes the fun part… Grab some supplies and decorate your purse! If you want to get fancy, you could use fabric or scrapbook paper, but I like the idea of making it funky and lively by using paper ephemera. It’s a great way to save pretty-but-useless paper stuff from the landfill. Some ideas:
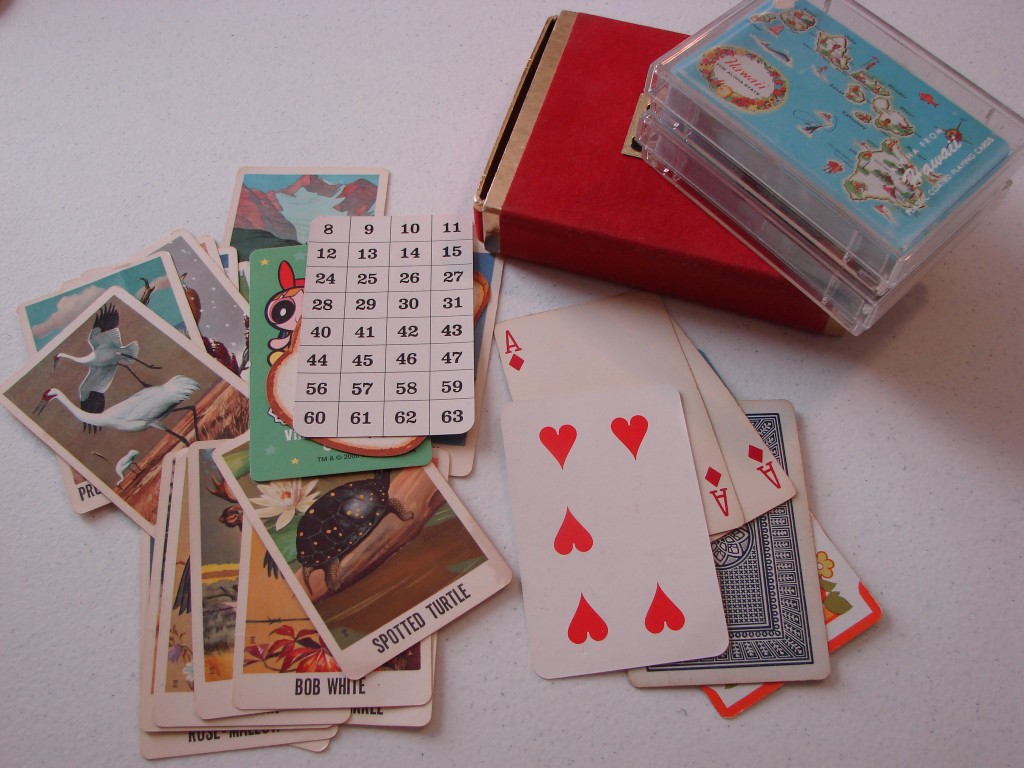
Cards
- Incomplete decks of cards (I used a couple of ballerina cards)
- Trading cards
- Used greeting cards
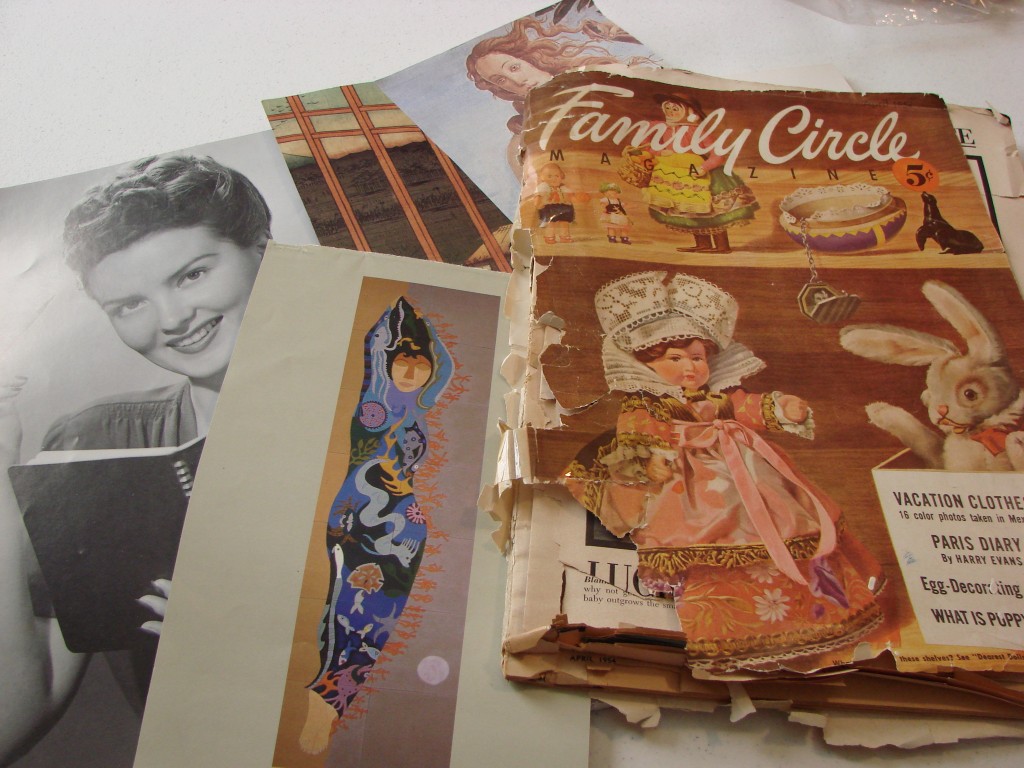
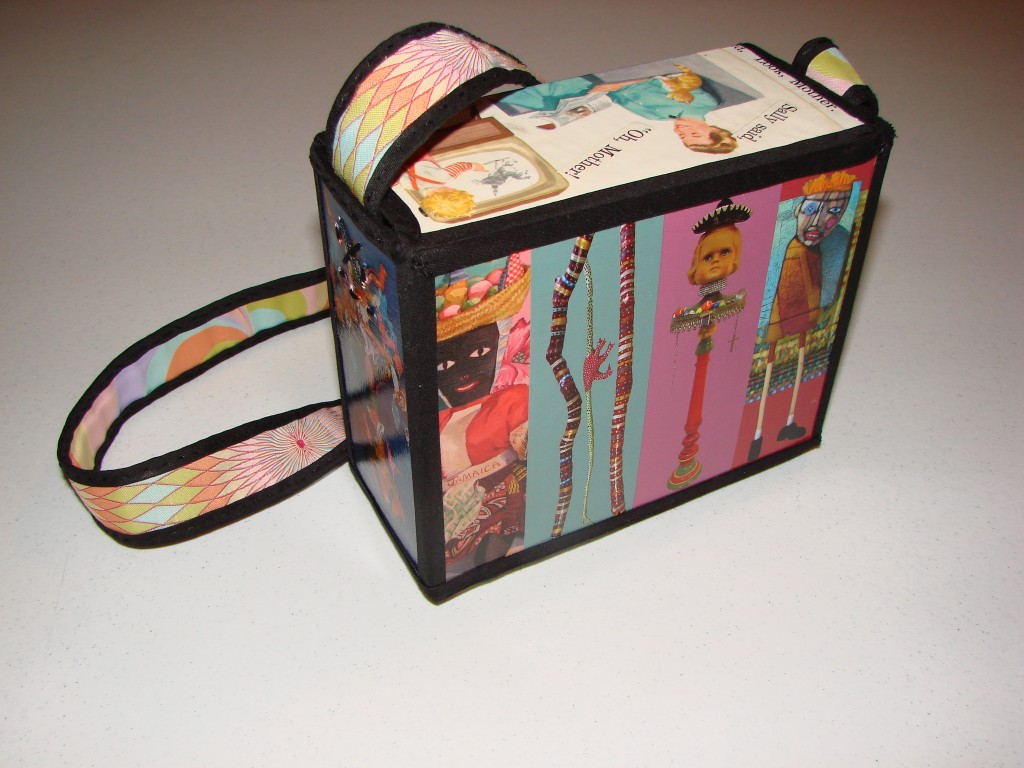
- Postcards (I used some artsy ones on the back and sides of my purse)
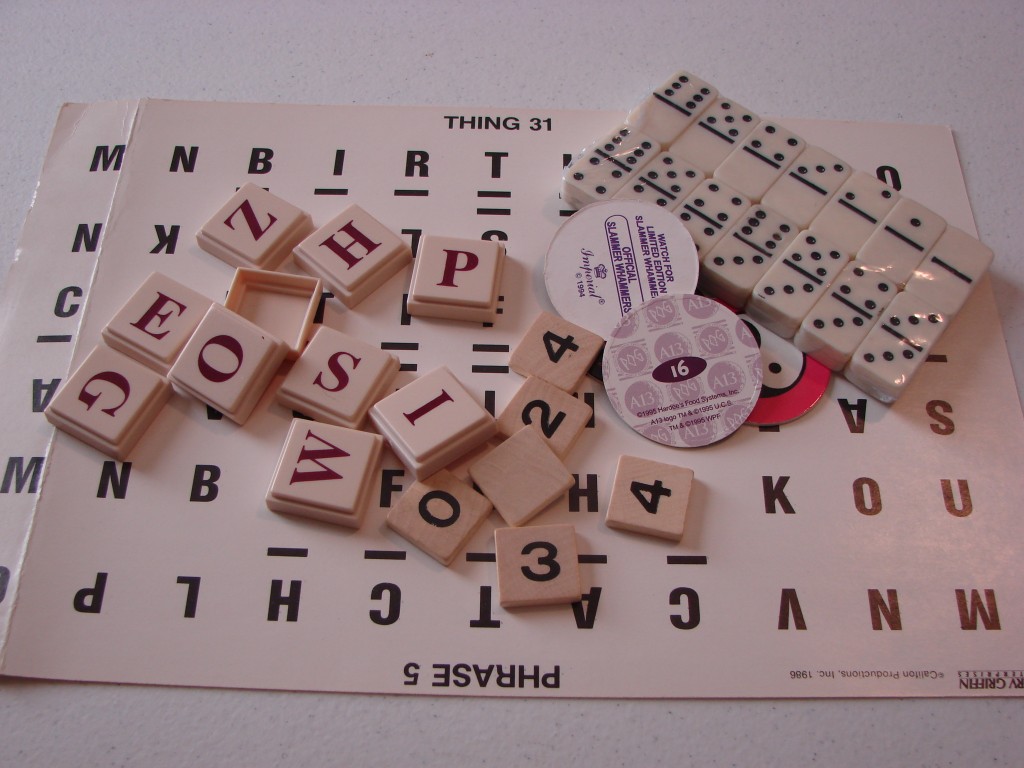
Game pieces
- Components of broken or incomplete games
- Dominoes
- Instructions sheets
- Bingo boards
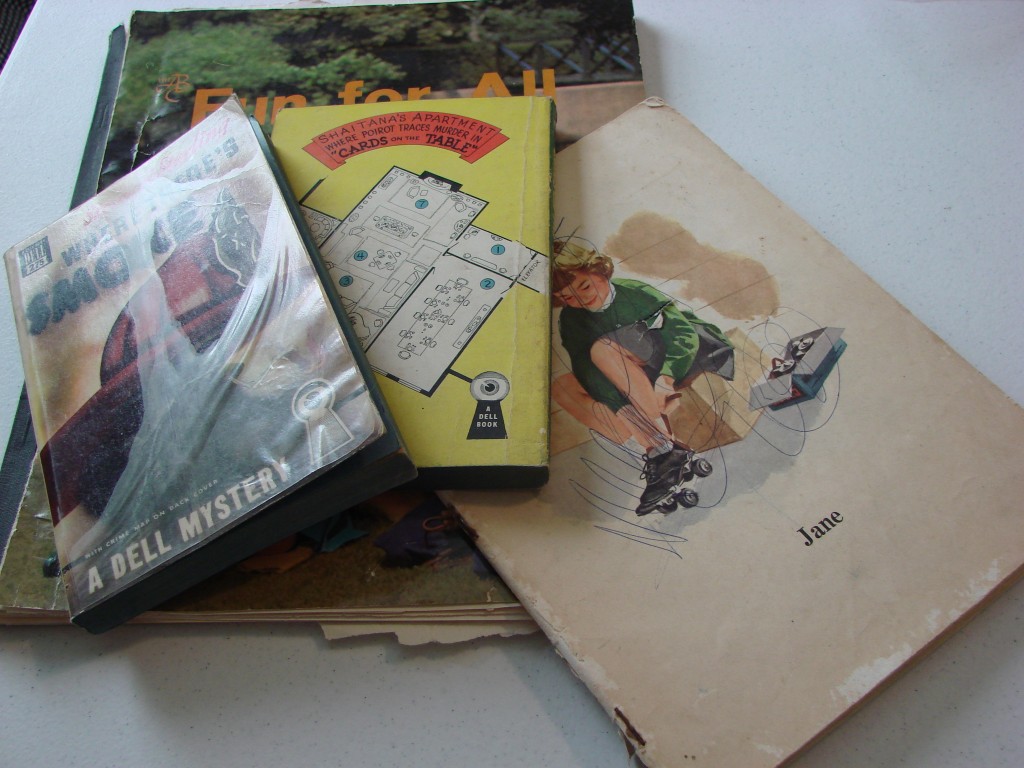
Books
- Torn or damaged book pages (I used a page from a grade-school primer. I’d bought a very damaged “book remnant” at a garage sale and it had a few fun pages left in it.)
- Paperback book covers, especially old ones that have pages that are deteriorating due to acid content
- Workbooks (I used a phonics work sheet from the 1960’s)
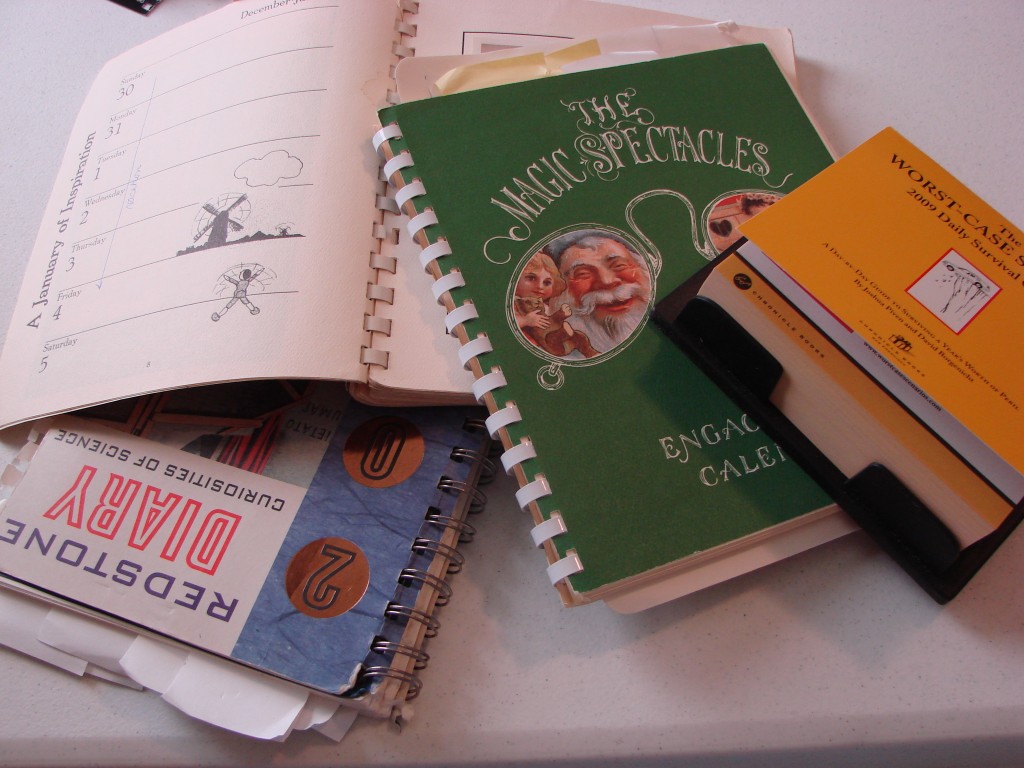
Calendars
Great use for outdated calendars of all kinds!
- Wall calendars
- Desk calendars
- Appointment books
Household papers
- Color copies of family photos
- Letters
- Children’s artwork or school papers
- Incomplete sewing patterns
- Old Yellow Pages advertisements
- Old magazine pictures
- Newspapers / comic pages
- Used tissue paper or wrapping paper
- Junk mail
- Paper “givaway” bookmarks
- Sheet music
- Gum wrappers
Let your imagination run wild!
You can let the papers fold over untidily into the purse interior if you want… You can add a lining inside, later, and it would hide any interior sloppiness. Save one small element to put on the center of the front flap.
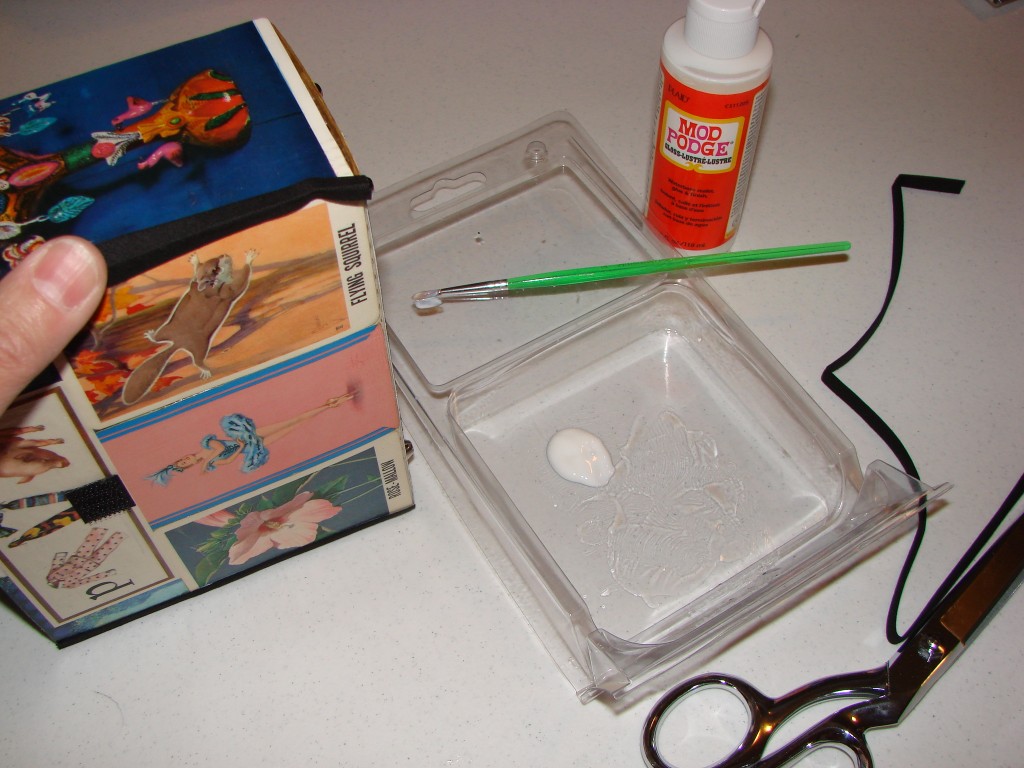
To make your purse more resistant to weather and mishaps, coat it with a sealant (e.g. ModPodge) as I did, or you could probably cover it with clear Contact paper. If you use brush-on ModPodge, try to brush thin coats very neatly, all in the same direction.
Add another thin coat in the opposite direction. You can add more coats if you like. Just make sure you let each coat dry before adding another one.
Step 4: Add feet and ouside closure
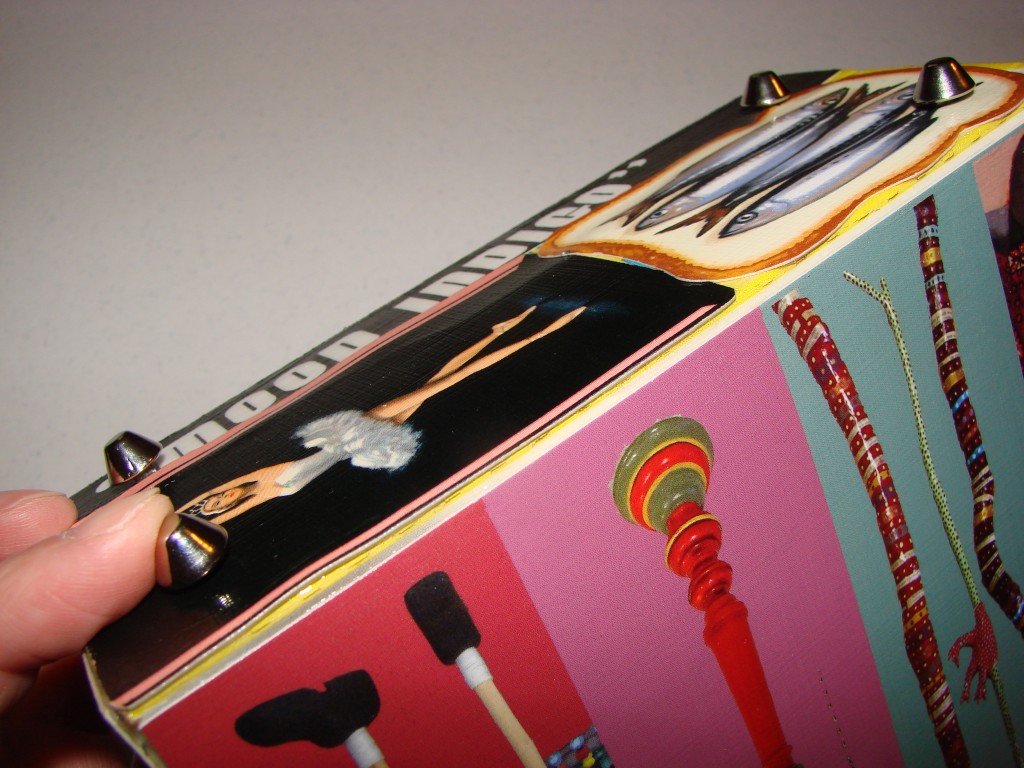
Because the purse is cardboard, it is very important that the purse has some kind of little “feet” to keep it off wet or dirty floors. I purchased a package of lots of little metal feet several years ago, from the Internet. Now most craft stores carry them in the purse-making section. Or you could go the eco-friendly route of using something like bottlecaps for the feet. Plastic beads might also work.
The metal feet I used, are simple brads. You make a small slit in the cardboard, and then slide the prongs through, then spread them all the way out, to hold the foot firmly in place.
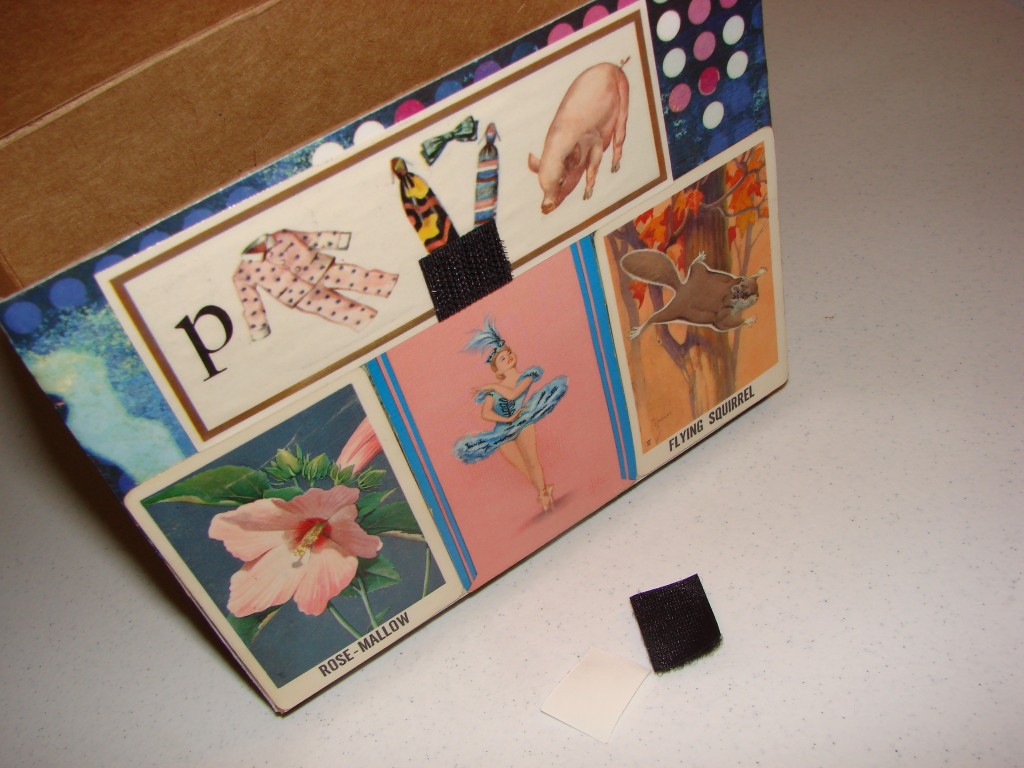
For the closure, I used velcro. I closed the flap to see where to put the velcro. For now, just stick it to the outside; don’t attach the one on the inside yet if you are going to add a lining to the purse.
Step 5: Add the strap
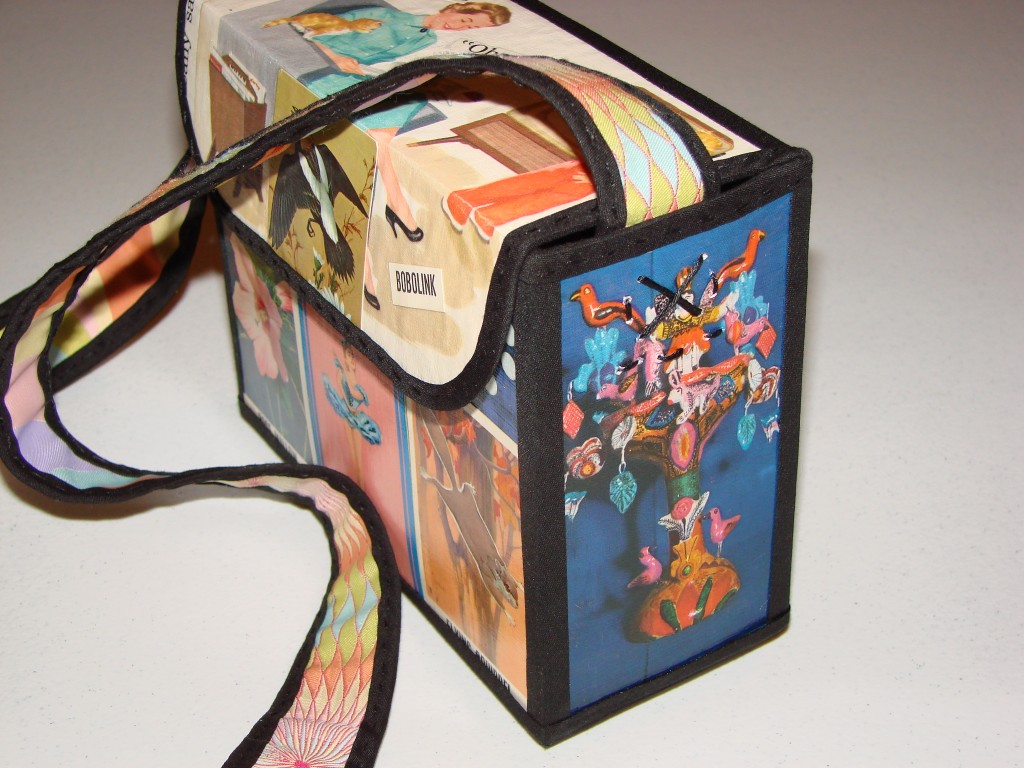
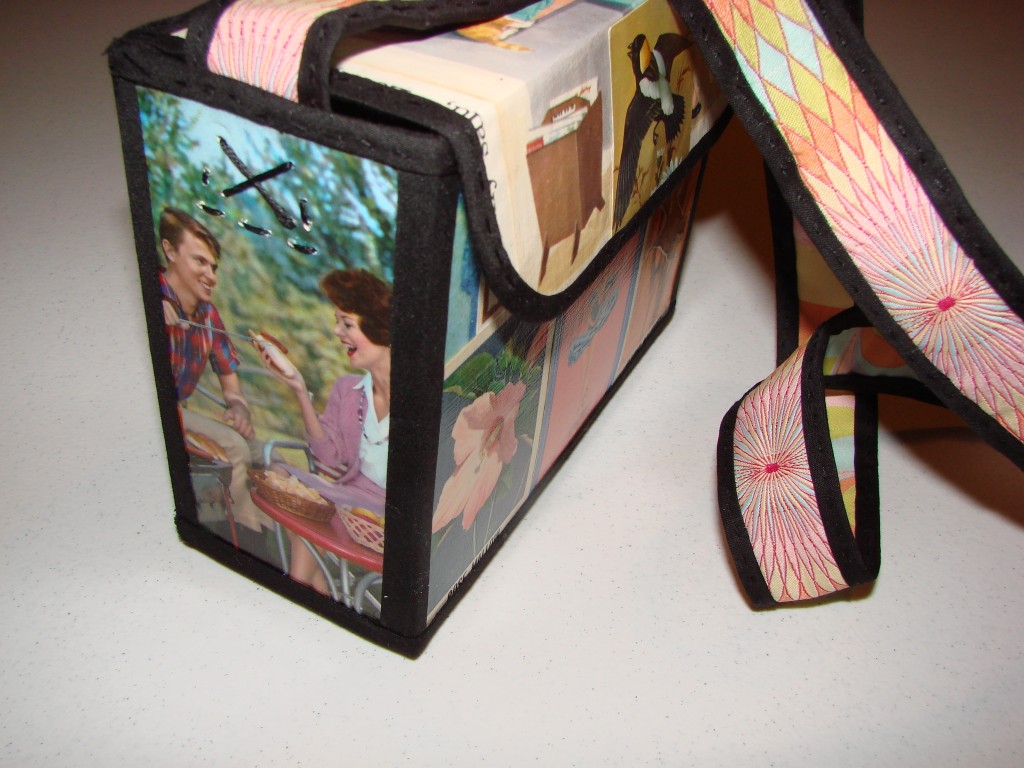
The strap of my purse is a garage-sale-purchased belt. I think I paid a dollar for it. I love the crazy colors and spirograph/mod patterns, and instantly knew it was the right strap for this funky box purse. Using the same bias tape that I used for the edges of the box (see step 8) on both edges of the strap, gave everything a unified appearance (and also hid the wear and made the strap look new and sharp.)
You could also use an outdated necktie as a strap. Use the narrow “wrong end” so there is a fairly consistent width to the strap.
Other strap options would be a scarf or a colorful piece of rope… but you would need to attach those using heavy-duty grommets. (If you do grommets, skip this step for now and do it after you have installed the lining.)
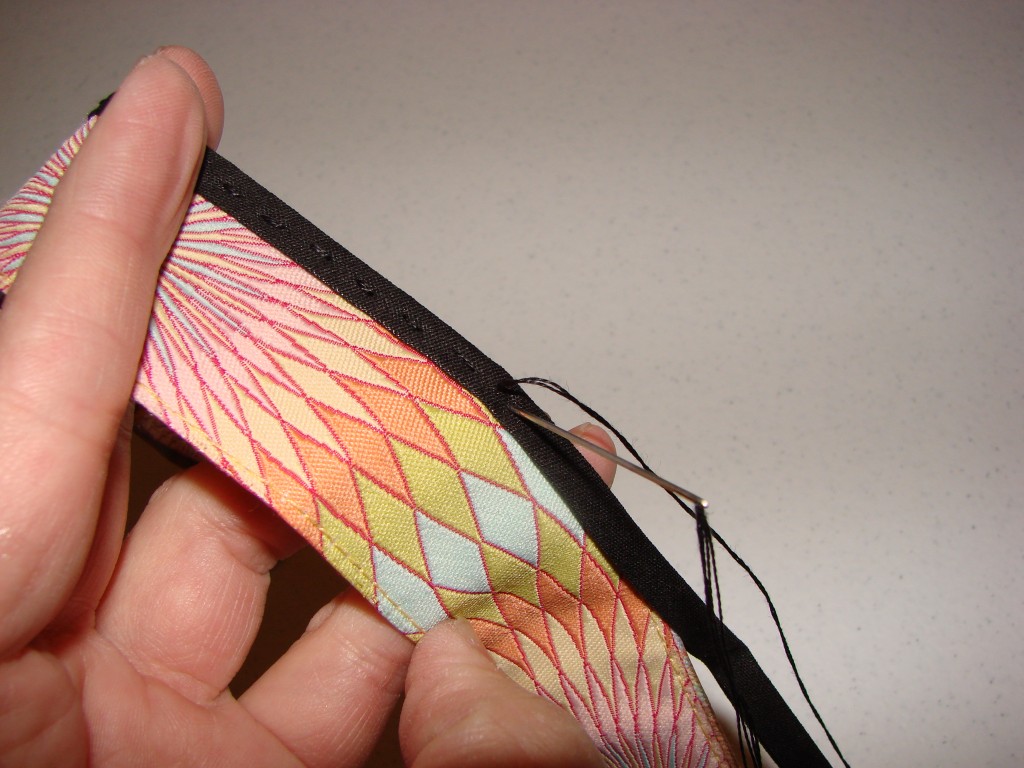
If you use a belt or necktie, you will sew it to the sides of the purse. Yes, sew right through the box! You can use a tool like a punch or a drill to make holes for the needle. For thick leather belts, it would be easiest (and would look neatest) to use the existing holes in the belt.
When sewing the strap to the box, try to avoid making holes in the cardboard that are too close together. You don’t want to accidentally create a perforated “tear line” in your cardboard. Use strong enough stitching to withstand the weight of the fully-loaded purse. I even thought about reinforcing the inside of the box with duct tape to make it more resistent to tears, but I did not do it.
Step 6: (Optional) Add a lining
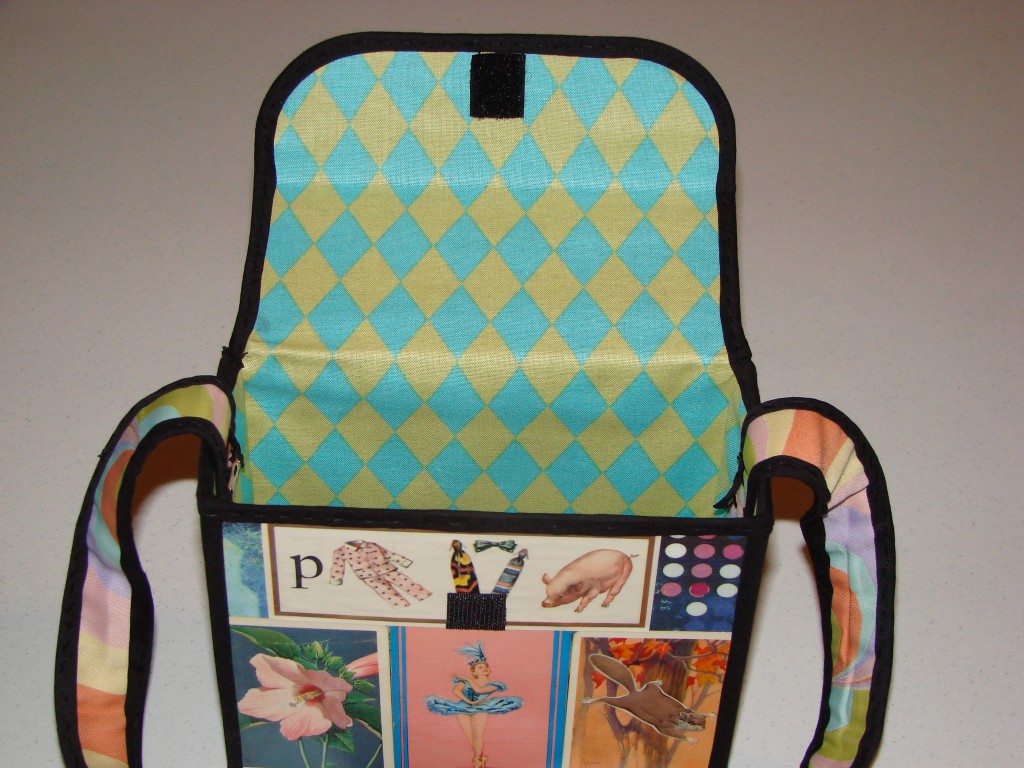
Although this step is optional, I do recommend it. Otherwise, the items inside your purse may clatter noisily against the bare cardboard. (However, be aware that adding the lining, later makes it necessary to stitch –instead of glue/Mod Podge– the trim on, at the top edge and around the flap. And stitching through a Bisquick box is no easy feat!)
If you decide to add a lining, the simplest way to do it, is just creating a basic pattern by drawing around the sides of the box, then cutting out the lining material (felt or fabric) slightly smaller than your pattern, and then gluing the lining to the cardboard. You can use almost any kind of glue, but you may want to avoid putting it too close to the edge — you will be stitching there, later.
It may be possible to cover the strap-attachment area with the lining fabric, to cover untidy stitching. (You may notice that I did not complete these steps in the right order, so the ugly-stitched straps show in there. Darn it!)
Step 7: Add edge trim
The trim is an essential element of this project. It is what transforms the box from looking like a collage-decorated box, to looking like a purse.
You will need one package of 1/4 inch double fold bias tape. I brushed ModPodge on the edges of the decorated box and carefully pressed the bias tape into place, trying to avoid getting the Mod Podge on the outside of the trim and being careful to line up the corner of the bias tape with the edge of the box. You could probably use hot glue instead of the Mod Podge if you wanted.
Start with the four vertical edges. Then do the bottom edge, all the way around. If you did not line your purse, you can simply continue on in the same manner, to do the top edge and the front flap.
However, if you lined your purse…
You will use Mod Podge or hot glue to attach the trim on the sides and bottom, but you will need to stitch the trim onto the top and the flap. As I type this, my thumb and fingers are sore from trying to get that needle through that thick cardboard! Of course, you can use a tiny punch ( if you have one) to make holes so you don’t have to strong-arm the needle through the cardboard. (And please be super-careful and use a thimble — I don’t want anyone to put a needle through their finger!)
By the way, you may be tempted to use stitching everywhere, to give a consistent look to the trim. It may not be a good idea. I’m thinking it might weaken the weight-bearing structure of the purse. Not to mention the additional pain you’d likely endure. If you cannot bear having some of the trim stitched and some of it unstitched, maybe you could stitch it before applying it to the purse.
Step 8: Front flap closure
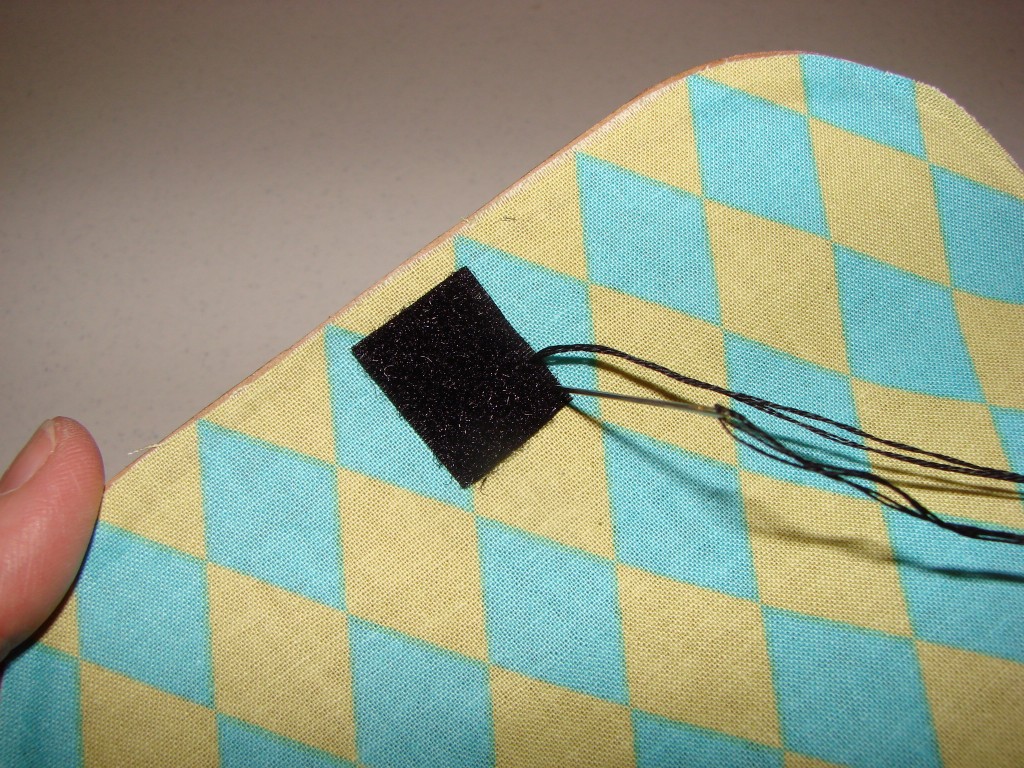
Stitch the velcro to the inside of the front flap, using the position of the vecro you already attached to the outside bottom, as a guide.
Then Mod Podge your last embellishment on the outside front of the flap, covering the stitching from attaching the closure.
Ta-da! All done. Your eco-friendly ephemera purse is sure to be a conversation piece!

I’m a Craftster Best of 2012 Winner!
