Numerical tiny treasures
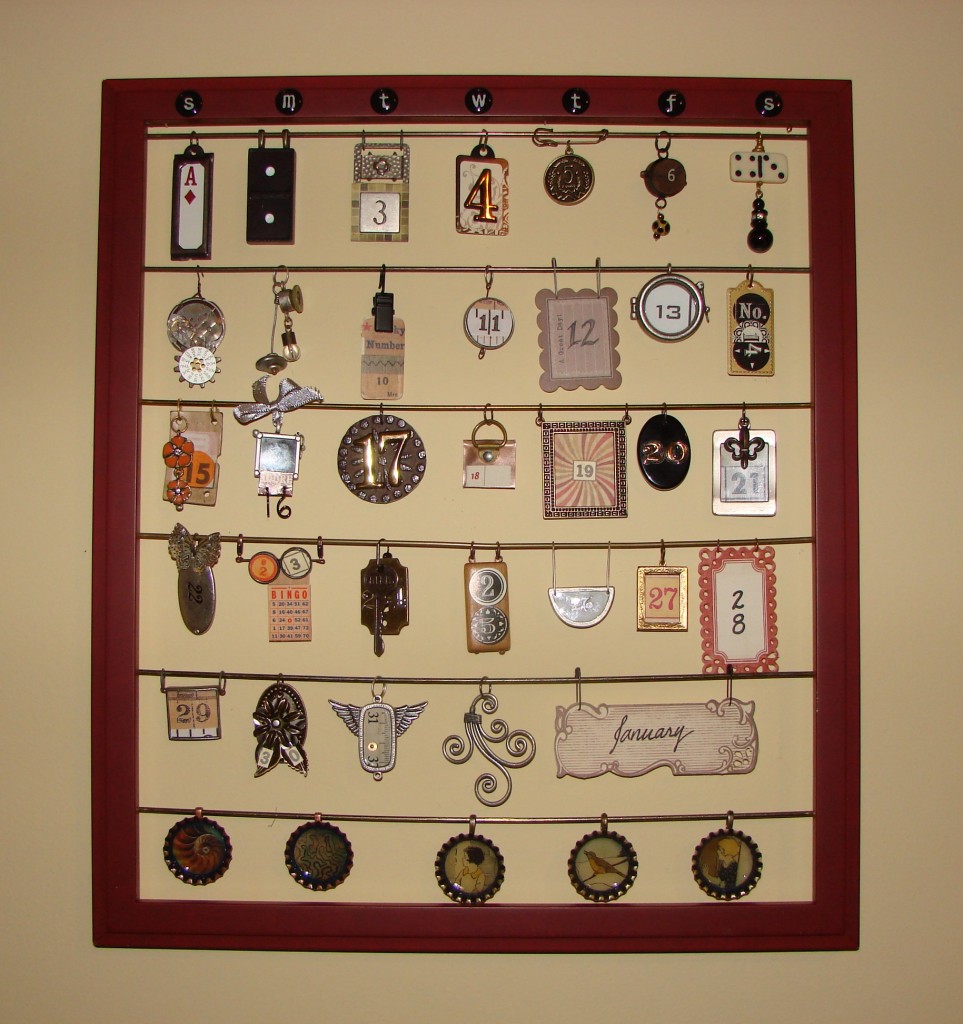
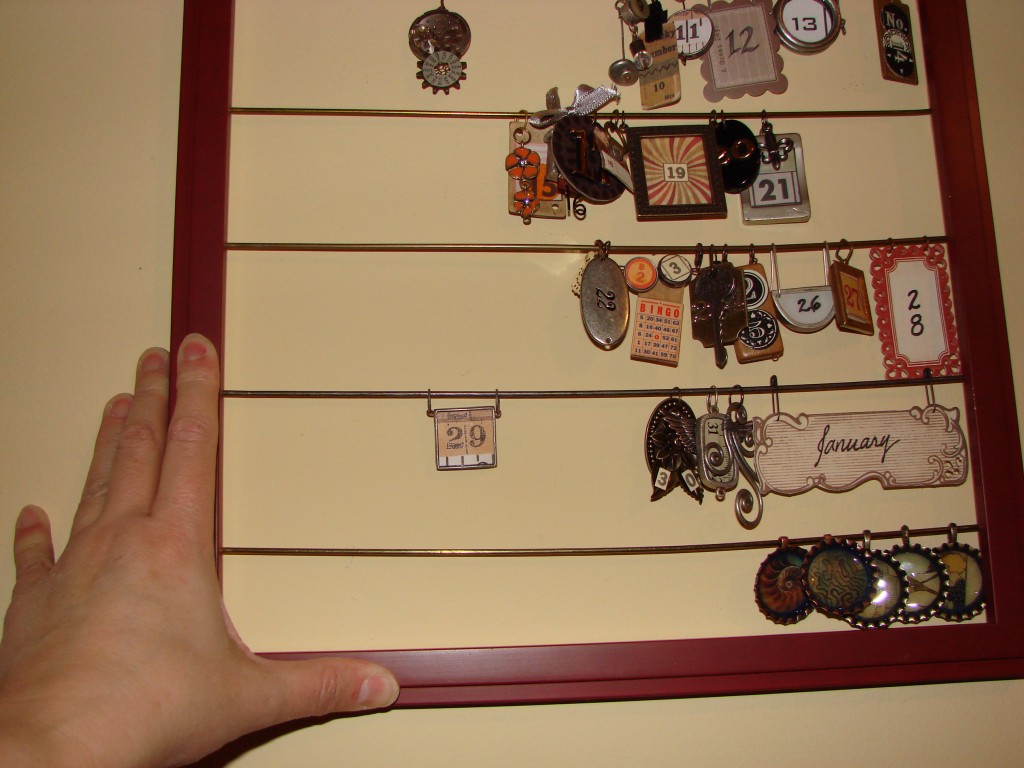
Here is a New Year’s craft (or really “anytime” craft, since this calendar has no real start or end) that you will be able to enjoy – -and update, if you like– for many years to come. It is also a great way to display some of your favorite trinkets.
I am participating in a “De-stashing Craftalong” over at Craftster, with the goal of finally using up some of the craft items I have amassed over the years. This is my first effort along those lines. Because the items are small, it didn’t make much of an impact, space-wise, but I’m pleased that some of the tiny treasures I’ve been saving in shoeboxes now have a place of greater honor and visibility in my home.
If you give this perpetual calendar as a gift, you can use memorabelia that emphasizes your own personal history with the recipient — a ticket stub from an event the two of you enjoyed, a charm depicting a city that was a favorite vacation destination, etc.
Here’s what you’ll need:
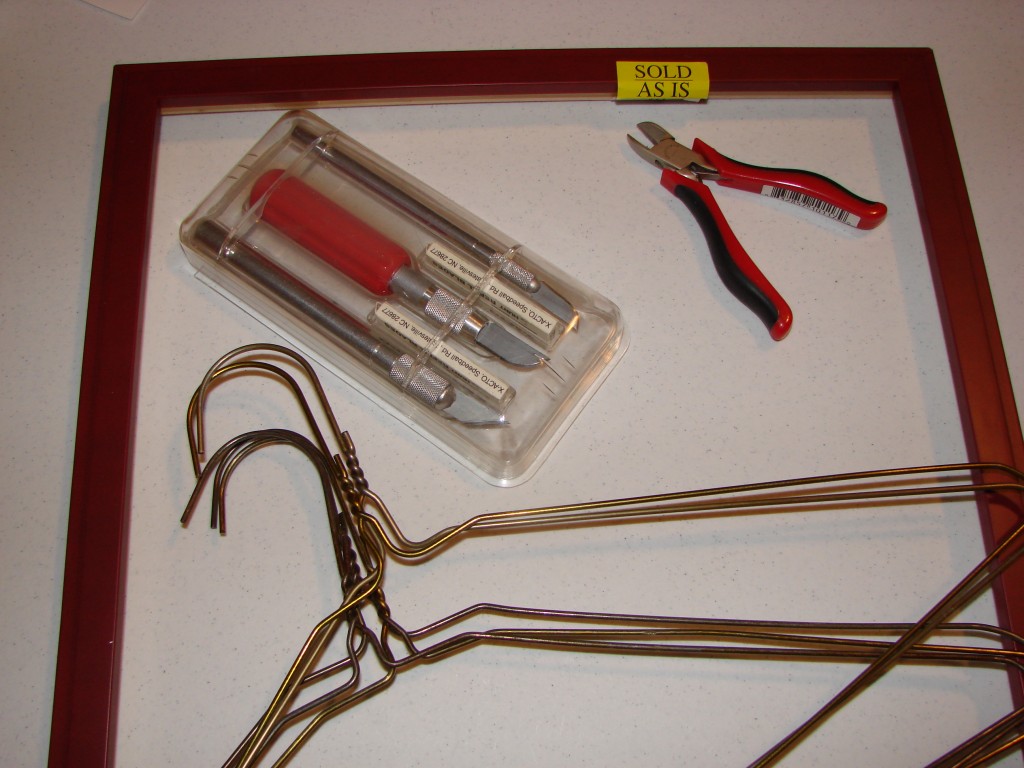
A wooden frame (very important that it is wooden!)
Mine was 14.25″ x 12.25″, but you could use almost any size, as long as you scale your daily trinkets accordingly. I got mine on super-duper sale. (I cannot resist nice-looking craft materials on super-duper sale, which is why my craft stash is so huge!)
Six old metal coat hangers
These need to be the sturdy kind, so they do not droop when you put your trinkets on them. I like the antique-metal look of the ones I used.
Wire cutters
Be warned — it’s possible this craft may mar or damage the blades.
A drill OR craft knife
If you use a drill, you’ll need a bit that is slightly larger than the coat hangers. I just used a craft knife.
and…
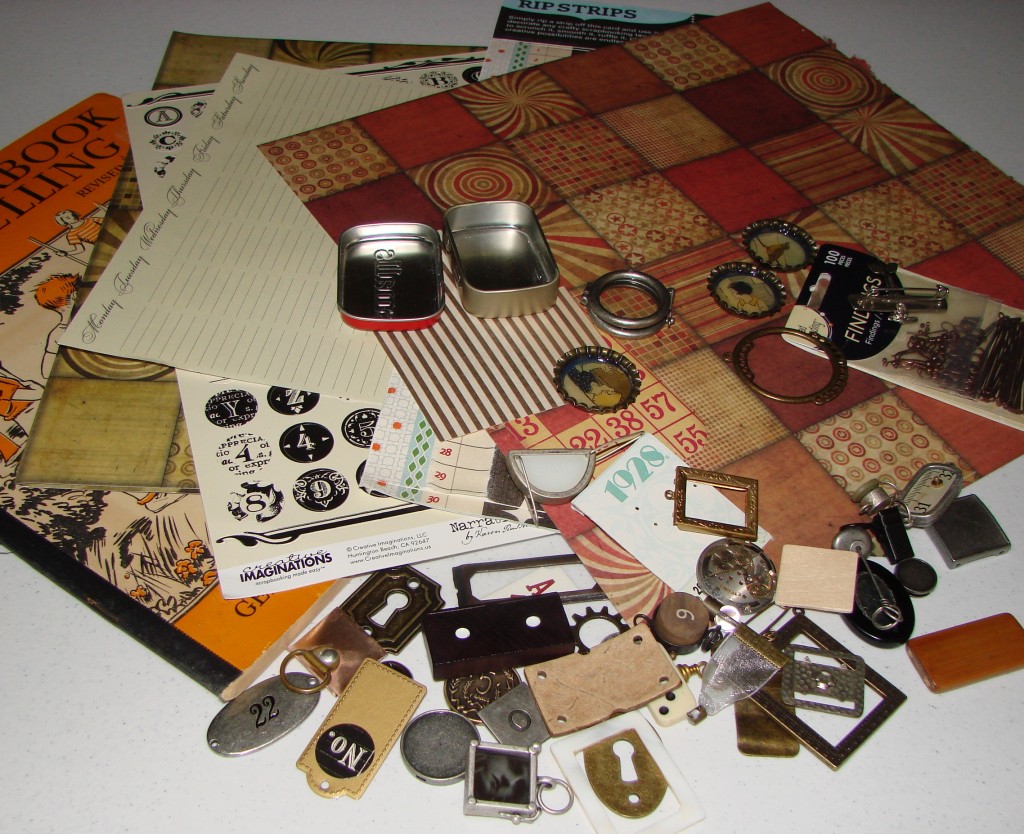
A collection of stuff from your craft stash to make day-trinkets.
Look especially for:
- Items with numbers on them (obviously!): Bingo boards and playing cards, dominos and other game pieces, old yardsticks and tape measures, coins and stamps, etc.
- Items with letters on them (especially S, M, T, W, and F for the days of the week).
- Jewelry findings, including bails and large jump rings or hooks.
- Small frames and tags/labels.
You’ll want to set a specific size range for your items. Mine ranged from 1.25″ to 2.25″. If you want a more uniform and uncluttered look to your calendar, you could use 31 identical items (such as bottlecaps).
Step 1. Measure your frame.
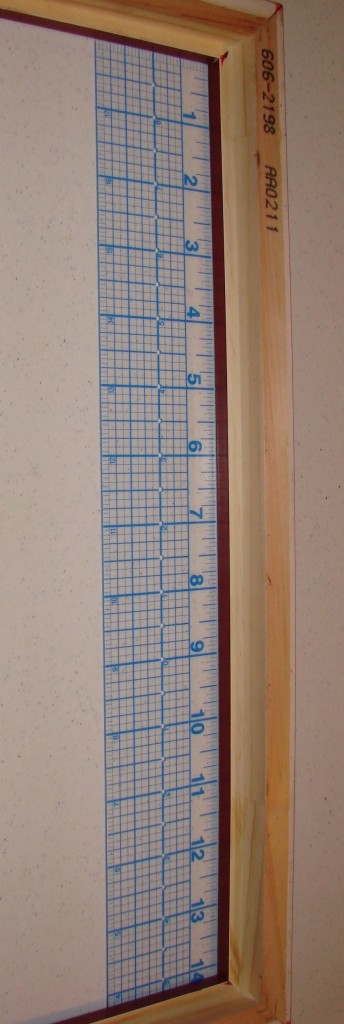
Measure the height of the inside opening of the frame.
Mine was 14.25 inches tall. You will need 6 rows, so divide your measurement by 6. For my frame, that would be 2.375″.
BUT…
I (foolishly!) did not measure my frame before making my trinkets, and some of my trinkets were as long as 2.5 inches. So I ended up doing my first 5 sections 2.5 inches and my last one 2 inches. (This required me to make sure that my last 3 daily trinkets were not longer than 2 inches.)
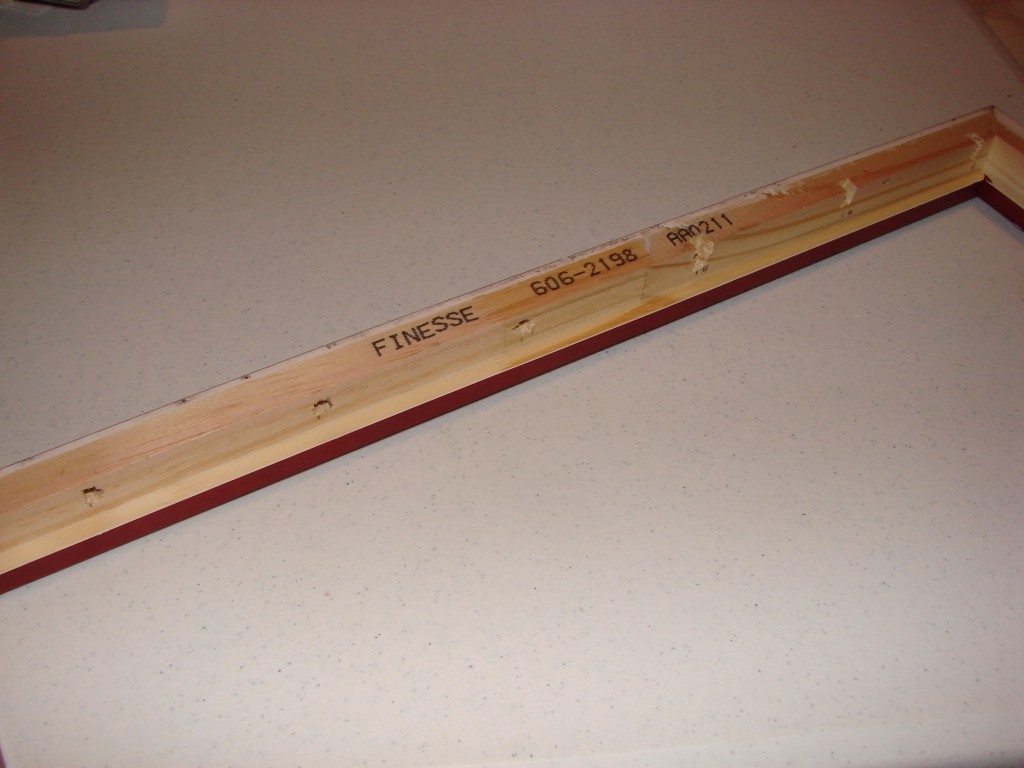
Mark your segments on the unfinished inside of the frame, so you will know where to put the metal rods that hold the trinkets.
Next you’ll measure so see how long the metal rods need to be. For this measurement, you will NOT measure the same opening that you did before. On most frames, there is a second level, recessed from the main opening. That’s where you will want to attach the metal rods, so that is the opening you’ll need to measure. Measure the width of that opening.
Mine was a little over 12.5 inches. I decided to cut my rods about 13 inches. You’ll be putting holes into this level of the frame to hold the rods. The rods need to be longer than the opening, to stay secure.
Step 2. Cut the metal rods.
The first thing I tried, was to cut a coat hanger with my wire cutters. It was clear fairly quickly, that wimpy wire cutters were not up to that task! So I Googled “cut coat hanger” and got a little insight. (Isn’t Google amazing? Gotta love it!)
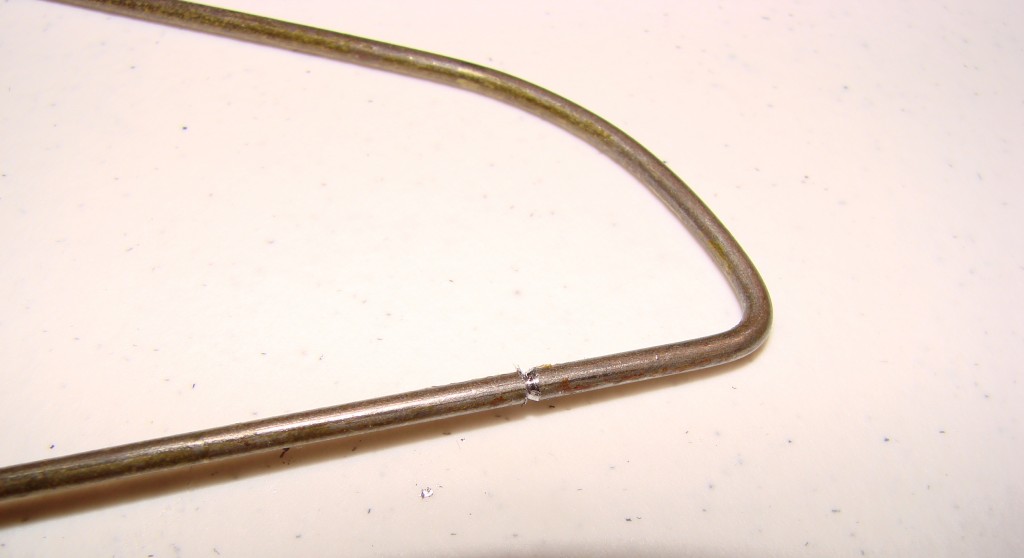
So use the wire cutters to make a good, deepish “nick” in the hanger.
Make the nick on the long, straight part of the hanger, and close to one end. The method I found to work best, was to squeeze the wire cutters against the coat hanger with my right hand while turning the coat hanger back and forth with my left. This made a trough that went all the way around the hanger.
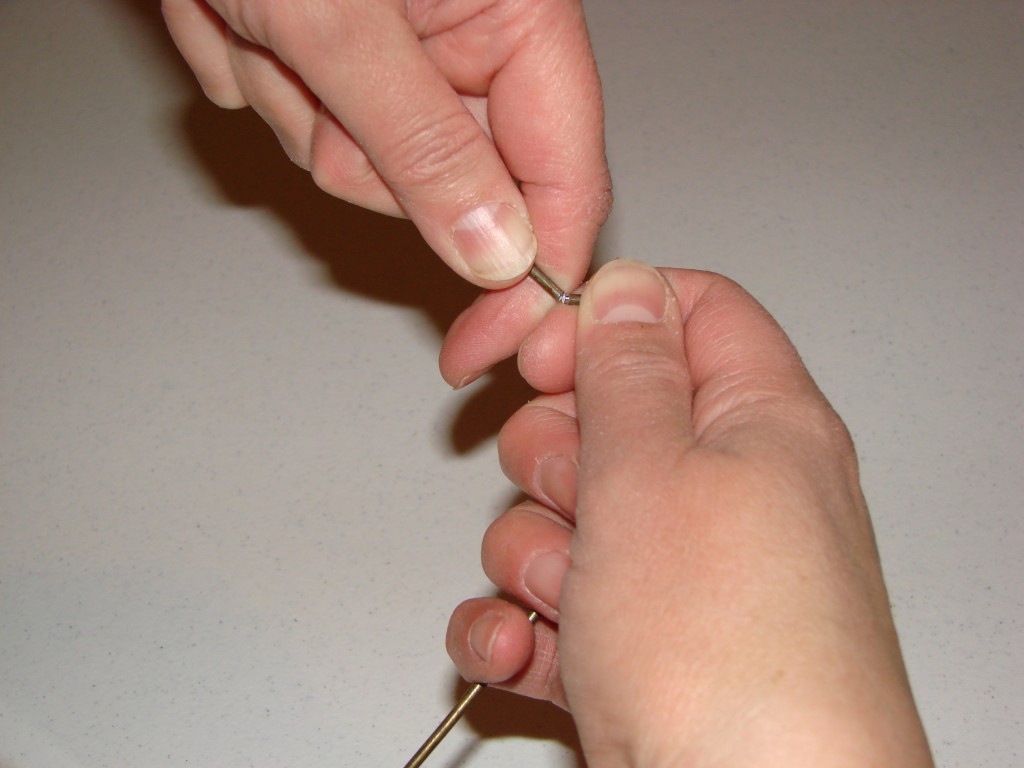
Then, hold hold the hanger very close to the nick, and apply pressure, as if to bend it right at the nick. Try not to bend the stright part of the hanger as you do this. If your nick is deep enough, it should snap in two.
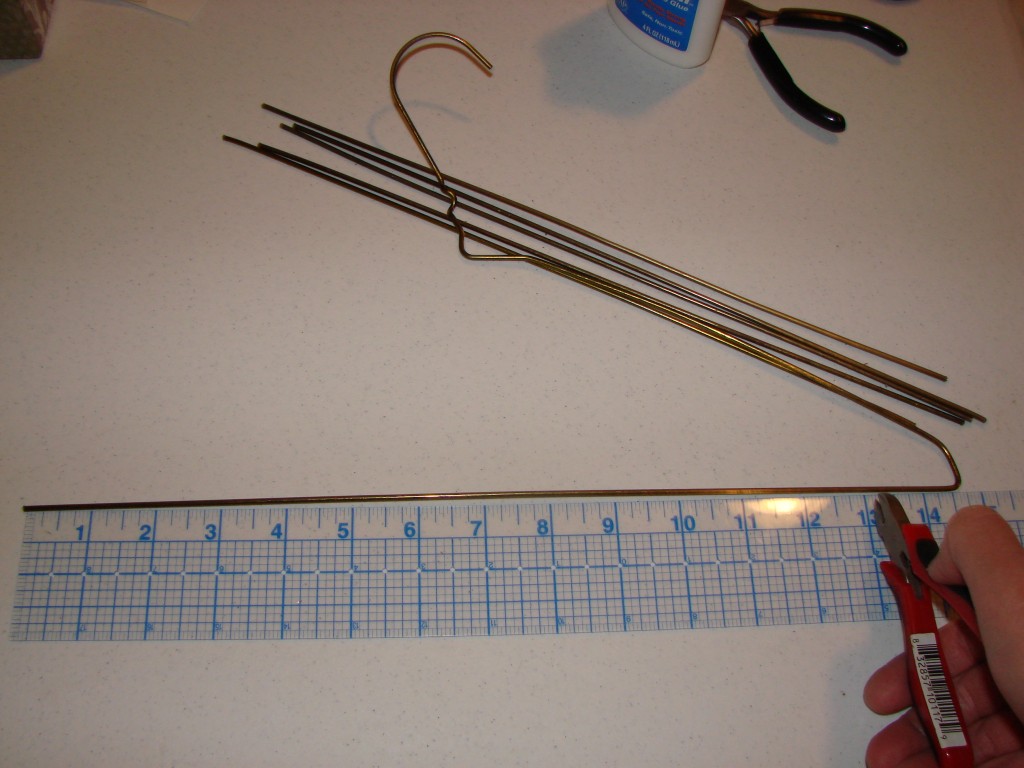
Now cut the other end of the metal rod to the correct measurement — in my case, 13 inches.
Cut six rods, all the same length.
Step 3. Make holes in the frame.
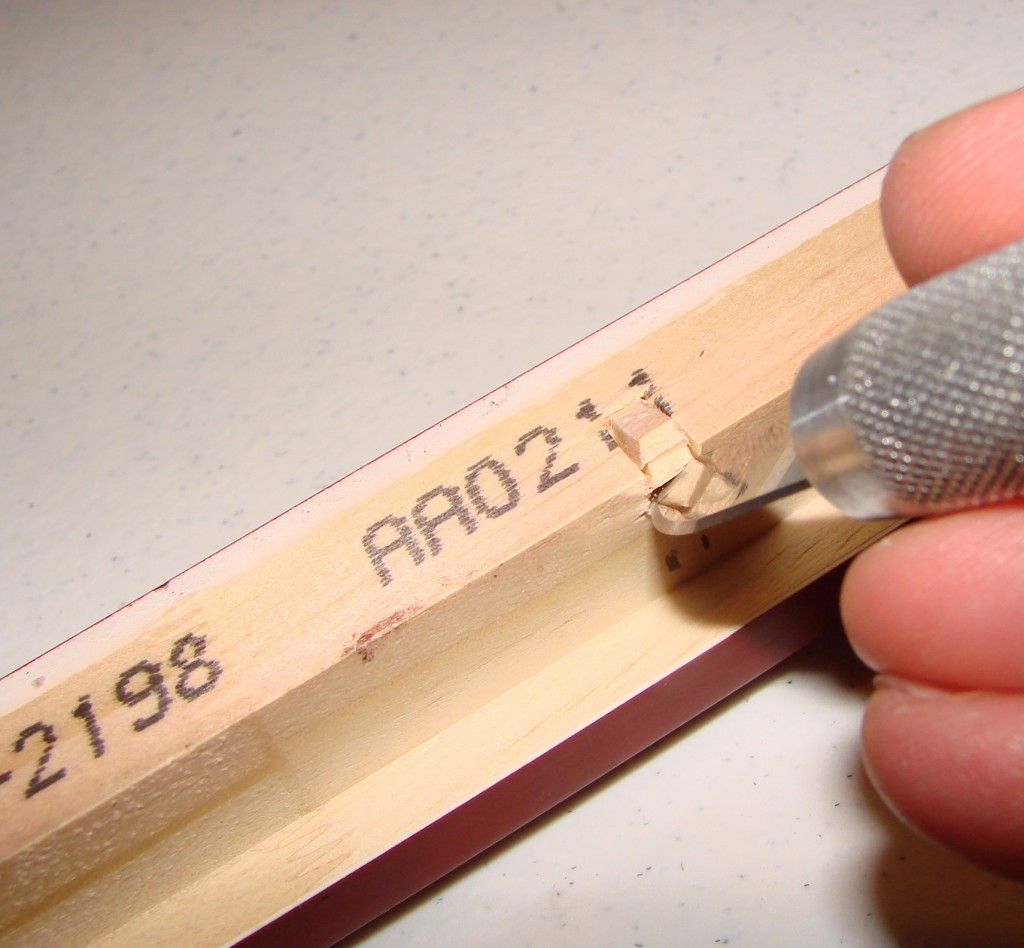
Now you need to drill or cut holes into that recessed layer of the frame, at your marked segments. At first, I tried just cutting troughs.
I did three segments this way, before testing it with metal rods and realizing that the rods easily fall off.
So then I started making holes instead. I wish I’d had access to a drill, because I think my project would have looked much neater. As it is, my work looks pretty sloppy…
…but luckily for me, it doesn’t show very much since it is in that recessed area.
When you make the holes, they should be deep enough to hold your metal rods without making them bend. (You’ll bend them slightly to get them into the holes, but once inside they should stay straight.) Be careful not to split the wood of your frame when you are making the holes!
Step 4. Label the days of the week.
Now you WILL need to measure the width of your outside opening. Mine was 12.25 inches. You will need one column for each day of the week, so divide your measurement by 7. For me, that made my segments 1.75 inches.
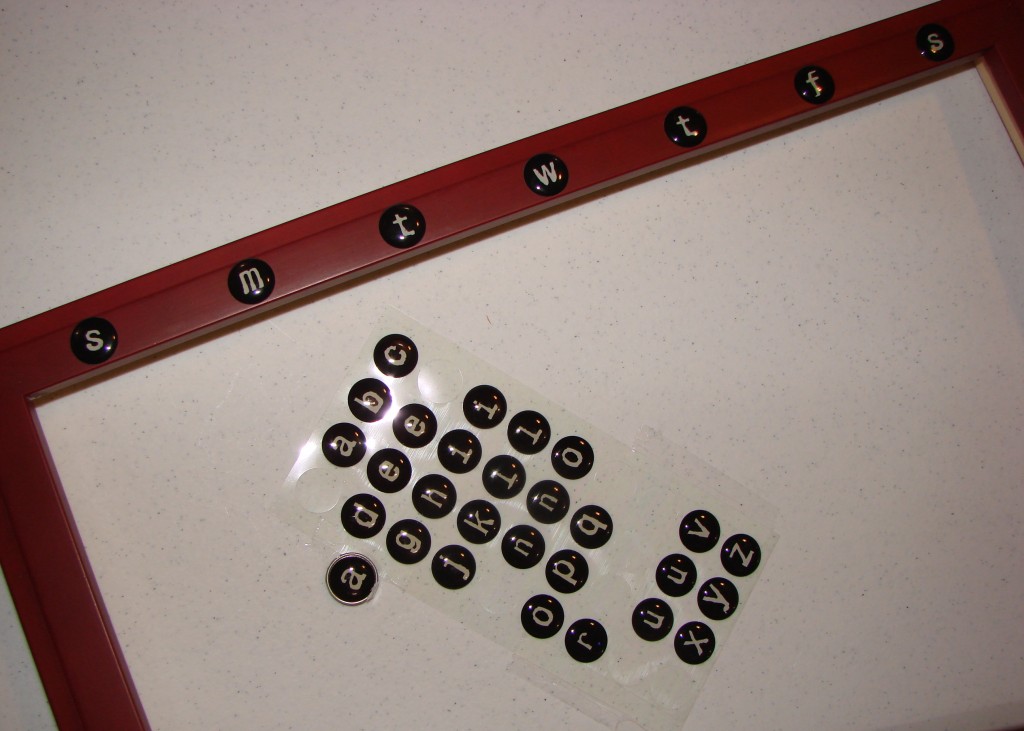
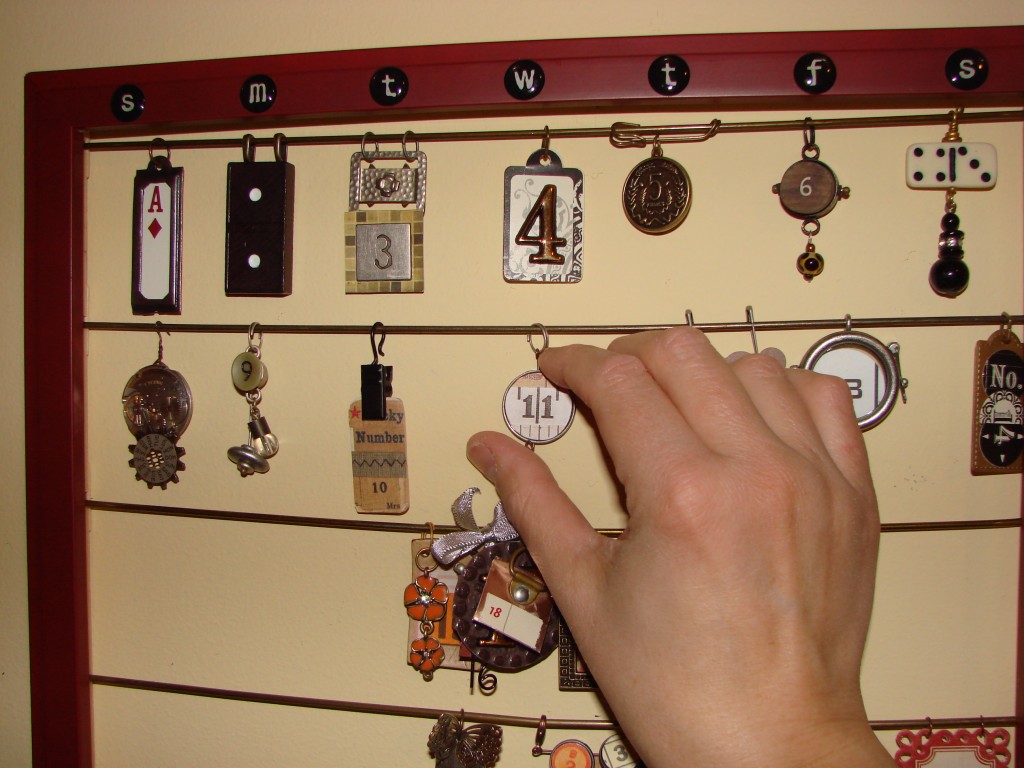
Now, make or choose labels for the days of the week. Mine are dimensional bubble-style stickers that look like vintage typeface. But yours could be almost anything –cutouts from an old calendar, chipboard scrapbooking letters… you could even paint the words on the frame in gold.
To apply your days of the week to your frame, start with Wednesday. Measure to find the exact center of the opening, and apply Wednesday there. Now measure the rest of your segments outward from that center point, and apply your day markers accordingly.
Step 5. Create the daily trinkets and monthly labels.
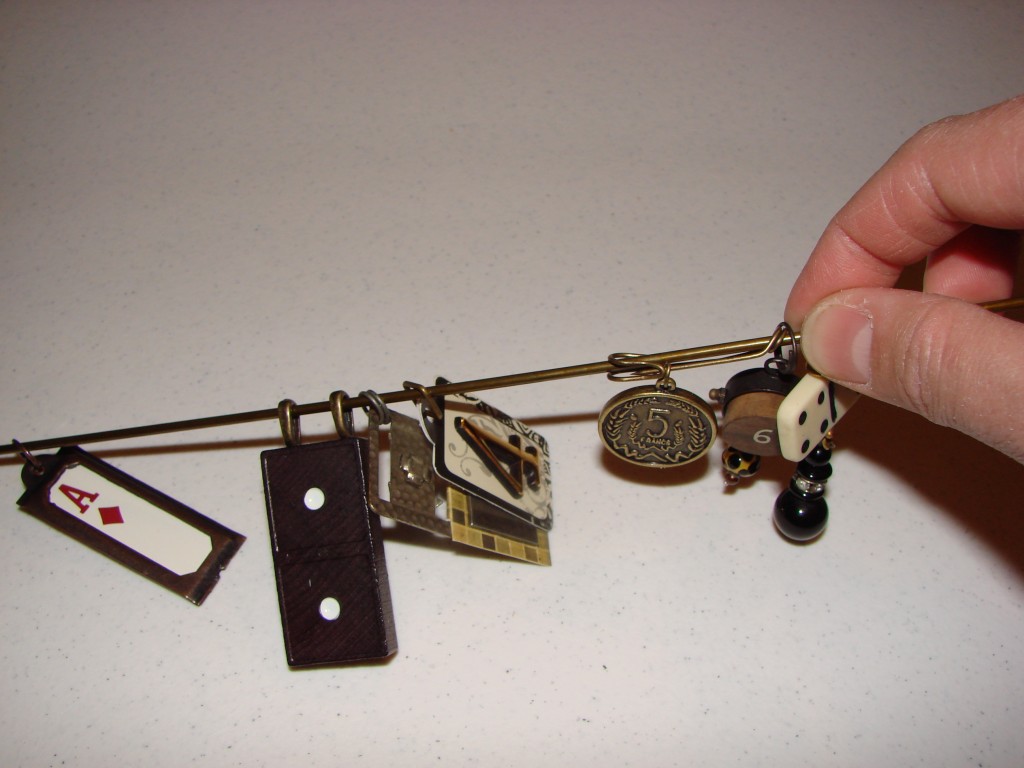
Here comes the fun part! Make 31 numbered trinkets, attaching jewelry findings at the top. A few tips:
- Be sure the jewelry findings are going in the right direction so that the trinkets will face forward when you slide them onto the metal rods.
- Pay attention to size/spacing. Make sure your trinkets are not too tall for your rows or too wide for your columns. When measuring the trinkets, be sure to include the length added by the jewelry findings.
- If you are doing a “funky variety” calendar like mine, vary the shapes and sizes so that the trinkets right next to each other will not look too similar. (I did not do that on my first row, where the first four numbers are all rectangular and the next two are smaller circles.)
- If some of your trinkets are paper, you may want to consider pasting them onto cardstock or wood so that they will not warp if the weather turns humid.
- You can make extra trinkets, if you like. You can display those in the “extra spaces” on the calendar. Some of mine are bottlecaps (prepared in the manner I described in a prior post) with vintage schoolbook illustrations.
- You can make holiday trinkets, if you like. So in December, instead of hanging the usual number 25, you could hang a beaded Christmas ornament. Or on a loved one’s birthday, you could hang their picture or a fancy birthday-cake trinket.
- The monthly labels should be wider — 2 to 4 columns wide.
Step 6. Hang and assemble the calendar.
String the day trinkets on the rods in order, consulting a calendar to make sure that the right charms are on each metal rod. For example, if the month starts on a Wednesday, you should only string trinkets 1-4 on the first rod (and maybe the month label, unless you want it located at the bottom.)
Since January 2012 started on a Sunday, I strung trinkets 1-7 on the first rod.
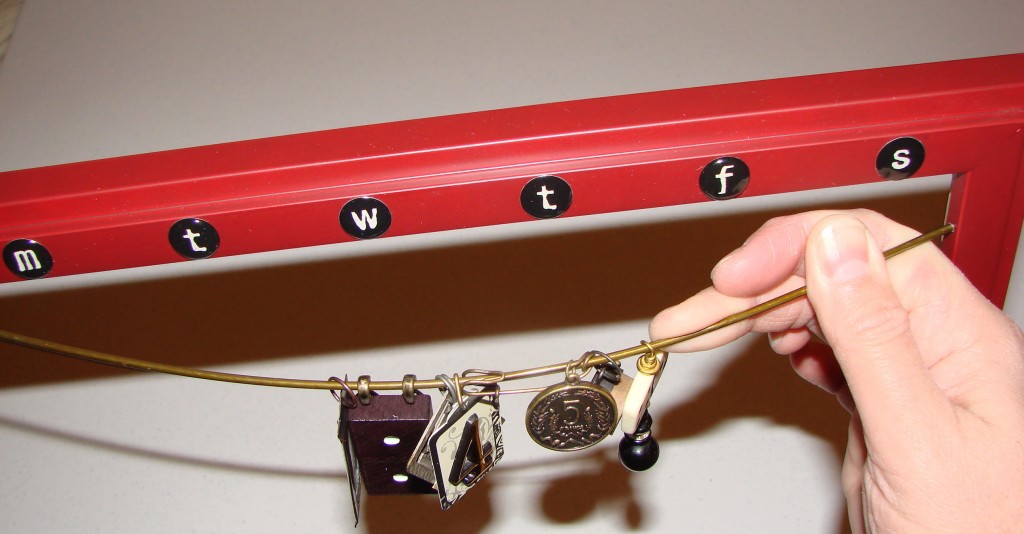
Secure one end of the rod into the correct hole on one side of the frame. Then bend the coat hanger enough to get the rod into the hole on the other side. (If the rod looks bent or droopy after insertion, try to straighten it.) Don’t worry about the spacing of the trinkets just yet.
Continue in this manner until all the rods are loaded with trinkets and inserted into the frame.
Then hang the frame on the wall.
I just hung mine on nails, but I’m thinking I may try to eventually mount it more permanently on the wall, so I can re-arrange the day trinkets without taking the whole frame down.
Slide the trinkets along the rods until they are lined up under the correct days of the week.
All done!
If I made this again, I might use all bottlecaps for the 31 “typical” days and then do the holidays differently so they really stand out. I also might try to find a way to attach small hooks at the top of each trinket so they are easier to rearrange.
I’ve had perpetual calendars in the past, so I know it is fun to change them every month. This one will give me years of enjoyment! I’m sure it will evolve over the years as I update the trinkets. Happy New Year!
