Pocky pocket!
Are you familiar with Pocky? It is a Japanese snack, in the form of a stick that has been dipped in a flavored coating. Pocky sticks are great — low-fat, tasty, and not too sweet. They also add an elegant and unusual flourish to ice cream desserts or fancy cupcakes.
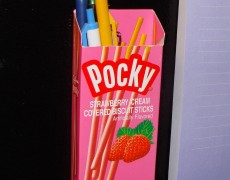
And the boxes are so cute!
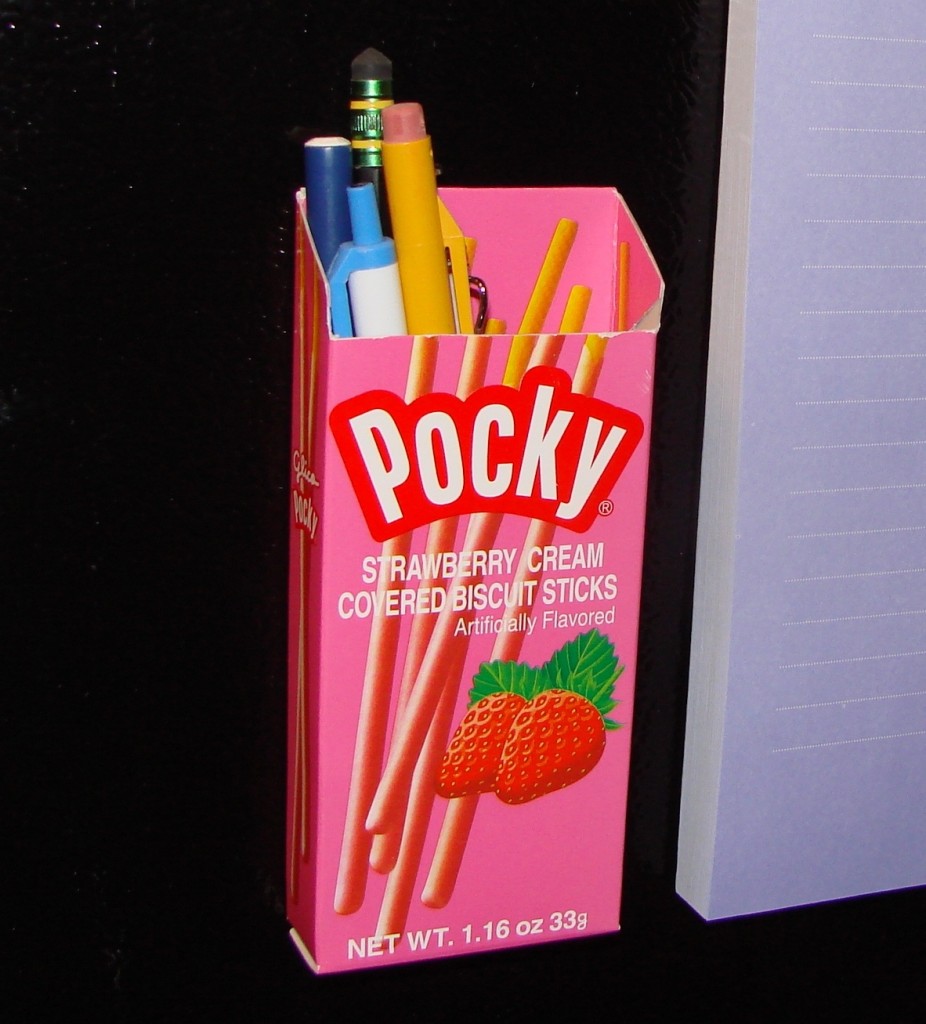
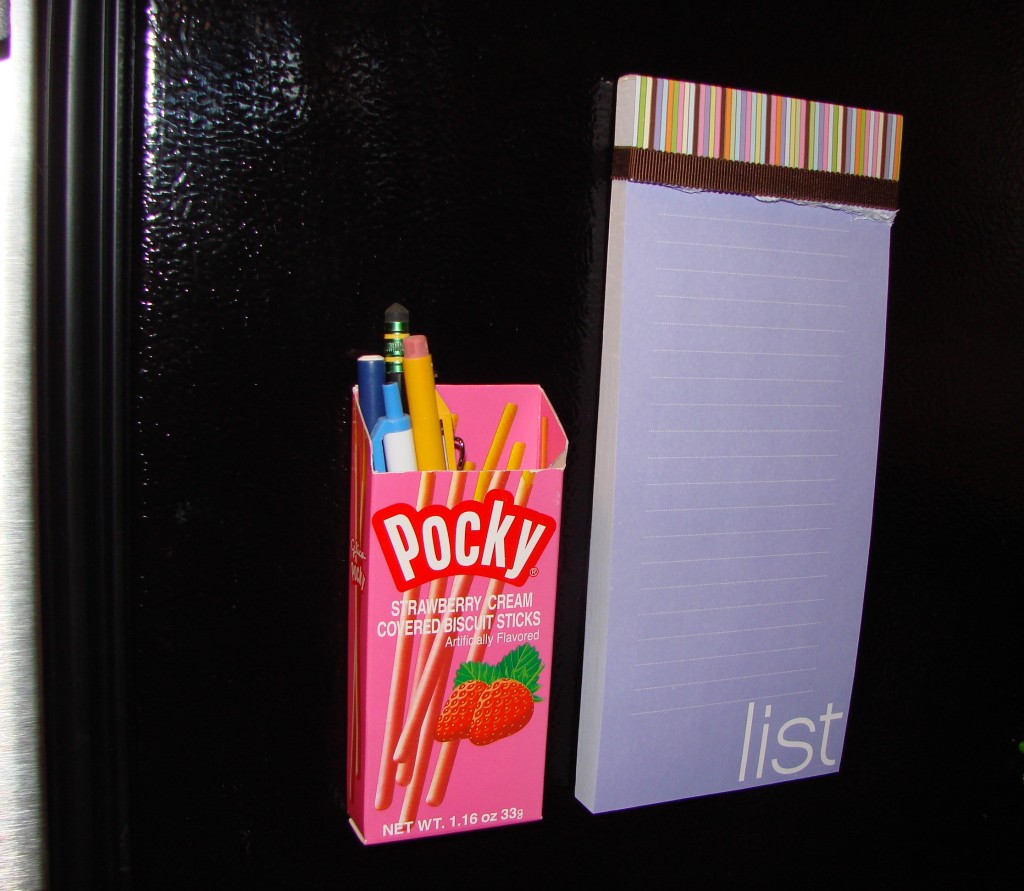
My fridge always seems to have a magnetic notepad on it, but I can never seem to find a pen or pencil when I’m ready to make my grocery list. I thought this “Pocky pocket” — a magnetic pencil-cup for the fridge — would be a good solution.
And this project is so quick and simple, you can do it in about 15 minutes! (Not including the time it takes to eat the yummy Pocky.) It is a good craft for youth, and could be used inside a locker instead of on a fridge.
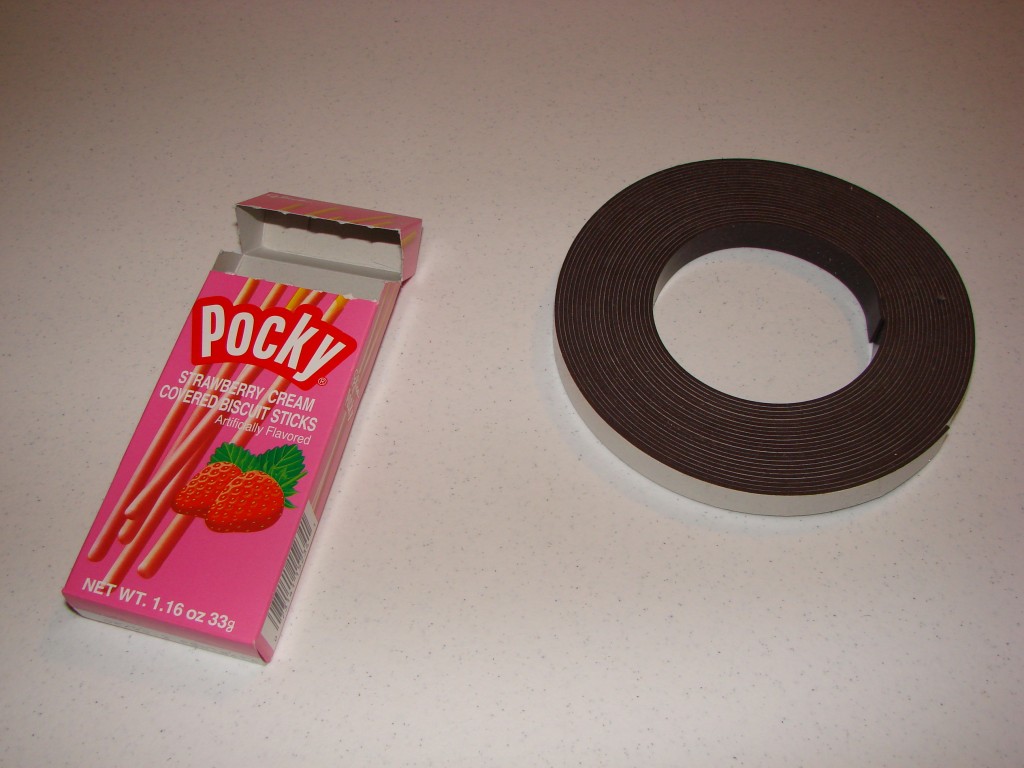
All you need for this project is:
A Pocky box
Pocky is available at most Asian food stores, if you cannot find it at your regular supermarket… Or you could use another box of similar size.
Scissors or craft knife
Careful! Sharp pointy things can hurt you! … And be sure your tools are all age-appropriate, if you do the project with kids.
Glue
Regular Elmer’s is just fine.
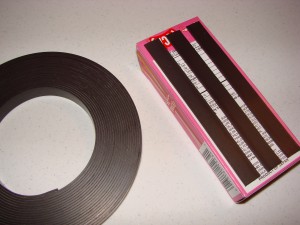
Adhesive magnetic strips
You could also use different types of magnets, if that’s what you have on hand.
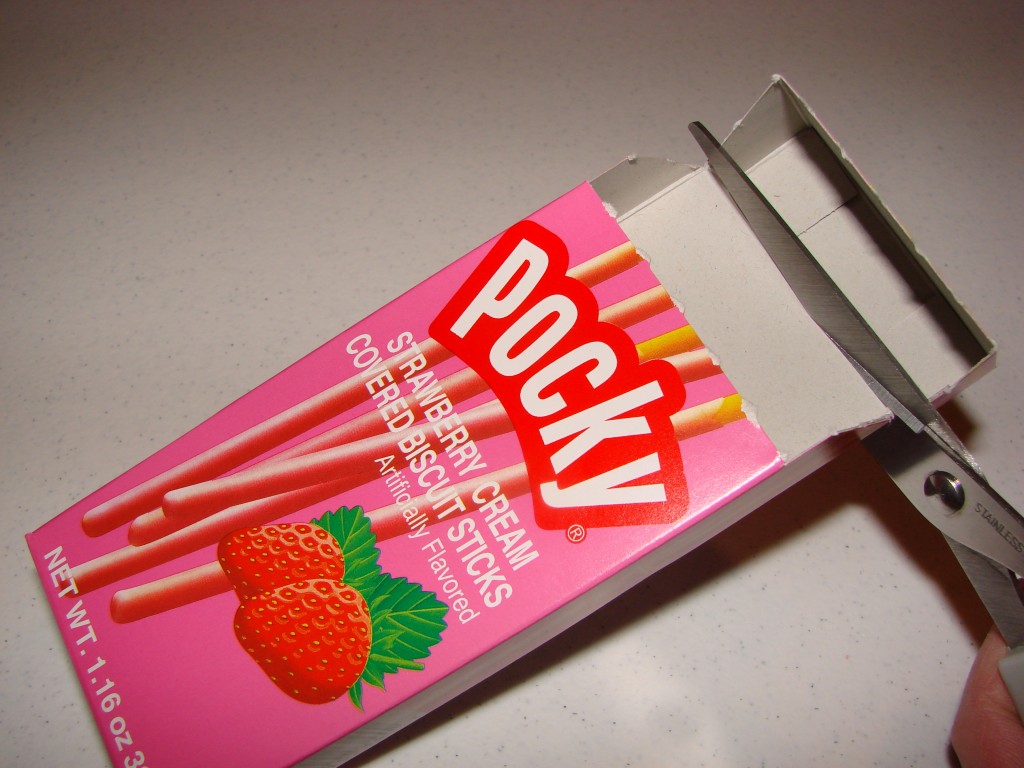
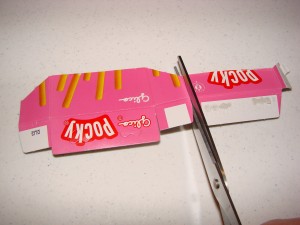
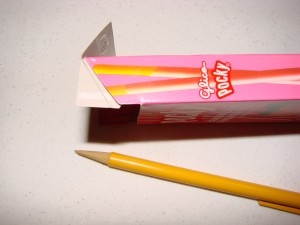
Step 1: Cut the lid off the box.
Cut straight across at the main hinge, on the back side of the box.
Step 2: Use the box lid to cover the raw cardboard box interior.
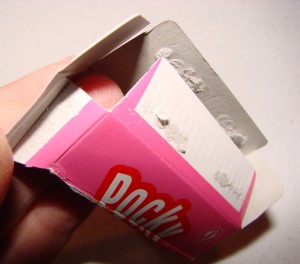
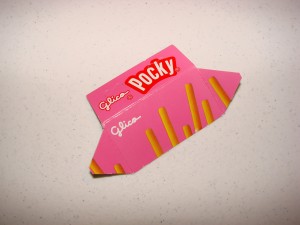
To make the inside edge of the box prettier, you can cut the lid to fit inside . (And optionally, you can trim the torn cardboard left behind by the perforated tear strip.) Start by carefully prying the lid open so it becomes one flat piece.
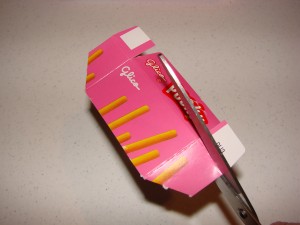
Then cut off the back of the lid, and the two small tabs.
Bend the two sides backwards and slide the lid inside the box. Mark the sides with a pencil to cut the slant to match the outer box, then cut the sides as you have marked them.
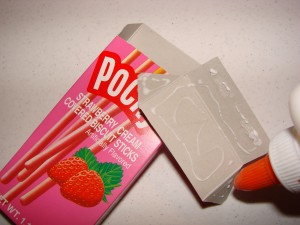
Step 3: Glue the inside panel in place.
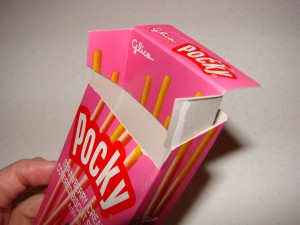
When you have finished the steps above, the lid should look like mine does, below. Glue it inside the box. Fold the top of the lid over onto the back side and glue it in place.
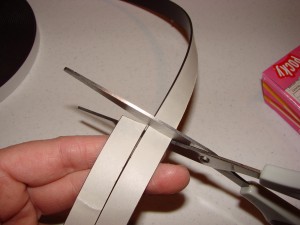
Step 4: Attach magnets.
I cut three magnetic strips, all the same size, then adhered them to the back of the box.
Step 6: Set in place, and fill!
Of course, if you don’t like the graphics on your cardboard box, you can always cover the the box with magazine pictures, scrapbook paper, or contact paper. If you want the box to last longer (and to be more resistant to greasy kitchen dust), you can cover it with clear contact paper.
