Upcycled upholstery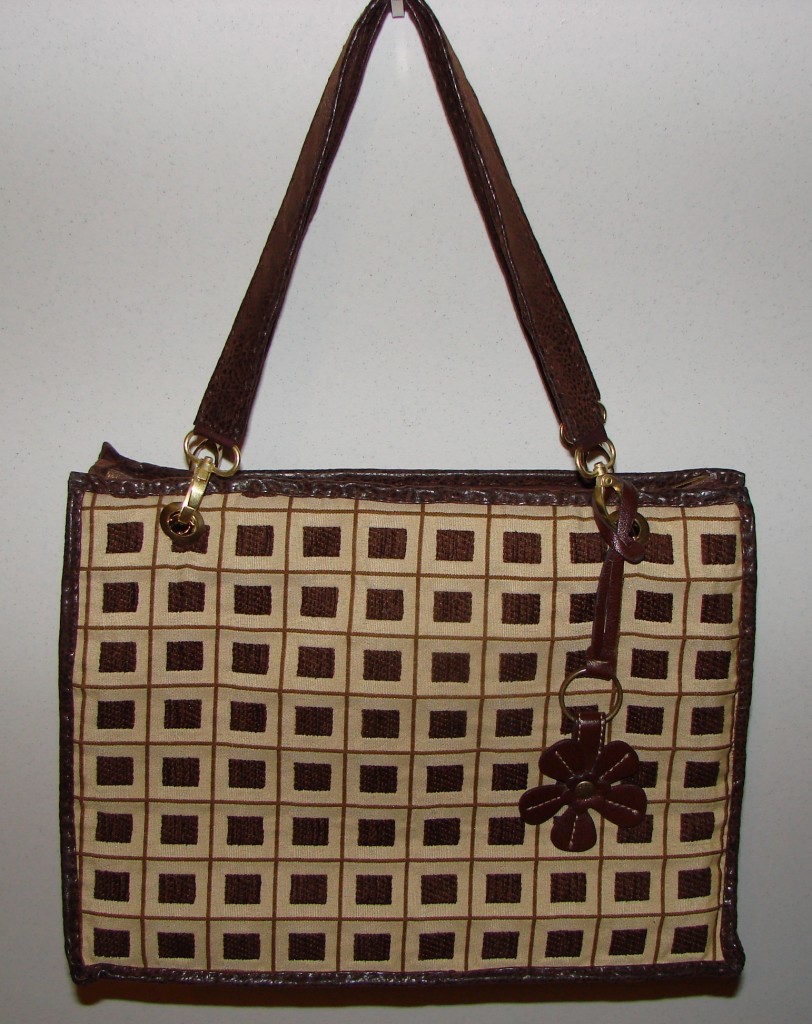
I admit it. I have a terrible addiction to upholstery samples and drapery remnants. There is just something SOOOO appealing about their colors, designs, and textures — irresistible! So I have a lot of them in my “craft stash.”
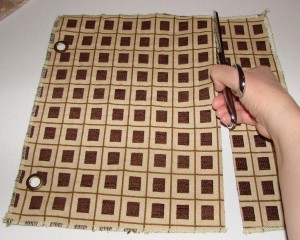
Very often, you can get several samples that are a “set” — all part of a cohesive collection, specifically designed to coordinate with one another. They are typically a uniform size and shape, often with large grommets at the top.
As I have obtained these samples over the years, I’ve often thought it would be fun to try to use them for a purse, using the grommets as handle attachments. Finally, I completed that project!
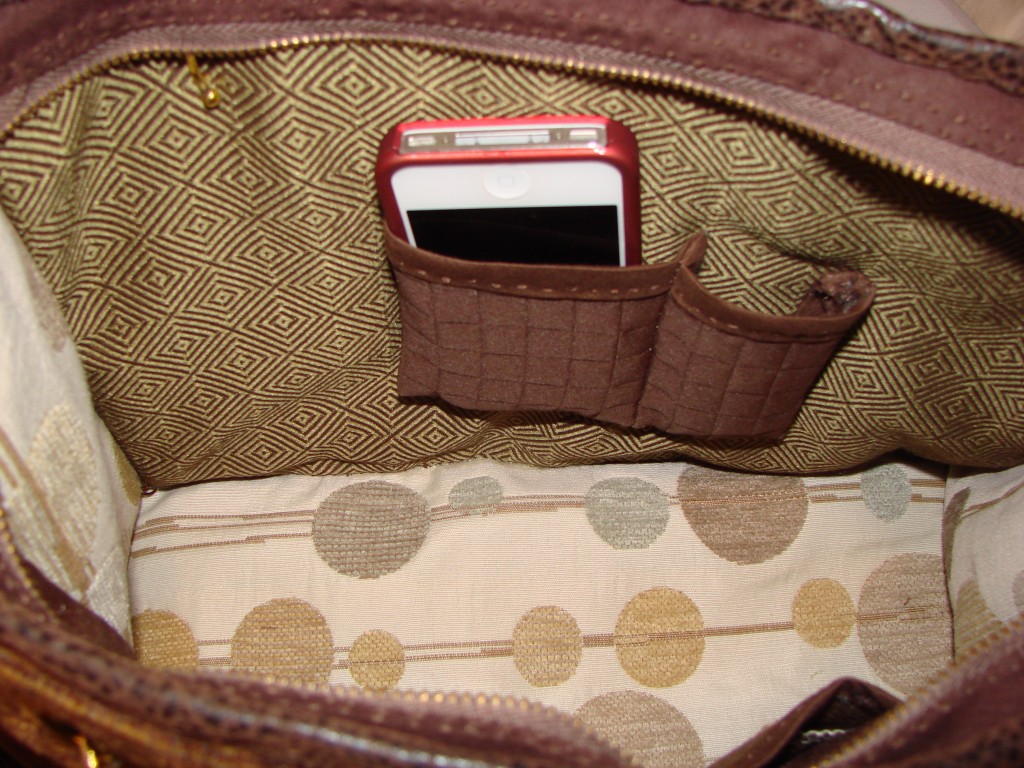
It would be pretty easy to make a simple grocery-type tote. But because I SOOOO loved the fabrics, I got ambitious and did a real purse with a lining and inside pockets(one of which is EXACTLY the right size for my I-phone) and a zipper and faux-leather trimmed edges.
It came out a little wonky; the sample wasn’t cut straight at the factory, apparently, and I did not notice it until the purse was half-complete… (Don’t ask me how I managed to overlook that fact so long — it amazes me, too.) But despite its flaws… still, I love, love, love my new purse!
My purse required:
- 5 upholstery samples (two coordinating ones for the outside, two more for the lining + pockets, and one faux leather for the trim)
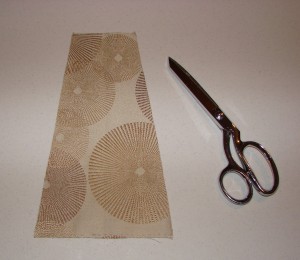
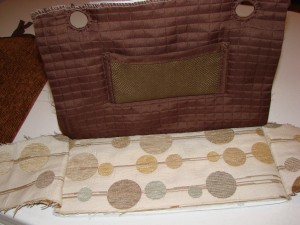
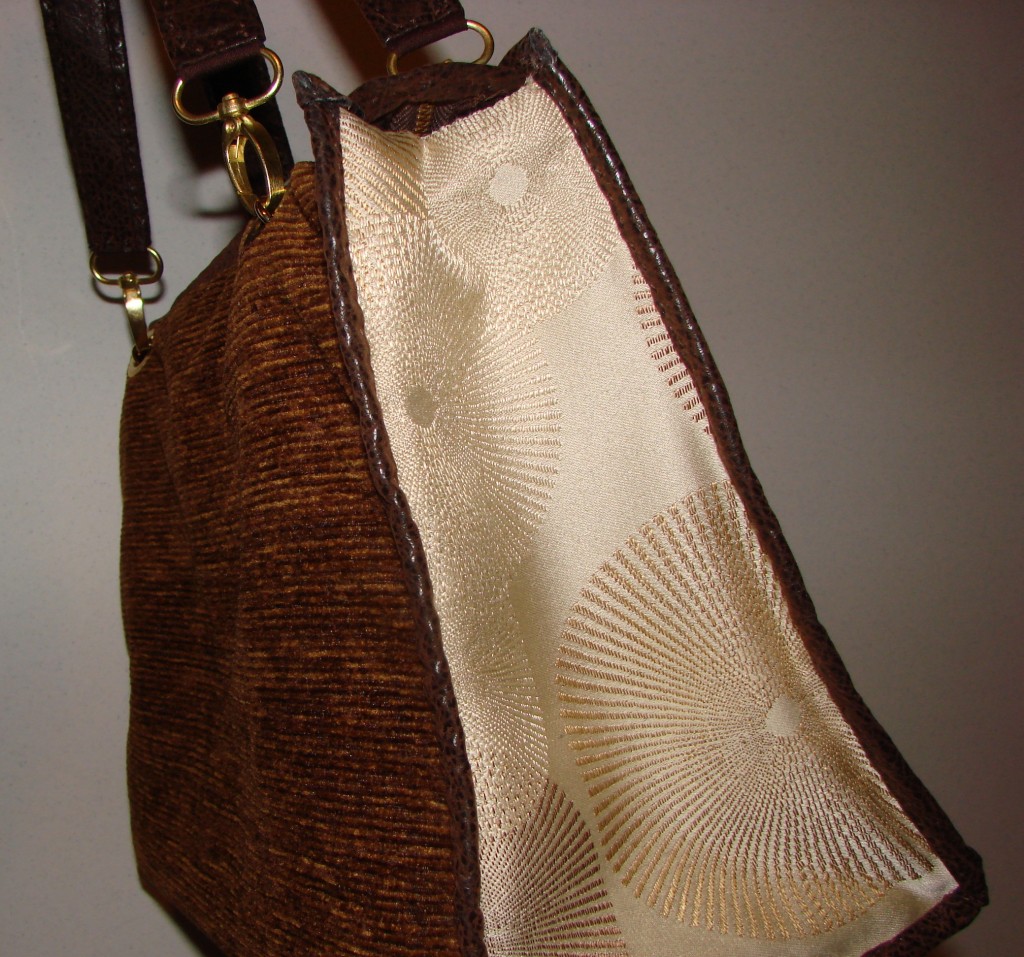
- 2 drapery remnants (one for the exterior sides, and one for the interior sides and bottom)
- A zipper (about 14 inches)
- Stiff felt to reinforce the sides
- Flexible plastic to reinforce the bottom (I recycled a used plastic license plate)
- Quilt batting (to wrap around the stiff felt and license plate to “bulk up” the purse a bit
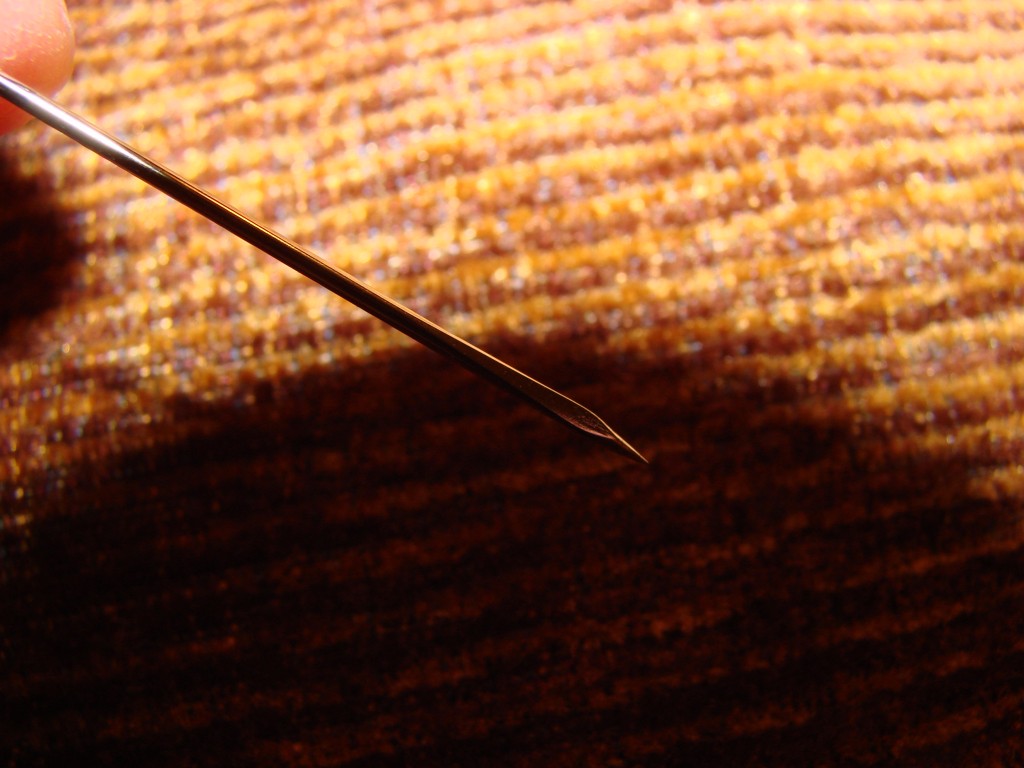
- A leatherworking needle (the tip is shaped differently than a regular needle)
- Double-fold bias tape (for edging the inner pockets as well as surrounding the zipper and forming the base of the straps)
No complete tutorial, but I’ve posted a few pictures and tips below. If anyone has questions, just ask me!
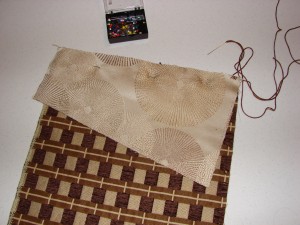
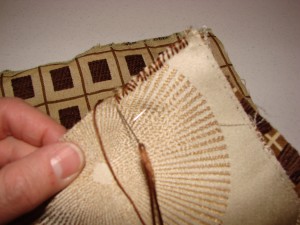
I was really flying blind with no pattern, when I was making this bag. In hindsight, I should have attached the lining before sewing the exterior together… oh, well. I’ll know better next time. If you are using any sturdy fabrics like vinyl or faux leather, DO purchase a glover’s a.k.a. leather needle. Your fingers will thank you!
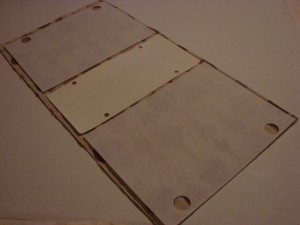
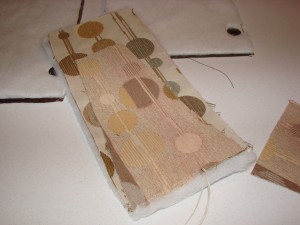
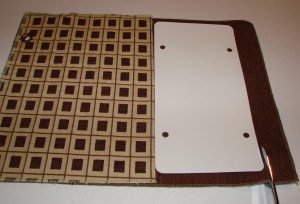
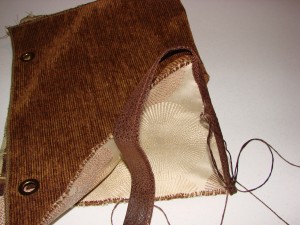
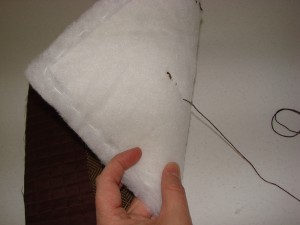
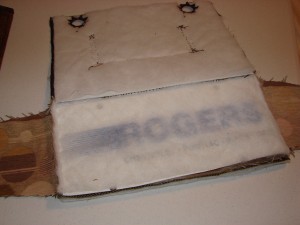
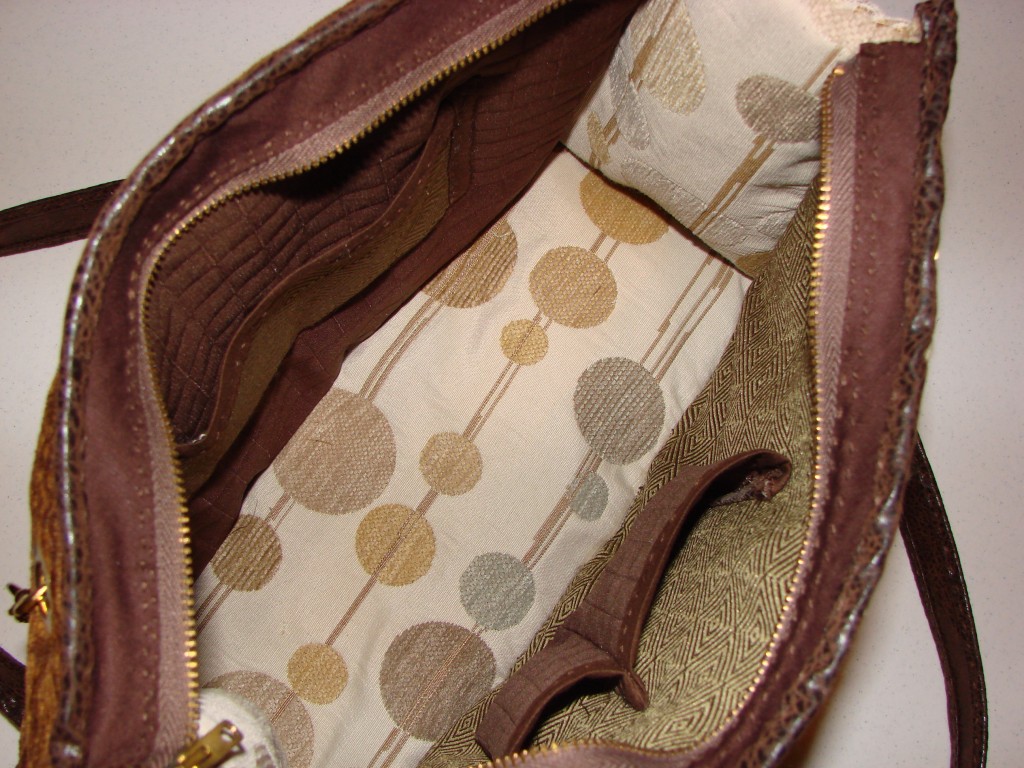
The lining is reinforced with stiff felt and that plastic licence plate. I wrapped quilt batting around those pieces and basted them in place while I was sewing the interior pieces together.
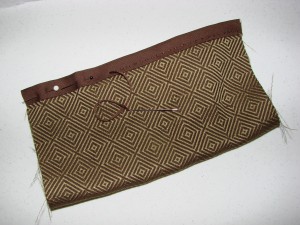
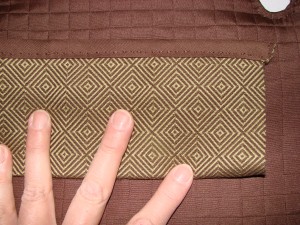
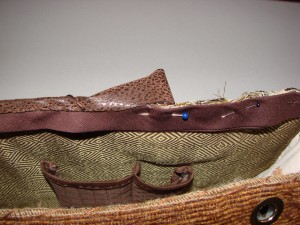
The front and back of the interior are two coordinating upholstery samples. The pockets match the opposite side’s fabric.
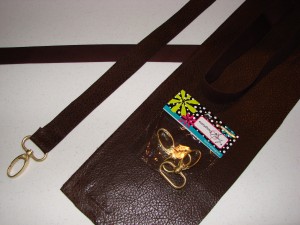
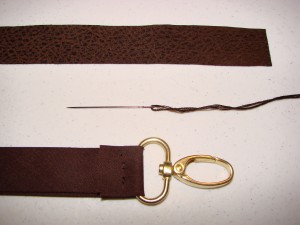
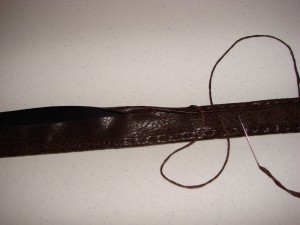
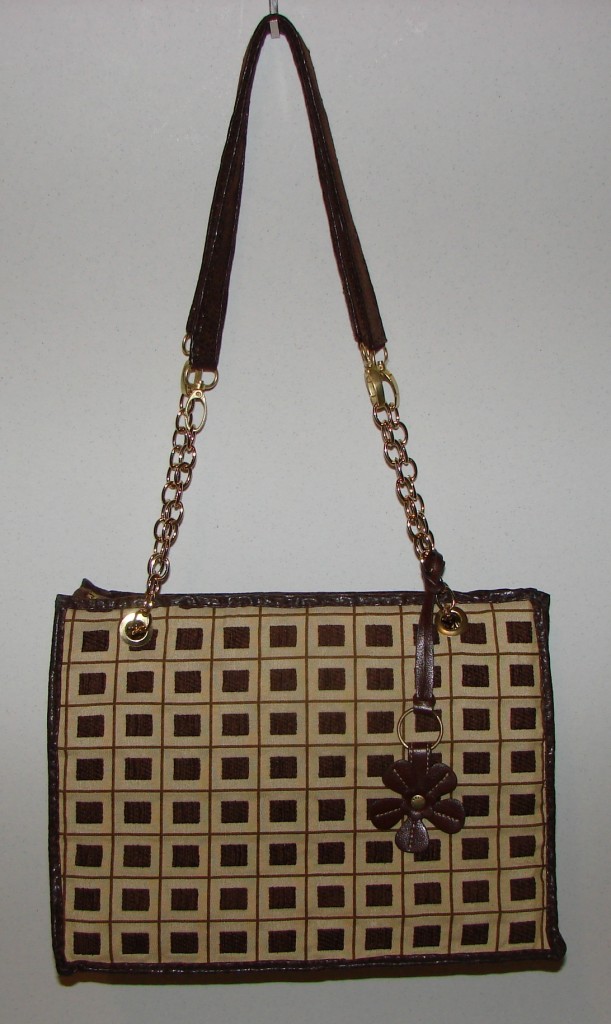
One of the very few items I purchased for this project, was purse hardware for the straps. They are like a lobster claw jewelry clasp, which allows me to make the straps adjustable, depending upon the addition of some pieces of chain. The straps need to be very sturdy. I used one-inch double-fold bias tape as the base, and then added a layer of faux leather.
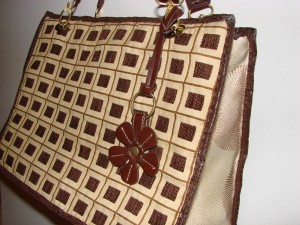
The little flower was rescued from an old purse of mine (Had to get rid of the bag when it started falling apart, but the dangling leather flower was still in good shape, so I kept it. Now it has a new home!
The picture above, shows the purse with the chains added. I’ll probably leave it this way most of the time, since I prefer a long purse strap.
One of the pockets on the inside, was designed to be the perfect size for my I-phone!
Hooray! I get to carry my new purse tomorrow, after giving it a good spritzing with fabric protector, to shield it from my inevitable small messes.
Important UPDATE:
After carrying my purse less than a week, the grommets began ripping out of my upholstry samples. I was so sad!!!
I guess those flimsy grommets were only designed to hold the weight of one upholstry sample, NOT one exceedingly heavy wallet, an equally heavy coin purse, a cell phone, keys, a photo wallet, a pill box, an epi pen, a pack of gum, and a package of tissues!
So I guess I’ll be re-grommeting the purse with the heavy-duty kind, this weekend.
